21 October, 2026
In-Wall Cistern Toilet Installation: An AU Guide
Our guide to in-wall cistern toilet installation covers set-out, wall outlet height and when to call a licensed plumber.

Thinking about hiding that bulky cistern inside the wall for your next bathroom reno? In my experience, it's one of the best upgrades you can make, but it's not a weekend DIY job. You mount the cistern frame to the stud wall, plumb and waterproof it, then tile over it before fitting the pan and flush button, and when the wall is accessible the whole job should take roughly two to three days. Get the set-out wrong, though, and you're pulling up fresh tiles to fix it. I'll walk you through what matters, where a licensed plumber must take over, and how to pick gear that won't let you down in twenty years.
Video Credit: Billshowto
What In-Wall Cistern Toilet Installation Involves
In short, it's a toilet where the cistern is hidden within the wall. The only parts visible will be the pan and flush button. They're becoming increasingly common in Australian homes so it's useful to understand how in-wall cistern toilet installation works.
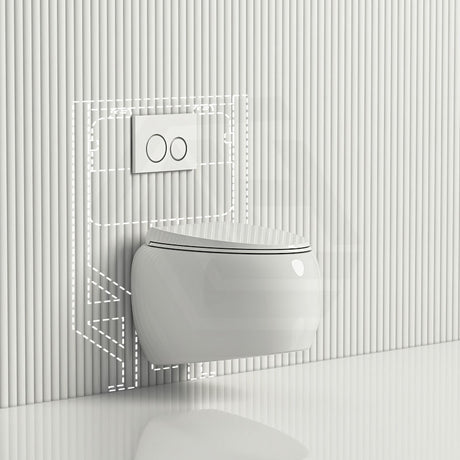
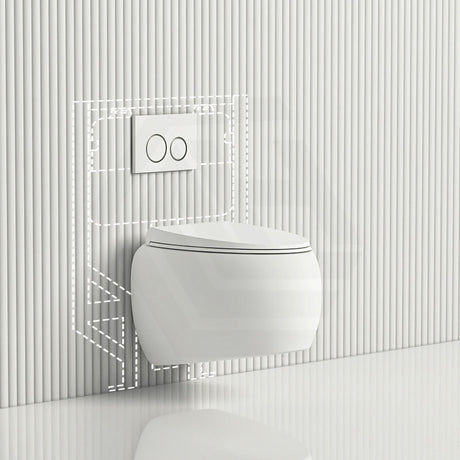
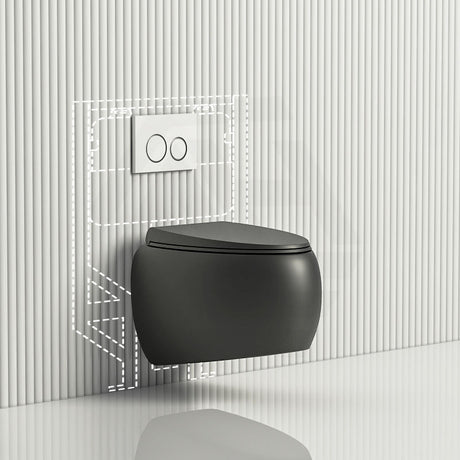
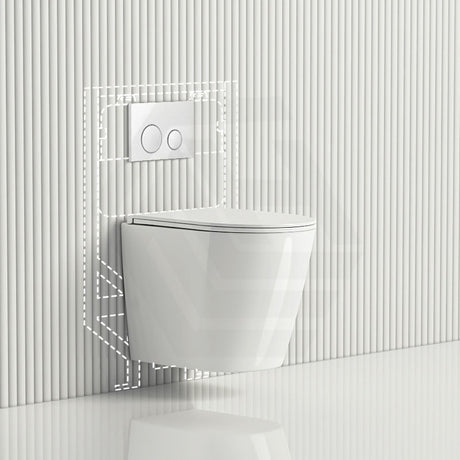
Having installed several, I can understand why people are drawn to in-wall cistern toilets. There's no unsightly cistern protruding from the wall behind the pan, only a flush button. Aesthetically pleasing, too, as it saves space. To install, you mount the steel or plastic cistern frame to the stud wall, or create a false wall to hold it in place. Once you've plumbed it (water coming in, waste going out) and waterproofed and sheeted it, you tile over it. With the tiling complete, you can attach the pan to the wall and fit the flush button plate onto the frame where you've cut out a space in the tiles. When the wall is accessible, installation should take roughly two to three days.
However, there is more to it than meets the eye. Rather than simply swapping out a toilet, you are also creating a new cavity within your wall. This means that changes may need to be made to your framing, waterproofing and future repairs. These are all regulated by the Sanitary Plumbing and Drainage standard, which outlines requirements such as drainage connections, drain slopes and vent diameters. So, while we've touched on the generalities, let's look at the specifics.

Before You Start: Set-Out, Wall Outlet Height and Compatibility
This is where things can go wrong. There are two different measurements here and getting them mixed up could mean you'll have to call your plumber back to rectify the issue.
The first is the S-trap set-out, which measures horizontally from the finished wall to the centre of the floor outlet. This applies only if you're connecting your pan through the floor, which isn't usually the case with in-wall cisterns.
For concealed cisterns and wall-hung pans, what you're looking for is the P-trap height, which is measured vertically from the finished floor to the centre of the wall outlet. Usually this is 185mm, although some pans have 180mm outlets. Important to note, though, is that this is a floor-to-centre-of-outlet measurement, not a wall-to-centre-of-outlet measurement. This measurement must be spot on when you fix the frame to the wall. Once the wall is tiled, it will be almost impossible, if not outright impossible, to change the measurements without taking down the tiles.
Finally, you'll want to check whether the frame and pan are compatible. Frames from one manufacturer don't always work with pans from another. Having looked at these measurements, it's time to consider what can be done yourself versus what needs to be undertaken by a licensed plumber.

What a Licensed Plumber Does vs What You Can Do Yourself
Every state and territory in Australia requires a licensed plumber to connect a cistern within a wall to the water and waste systems. This isn't something you can DIY. If I was renovating my bathroom, the last thing I would want is a leaky cistern behind the tile. It would be a very expensive job to rectify.
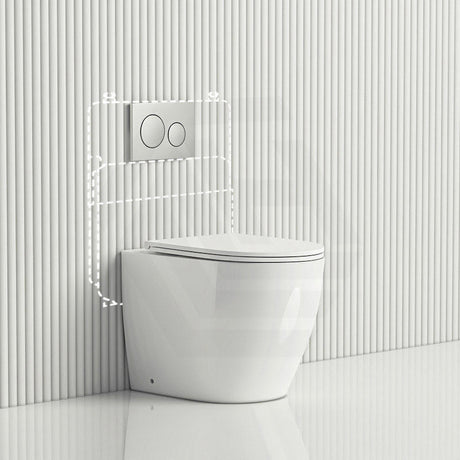
The licensed plumber will bolt the frame to the wall framing, pressure test the piping, connect the waste and issue a compliance certificate once the wall is tiled. You can choose the finish, you can fit the toilet seat once the pan is installed and possibly also the flush button cover plate, if the plumber agrees. But you must select the in wall cistern, a wall-hung pan compatible with it, and the toilet flush button before the plumber attends, though a back to wall toilet pan is the choice instead where the cistern sits against rather than inside the wall. I regard this as one purchase rather than three. An in wall cistern, wall-hung or back to wall toilet pan and toilet flush button constitute a set of components manufactured to work together, which is central to successful in-wall cistern toilet installation.

Choosing the Cistern, Pan and Flush Button
My suggestion is to buy a concealed cistern from either Geberit or R&T. Both companies recommend against mixing and matching, so ensure you purchase the full set.
All toilets supplied in Australia must be WaterMark certified and have a WELS (Water Efficiency Labelling and Standards) rating. All pans have a maximum average flush volume of 5.5 litres (AS/NZS 6400:2016). Some dual-flush pans that claim 4.5L/3L use an average of 3.3 litres and are rated at 4-star under WELS. Check this when you make your selection, and keep in mind there's also a lead content rule coming into effect that's worth knowing about before you buy your fittings.
From 1 May 2026 (NCC 2025, Volume Three, Part A5) manufacturers will not be able to manufacture WaterMark certified copper alloy fittings containing lead for contact with drinking water, but licensed stock can continue to be used until 30 April 2028. This doesn't apply to the sanitary drainage fittings inside the cistern, but it will impact your tapware choice.
Once you have selected your items, here are some common errors that will transform what looks like a straightforward in-wall cistern toilet installation into a nightmare.
1. An incompatible pan and cistern. If the frame isn't designed for your pan, the fittings won't line up and you'll need to bring in another plumber to rectify it. 2. An incorrect trap. Yes, I said this already because it is the error I see most often. 3. Failing to allow for an access panel. All concealed cisterns require an access panel for maintenance. Ensure you include one before tiling. 4. Choosing the wrong flush button. These buttons are not universal. If you choose the wrong button it won't work with the cistern, and this won't be evident until after the wall is complete.
References
AS/NZS 3500.2:2025 Plumbing and Drainage — Sanitary Plumbing and Drainage, Standards Australia
State and territory plumbing licensing authorities (Building and Plumbing Commission Victoria; Building Commission NSW / NSW Fair Trading; Queensland Building and Construction Commission; Plumbers Licensing Board Western Australia (administered by Building and Energy); Consumer, Building and Occupational Services Tasmania; Access Canberra ACT; Office of the Technical Regulator / Consumer and Business Services South Australia; Plumbers and Drainers Licensing Board Northern Territory)
AS/NZS 6400:2016 Water efficient products — Rating and labelling (incorporating Amendment No. 1:2022 and Amendment No. 2:2022), Standards Australia
National Construction Code 2025, Volume Three (Plumbing Code of Australia), Part A5 Documentation of Design and Construction — Lead-Free Copper Alloy Requirements