20 October, 2026
Caulking the Base of a Toilet: Step-by-Step AU Guide
Learn the steps for caulking the base of a toilet, from prep to a tidy bead, plus common mistakes and when to call a licensed plumber.

Picture your toilet freshly fitted, sitting flush against the tiles—now imagine a neat little bead of sealant tracing that join, hiding every gap and stopping grubby water from sneaking underneath. So how do you actually get that tidy finish yourself? In short: clean the old sealant away, run a smooth new bead around the base, then leave it alone. Most of this job takes around 20 to 30 minutes from start to finish, and once the bead is applied you'll need to wait at least 24 hours before using the bathroom again. Easy, right? Let's walk through exactly how it's done.
Video Credit: The Funny Carpenter
What Caulking the Base of a Toilet Involves
Imagine a toilet bowl sitting level with the floor tiles. There is a small bead of sealant along the joint between the floor and the toilet bowl. Why would anyone want to caulk around the bottom of a toilet? When you wipe the floor or when splashes occur, water may creep under the toilet bowl. Caulking the base of a toilet is simply the finishing touch that helps prevent this from happening and creates a polished finished look.
Let me be clear. I am not talking about the seal between the toilet bowl and the waste pipe. Those seals, drainage gradients and pipe joints fall under (AS/NZS 3500.2:2025) and require licensed plumbers to install. What I am describing is the sealing between the toilet bowl and the floor. That is a simple cosmetic task, which a competent DIY enthusiast can easily do.

Tools and Materials You Need
To do this you will need a sealant cartridge, suitable for bathrooms (colour match to your tiles or bowl, usually white or grey), a sealant gun, a plastic scraper, masking tape, a smoothing tool or gloved finger, methylated spirits or other cleaning agent, and rags.
Sealant tubes come in a range of prices and you should shop around. Ask the shop assistant for advice if you are unsure. Look for products that are labelled for wet areas. These are usually formulated with anti-fungal properties, unlike generic products.

Preparing the Area Before Caulking
Once you have gathered all your materials, you need to prepare the area. Take care to remove any old sealant and clean the area well. The sealant must be applied to a clean, dry surface. Use a plastic scraper to remove any old sealant and clean the area with methylated spirits. Allow to dry. Do not attempt to apply sealant to a wet or dirty surface. Use masking tape along the edges of the joint to create a neat line. Ensure that the toilet is properly positioned and fixed to the floor before sealing.
Most of this job takes around 20 to 30 minutes from start to finish, though you should allow an extra 15 minutes if the old sealant is stubborn and needs scraping out.
Because this sealant is not governed by the wet-area waterproofing requirements in (NCC 2025, ABCB Housing Provisions, Part 10.2), it should never be used as a replacement for waterproofing under the tiles. If the toilet is loose, or there is evidence of water damage where there was none before, stop, as this is a plumbing issue, not a sealant issue — call a licensed plumber rather than reaching for another tube of sealant.
### Step-by-Step: Caulking the Base of a Toilet
Okay, let's do it! Put some sealant in your sealant gun and apply a smooth, even line along the gap. Keep the gun at a consistent angle to the gap, to ensure the sealant bead is consistent in thickness. Apply the sealant in one continuous movement, so that there are no bumps where the sealant bead is started and stopped.
Once the bead is applied, use a finishing tool or a gloved finger with water on it to smooth out the sealant in one movement, creating a smooth and concave line. Remove the masking tape right after you've done this, before the sealant has started to skin over, and pull it off at a slight angle, to give a nice clean edge.
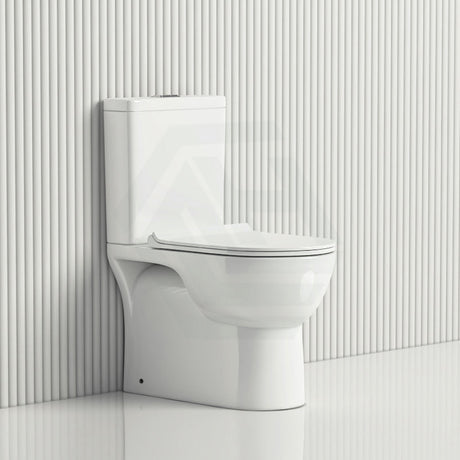
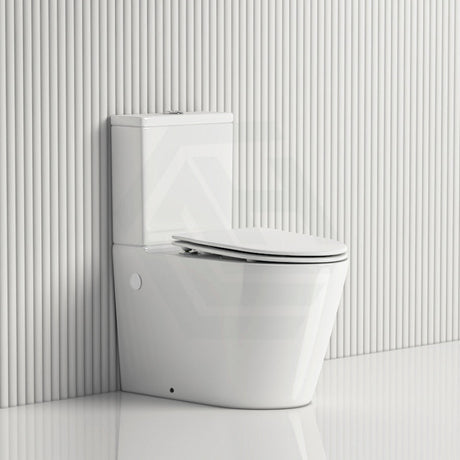
Wait for the recommended time before using the bathroom. Most sealants take at least 24 hours to dry fully, so don't go rushing to see if the seal has worked. The same applies regardless of whether you're caulking the base of a toilet that is a close coupled toilet or a back to wall toilet as they both use the same type of sealing.

Common Mistakes and When to Call a Plumber
The most common error is caulking over a dirty or wet surface, which won't stick properly, and means you'll have to do it again soon.
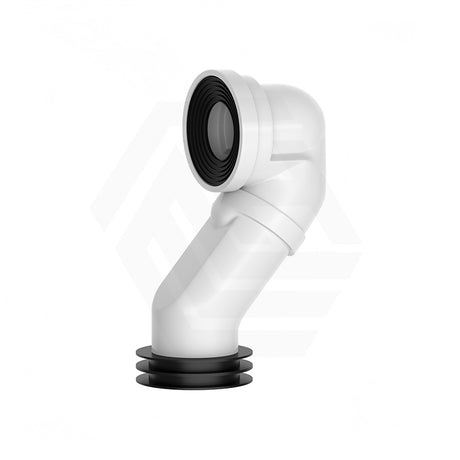
Don't assume all leaks around the toilet base are due to issues with the caulking, when it could be the pan collar seal, the toilet bowl seal, or the connection between the pan connector and the p trap pan connector. These are internal plumbing components, which are different from the caulking around the outside, and both should be addressed by a licensed plumber. Other symptoms of toilet plumbing issues include a loose toilet pan, water coming out from underneath the toilet after you flush, and bad smells.
In all states and territories in Australia, plumbing works on bathroom fittings must be performed by a licensed plumber (state and territory plumbing licensing legislation). So, when in doubt, call a plumber instead of buying another tube of sealant.
While you're down there sorting out the sealant, it's also worth giving the floor a once-over for slip safety, since wet bathroom tiles can catch anyone out. It's also worth checking your toilet area to make sure it is not too slippery when wet – residential floors should generally be P3 rated or higher
References
AS/NZS 3500.2:2025 Plumbing and Drainage — Sanitary Plumbing and Drainage, Standards Australia
National Construction Code 2025, ABCB Housing Provisions, Part 10.2 Wet area waterproofing
State and territory plumbing licensing authorities (Building and Plumbing Commission Victoria; Building Commission NSW / NSW Fair Trading; Queensland Building and Construction Commission; Plumbers Licensing Board Western Australia (administered by Building and Energy); Consumer, Building and Occupational Services Tasmania; Access Canberra ACT; Office of the Technical Regulator / Consumer and Business Services South Australia; Plumbers and Drainers Licensing Board Northern Territory)
AS 4586:2013 Slip resistance classification of new pedestrian surface materials (incorporating Amendment No. 1:2017), Standards Australia