18 September, 2026
Wall Mounted Toilet Flush Button Height: The AU Standard
Get wall mounted toilet flush button height right the first time. AS 1428.1 requires 900–1100 mm for accessible bathrooms — ask your licensed plumber.

Imagine stepping into your newly tiled bathroom—only to discover the flush button sits at an awkward height that nobody can comfortably reach. So, what's the actual standard you should be designing to? For accessible and ambulant bathrooms, AS 1428.1 requires operable parts to be positioned between 900 mm and 1100 mm above finished floor level. For everyday residential bathrooms, 900–1000 mm from finished floor level is the generally accepted benchmark that certified plumbers and building certifiers follow. Getting this right early—before a single tile goes up—saves you from costly demolition work later!
Video Credit: Konig Sanitary Ware
What Is the Australian Standard for Flush Button Height?
To be blunt, there's no "one size fits all" rule in the AS or NCC that explicitly dictates flush button height for every Aussie bathroom. There are, however, rules, and it's better to understand them than to regret them later.
For accessible and ambulant bathrooms, AS 1428.1 (the Australian standard for universal design) requires operable parts, including flush buttons, to be positioned between 900 mm and 1100 mm above finished floor level (FFL).
For normal, everyday residential bathrooms, the NCC doesn't state a specific flush button height; rather, 900–1000 mm from FFL is the generally accepted industry benchmark that certified plumbers and building certifiers follow, not mandated by any specific standard.
Put another way, 900 mm is around the middle of the torso for most adults and is easy to reach regardless of whether they're sitting down or standing up.
If your project includes an accessible bathroom, check the details with your certifier or council, as the accessible bathroom rules are non-negotiable.

Why Flush Button Height Matters for Compliance and Usability
Messing this up isn't just a matter of poor design — it could mean failing your final inspection and having to do all the work again.
The Livable Housing Design Standard, included in the NCC 2025, lays out requirements for sanitary compartment circulation space and doorway width.
Building certifiers inspecting your bathroom aren't going to look at individual components like the flush button in isolation.
A flush button at 750 mm because your tiler and plumber didn't speak to each other before installing it is a big red flag.
Beyond regulatory compliance, there's the matter of household comfort. Kids, older relatives, and anyone with restricted mobility use that button every day.
When the wall mounted toilet flush button height is too low or too high, something simple and effortless becomes a minor annoyance.
This is a question of regulation and everyday practicality, so it should be given serious thought early in your renovation process.

Factors That Affect Flush Button Placement During Installation
This is where things tend to get tricky on a renovation project. The height of the flush button you end up with on your finished wall is determined by more than one thing. You have to factor in multiple components to arrive at the final measurement.
First off, the tiles. The thickness of the tiles is important. A standard floor tile bed with adhesive will typically add 10–15 mm to your structural slab height, raising your finished floor level. Consequently, your flush button height measurements need to account for this added thickness.
Next comes the frame for the in-wall cistern. While most frames are adjustable within a defined height range — most commonly spanning from around 820 mm to 1200 mm installation height — there are limitations to the range of adjustment, and the actuator plate is positioned at a fixed distance from the top of the cistern body, typically 150–200 mm below the top edge of the cistern.
The depth of the wall framing is another consideration, as is the specific frame you choose. The main takeaway here is to confirm the final button centre height you want to achieve with your licensed plumber prior to putting up any tiles. A licensed plumber typically spends two to four hours installing and testing an in-wall cistern frame, so getting the measurements right before that work begins saves everyone time.
If you need to adjust the frame at this point, it will require demolition work.
All concealed plumbing installation is required to be done by a licensed plumber in all states and territories of Australia. Check your state/territory requirements for specifics.

Choosing the Right In-Wall Cistern and Wall Mounted Toilet Setup
With a clear understanding of how these installation details affect each other, choosing suitable products becomes easier.
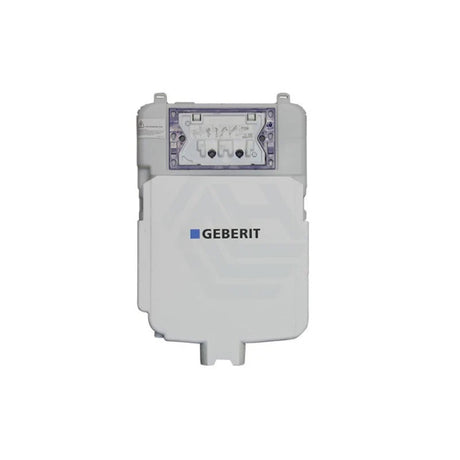
An in wall cistern frame determines three things at the same time: the height of the toilet pan rim, the position of the cistern body, and therefore the wall mounted toilet flush button height on your finished wall.
Most frames carry a structural load rating of 400 kg, which is standard for a wall-hung pan. Frames are available in different profiles such as slimline, standard, and floor-to-ceiling, and the typical rough-in depth is 120–150 mm. Prices for in wall cistern frames in Australia range from $165 to $1,283.
Well-regarded brands include Geberit and R&T. Your wall mounted toilet pan should be designed to match the carrier dimensions of the frame, so be sure to check compatibility between your selected pan and frame. They must be compatible to work together.

Selecting and Positioning Your Toilet Flush Button
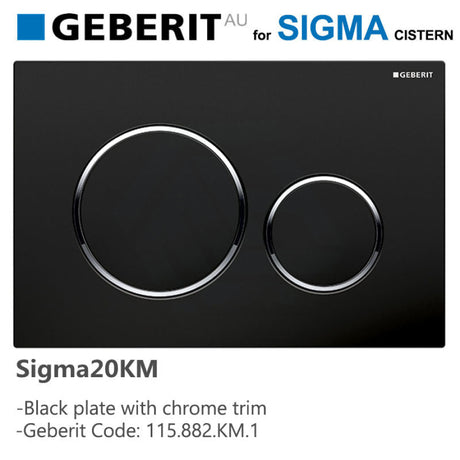
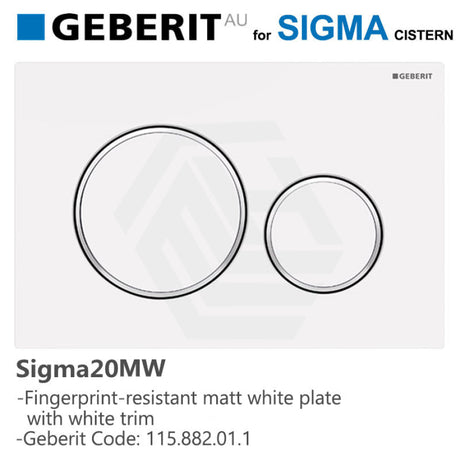
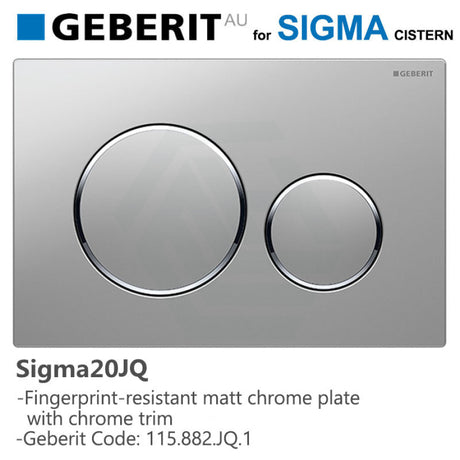
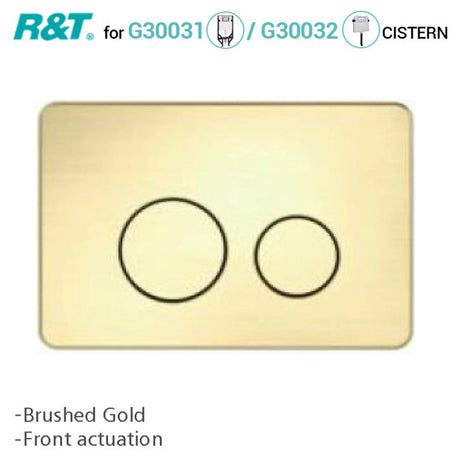
With the cistern frame set, you then turn your attention to the final component of the setup: the actuator plate, or toilet flush button you'll be using every day. This is where you can exercise choice over the look and finish of your flush button.
The standard dual-flush plate delivers a full flush of 4.5 L and a half flush of 3 L, as required on all water-rated toilets in Australia. These are available in round or square designs and finishes including chrome, matte black, and brushed nickel.
Confirm the distance from the top of the cistern frame to where the centre of your flush button will sit on the finished wall. This measurement is typically 150–200 mm down from the top of the frame — and don't forget to account for the thickness of your tiles.
Actuator plates at MyHomeware are priced from $24 to $978, so there are options to suit all tastes and budgets.
If the toilet is mainly used by children, it may make sense to position the button centre closer to 900 mm from FFL, which sits at the lower end of the acceptable wall mounted toilet flush button height range.
Ensure the flush button is WaterMark certified, and check whether the button you choose is compatible with your cistern brand, because not all buttons fit all cisterns.
References
AS 1428.1:2021 Design for access and mobility, Part 1: General requirements for access — New building work, Standards Australia
National Construction Code 2025, ABCB Livable Housing Design Standard, Part 3 Internal doors and corridors and Part 4 Sanitary compartment
State and territory plumbing licensing authorities (Building and Plumbing Commission Victoria; Building Commission NSW / NSW Fair Trading; Queensland Building and Construction Commission; Plumbers Licensing Board Western Australia (administered by Building and Energy); Consumer, Building and Occupational Services Tasmania; Access Canberra ACT; Office of the Technical Regulator / Consumer and Business Services South Australia; Plumbers and Drainers Licensing Board Northern Territory)
WaterMark Certification Scheme, Australian Building Codes Board