20 April, 2026
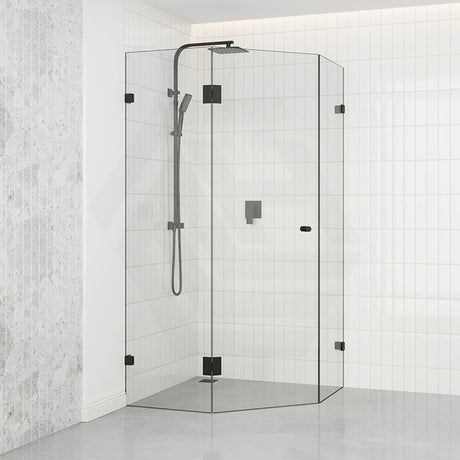
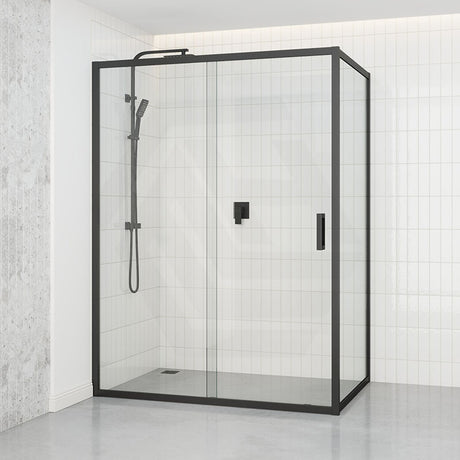
How to Clean Shower Glass: Remove Water Stains and Soap Scum
How to clean shower glass: remove hard water stains, soap scum and mould with vinegar, bicarb and squeegee tips. Easy DIY maintenance for sparkling shower screens in Australian bathrooms.

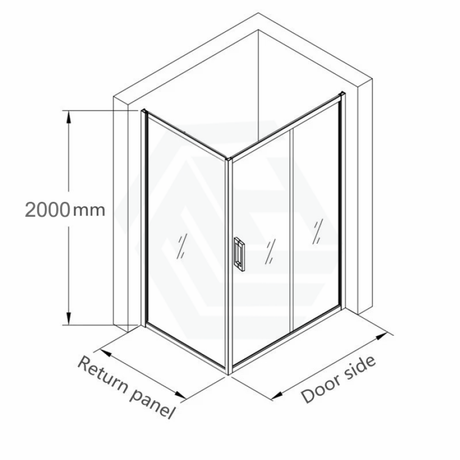
So let me explain the truth: You will never be aware of how dirty that glass has become until the first rays of the sun in the morning hit your glass and it just all looks like it has been to school to be a chemist. Water spots, some soap scum or perhaps a little black strip in your bottom seal, you are thinking, "I have to wash that." And that is absolutely all right, and it is really not that hard to learn how to clean shower glass, and you probably have the things you need in your kitchen drawer.
Why shower glass gets so grubby (and what those marks actually are)
What we call those white cloudy places are, in reality, a build-up of mineral deposits. Calcium and magnesium left the glass as the water evaporates. In Australia, water ranges from slightly hard to hard water. So you will get hard water deposits unless you do wash your glass on a regular basis.
Soap scum forms when the fatty acids that make up your soap react with minerals in the water to form that film that sticks to your glass and you just can not peel it. Soaps usually make more soap scum than body wash, so just switch to liquid and you will have to wash that glass less.
The last thing you will see on your glass are mould spots, which thrive in warm, moist areas of the bathroom. It can show up around the bottom of the glass or silicone and loves to hang out in the silicone seals around your bath or the bottom of your shower. They are easily taken off with household detergent or vinegar sprays, though do not scrub them with a brush, because you will then stir up spores and then that is really bad for your lungs.

The DIY cleaning solutions that actually work
If you are just dealing with light deposits of minerals then a 50/50 solution of vinegar and water in a spray bottle is really your best and easiest bet. Spray it on the glass, then leave it to soak for up to 15 to 30 minutes. Rinse the glass with a non-scratch pad, and squeegee dry. If those deposits are a bit heavier, mix up a paste of bicarb soda with a splash of vinegar and just treat it to the really dirty spots and allow it to sit for 20 minutes. Wash the glass off with a non-scratching pad, and then again in circular motions.
To remove soap scum you can just spray on the mixture with the addition of a couple of dashes of dishwashing detergent, and the mixture will help to break down the surface of the soap scum and the deposit it is attached to, the glass. There are also shower screen cleaning products on the market that do work, but check the label, as some are actually too harsh on nano-coated screens because the nano coating protects your shower screen and you don't want that gone.

How to tackle old silicone and stubborn mould
You will have to replace silicone every few years. Use a sharp utility knife and cut through the existing seal at the edges and just pull as much out as you can, and then use mineral turpentine or silicone remover to scrape away any of the residue left behind. Knowing how to remove silicone properly is something worth learning — let the seal dry completely before you start to put silicone back on. If mould will not scrub away, then you will have to cut out the entire silicone. Remove the old seal, clean with a bleach dilution (1 part bleach, 10 parts water, and be sure to ventilate). Important: never mix bleach with vinegar, ammonia or any acidic cleaner — the reaction releases toxic chlorine gas. Dry the area completely before resealing using a mould-resistant bathroom silicone. How to prevent mould in bathroom spaces long-term is really just about getting ventilation right — make sure to run your exhaust fan for 15 minutes after every shower.

Keeping your shower glass sparkling — the lazy person's maintenance plan
My main tip for how to clean shower glass less? Squeegee. Every. Single. Shower. Give it 30 seconds and you'll remove 90% of the water that would have dried by morning, turning into hard-to-remove chalky mineral deposits.
Next to the squeegee, apply a daily spray-on protectant at the end of your shower. It adds a thin film, and once a week you can do a two-minute wipe down using your mix and microfibre cloth. Once a month, use the bicarb soda paste on stubborn stains. That's pretty much your entire game, and that's the whole reason your shower glass stays clear and you don't end up with those weekend scrubbing sessions. If you have your cleaning supplies stored in bathroom cupboards freestanding next to your shower, it makes it easier to access what you'll need in case of a mess.

When to call in the professionals (and what they'll do differently)
If you are dealing with etching, where the minerals have slowly eaten into the glass over the years, no amount of vinegar or scrubbing is going to solve that. Professional glass restoration uses diamond polishing pads and cerium oxide compounds, which will cost you from $150 to $400, depending on the size of the screen and how severe the damage is.
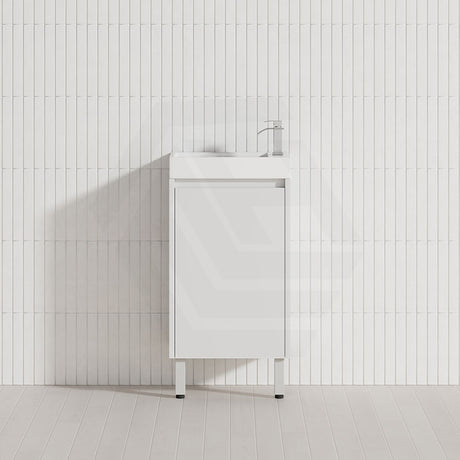
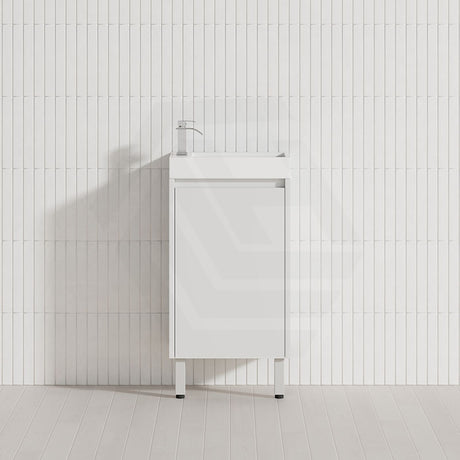
Mould that returns a few weeks after you've resealed may be caused by moisture trapped behind the tiles, something a tradesperson needs to assess. In most Australian states waterproofing is a licensed trade, so get a licensed waterproofer to look behind the wall — a silicone re-seal alone will not fix a failed membrane. A professional re-sealing service will take all the old silicone out, apply mould treatment and put on a better grade of sealant, something that will stick around longer than anything you can buy and do yourself. This will cost around $80 to $200 to re-seal the shower. When you are upgrading your bathroom, having quality bathroom sinks and vanities and a bathroom cabinet along with a good screen make things easier to keep up.