14 April, 2026
How to Fix a Dripping Tap: A Step-by-Step DIY Repair Guide
How to fix a dripping tap: easy DIY guide for washer, cartridge and ceramic disc taps. Step-by-step repair, tools needed and when to call a plumber to stop water waste.

Identifying the Problem: Types of Dripping Taps and Root Causes
A single dripping tap can waste up to 20,000 litres of water a year (yes, you read that right). I think that statistic alone makes it worth the 30 minutes to fix.
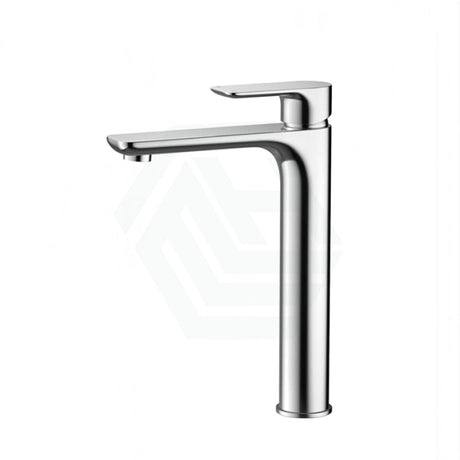
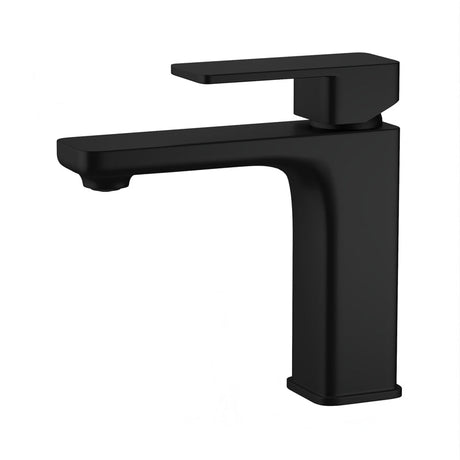
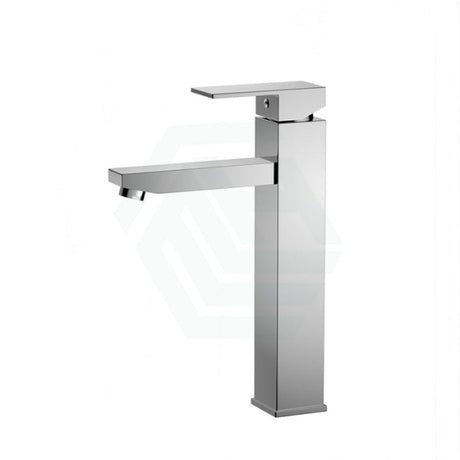
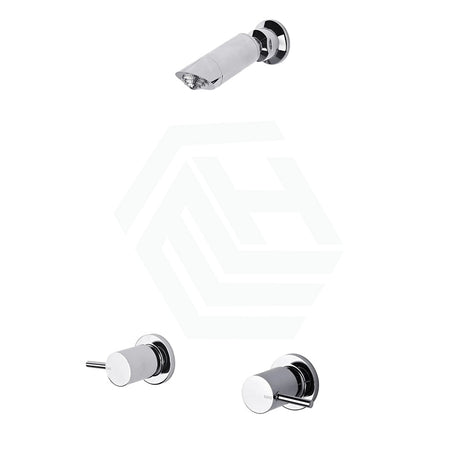
Before you start, you have to identify the type of tap you are dealing with. There are 3 types of tap usually found in our Australian bathrooms.
Washer taps are the older style dual handle taps where water flow is controlled by a rubber washer that sits at the bottom of the stem. Each time the tap handle is operated the rubber washer compresses against the valve seat. This means that if the rubber washer degrades through age and hardening, the valve will no longer seal tightly, resulting in a persistent, annoying drip, and this is why this is the most common type of tap to cause a dripping tap.
Cartridge taps feature a single lever that controls both hot and cold water from a single tap mechanism. There are rubber seals and springs inside the cartridge, which is the control mechanism, to make the tap work. When the seals in the cartridge wear away or break, then the water will be allowed to leak through the tap mechanism, resulting in a dripping tap.
Ceramic disc taps are similar looking taps to the cartridge taps where a couple of ceramic disc sliders are used to control water flow. These taps are more resistant to leaks, but they can be prone to leaks if there is mineral build up from hard water preventing the seals from closing tightly. A clean can often be all that's needed to clear it up.
There is one simple diagnostic test that I find really helpful to help you diagnose the problem: Turn the tap off completely and observe the spout. If it continues to drip with the tap off, then the problem is likely with the tap itself. If it stops leaking, the problem might be with the pressure, or the water supply. Knowing how to fix a dripping tap is half the battle!

Essential Tools and Parts You'll Need for DIY Tap Repair
One of the keys to DIY success is to sort out your replacement parts and all tools required before you even begin removing the tap!
You will need:
Adjustable Wrench ($15 to $30)
Screwdriver set (Phillips and flat) ($10 to $20)
Hex Key set to remove any grub screws under the handle cover ($5 to $15)
Plumber's Grease ($5)
A towel or small bucket to catch the residual water
For replacement parts, you will need a set of washer replacement parts for washer taps ($5 to $10). These can be bought in packs and should cover you for most sizes.
If you have cartridge or ceramic taps, you will require a cartridge replacement kit ($20 to $50) to fix the problem. You should also pick up an O-ring and seal kit (around $8 to $12) to keep handy. Since different tap manufacturers supply different cartridges, I suggest either taking a photo of your tap or taking out the old cartridge first so you can compare them at your nearby hardware store. It is important to also mention safety. You need work gloves and eye protection, because mineral deposits can often be spray out as you break the connection to the fittings, and there are more people who have been caught out by this than there are people who have heard of it. All up, you're looking at around $60 to $100 for a full toolkit, and the good news is that these tools will be good for every subsequent leak and dripping tap you have for years and years to come.

Step-by-Step Guide: Repairing a Cartridge-Style Tap
Cartridge taps are common in most Australian bathrooms and while they can seem intimidating at first, the repair process is simple once you get to know it.
Turn the water supply off. You usually have individual isolation valves under the vanity or under the basin; simply turn them clockwise to close them. If for some reason you do not have isolation valves available, or if the valve has been turned off by a previous homeowner, turn off the main water supply.
Open the tap to drain the water left in the line; place a towel under the drain to catch any drips that may occur.
Remove the tap handle. Look for a small cap or cover plate that may be hiding either a Phillips head or hex key screw underneath. Once you remove this, remove the screw and pull the tap handle gently off the stem.
Remove the retaining nut or collar holding the cartridge in place. This is where you will use your wrench to remove the adjustable nut by turning it anti-clockwise.
Now you can take out the cartridge. Often the manufacturer will send a little cartridge extractor tool when you buy the cartridge kit; some cartridges can be rather stubborn and difficult to shift out of place, and in this case a bit of penetrating oil and a 15-minute wait will do the trick!
Push your cartridge in the opposite way. Ensure that the alignment marks align with the original cartridge, or your cold and hot taps will be reversed!
Push the retaining nut, collar and handle and cover plate back into place, tightening by hand first and then with the wrench (again, do not over tighten!).
Turn the water supply back on and test the water. After running it for a minute or two, turn the tap off, and look at the base of the tap and the tap spout to see if it is still dripping.
The entire process is around 15 to 30 minutes; a new cartridge is around $20 to $50 whereas a plumber call out is $100 to $150. Sometimes it may be a good idea to simply replace the whole unit rather than trying to just replace the tap head if you were to have the funds, but if you're simply replacing a dripping tap then the cartridge method is the way to go!

Washer and Seal Replacement: The Most Common DIY Fix
This is the repair I've done the most, both as a pro and at my own place. A bad washer causes most dripping taps across Australia, especially in older homes with standard two-handle taps.
Isolate the water supply, then open the tap to release any water left in the line. This should be your first move!
Remove the tap handle. Usually a phillips screw is tucked under a little logo or logo-cap. Pried the cap off gently with a small flat blade screwdriver and unscrew the screw.
Unscrew the packing nut using an adjustable wrench (big nut at the top of the stem, holding the stem inside). Turn this anti-clockwise. If the tap is very stiff, and often they are in old fittings, coat it with some penetrating oil and give it 30 minutes. Do not try to use excessive force here.
Pull the stem out. There is the old washer at the bottom, which is secured to the stem by a tiny brass screw.
Remove the old washer, place the new one of the same size in its place and make sure it is level and the screw is tight.
While the stem is removed, check the seat in the body of the tap. If the seat is rough, corroded, pitted, even a brand new washer will not seal the tap properly. You can attempt to smooth it up with some fine steel wool or, you can change the seat with a seat wrench (though this is probably the realm of a skilled DIYer).
Lather the threads of the stem with some plumbers grease and fit them back, working in reverse.
Open your supply again and re-test the tap.
A washer costs about $5. I think that puts it among the best value-replacement you can do around your place. The probability of the washers-only fix working is about 95 per cent, but this number drops to around 70 per cent when the tap has been heavily corroded, and in those cases it probably is best to call a plumber. Learning how to fix a dripping tap at the washer level saves you the $80-120 you would otherwise be paying to call a plumber to make the same fix.
If you are finding you are doing this more than twice a year on a particular tap it is more likely that you are now due for a bath tapwares or how to replace bath taps consideration rather than a washer fix. Alternatively, a shower hose replacement may be overdue.

When to Call a Plumber: Complex Problems and Water Safety
I'm a believer in DIY as far as it makes sense, but I also have learned (from experience) when it is appropriate to call a pro. Getting this call right can save you thousands.
Call a plumber if a tap fails to close up at all! This might be a signal that your isolation (or shut off) valve isn't working. You could find your home or apartment in a pool of water, especially if it is around a spa bath (or any situation with a large amount of water flow). Reach out to a plumber if you can spot any corrosion visible on the tap body or any internal tap components. If the part or components corrode over time, then it may break and cause a broken part when you try to remove the part, leaving a broken piece inside the fitting. I have seen this happen before; a $50 repair becomes a $500 one after the user attempts to use their pliers to force the corroded stem out of the tap fitting.
Call a plumber if the water pressure feels uneven or if it takes a while to get the tap water warm. The problem may lie further back in the supply line rather than the tap itself.
Contact a professional plumber if the cartridge refuses to budge, no matter how much penetrating oil you apply or how long you wait. Attempting to force it out could lead to cracking the tap, requiring full replacement. The same rule applies to any freestanding bathroom tubs or one that has tapware integrated into the fitting. Water hammer, the loud bang when turning off a tap quickly, is also a sign to seek advice from your plumber. This can indicate issues with air in your system or a pressure regulator that may need attention.
Plumber's call-out rates usually start from $100 to $200 in most Australian states, with the first hour of labour included. It's easy to think that you could have easily replaced the tap yourself. However, you must remember that a poorly installed replacement can result in $500-$2000 worth of water damage and mould under a bathroom vanity cabinet before it is even detected. Knowing when to ask for assistance is not a sign of incompetence; it is the best renovation advice you can ever give yourself. How to clean shower screen stains and removing other bathroom fixtures are one thing. Anything related to the structural plumbing work of your bathroom requires expert intervention from a licensed plumber. Replacing bathroom taps is another question commonly asked in the comments. If your tap needs replacing, a licensed plumber must carry out the work, which is required in many states under Australian plumbing regulations. The best microcement bathroom or any other modern bathroom concept will never hide plumbing work gone wrong.