11 March, 2026
Shower Screen Installation Tips
Frameless shower screen installation tips — Check wall/floor levels, secure brackets properly, position glass carefully, and seal correctly to prevent leaks. Achieve a modern, professional bathroom look with these essential steps.

Finding (And Installing) the Perfect Shower Screen
A shower screen can make or break a bathroom. It’s one of the most important elements of a bathroom renovation and the right solution can tie a room together, or, the wrong decision, can ruin the entire aesthetic. In any bathroom renovation, there’s usually going to be a vast redesign of the space and a change of pace (that’s the reason for renovating…). Picking the right shower screen, whether that be frameless shower screen or more traditional choice, can either continue the rework or completely stop it in its tracks. And once the right style has been selected, installing it properly for long-term usage helps keep it clean, tidy and mould-free. Whether about to start a full renovation or upgrading an older enclosure, understanding the basics of shower screen installation is critical to ensure a professional-looking result.
Picking the Right Option for Your Space
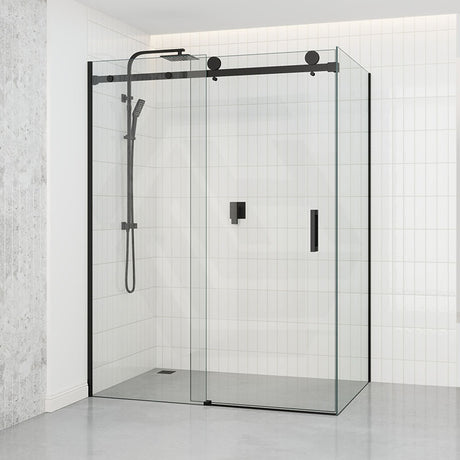
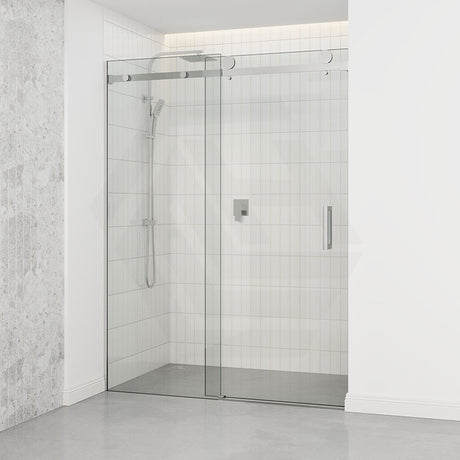
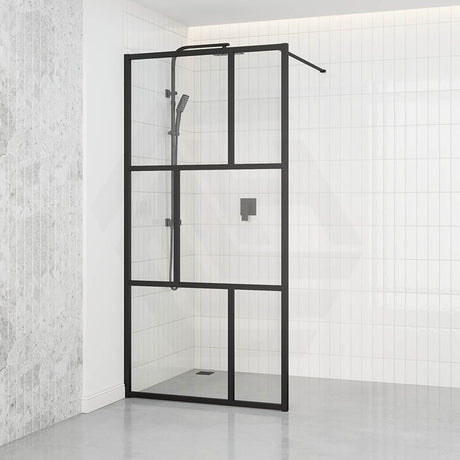
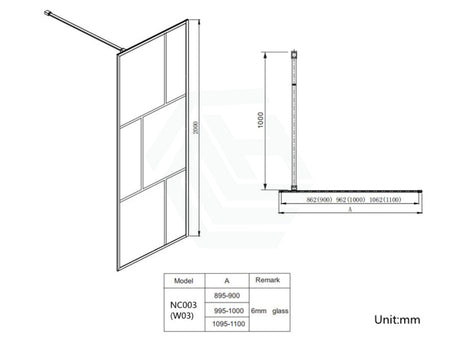
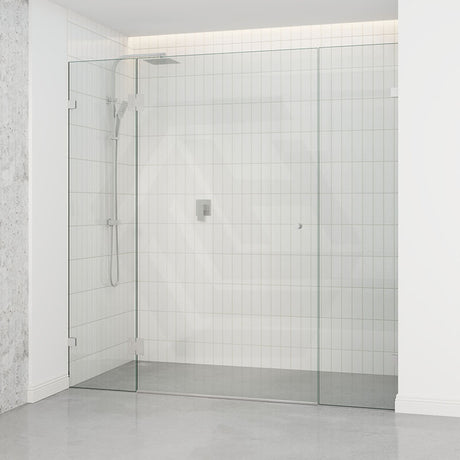
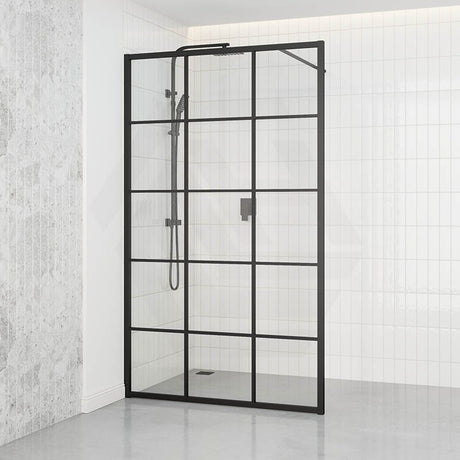
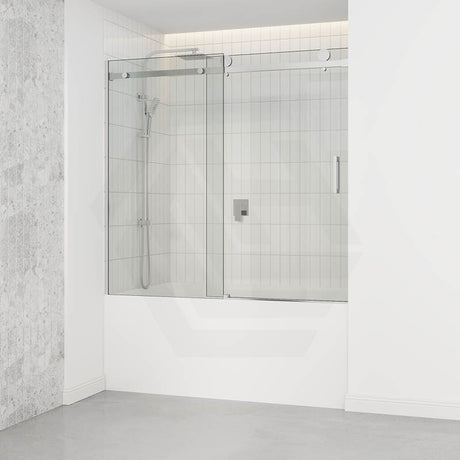
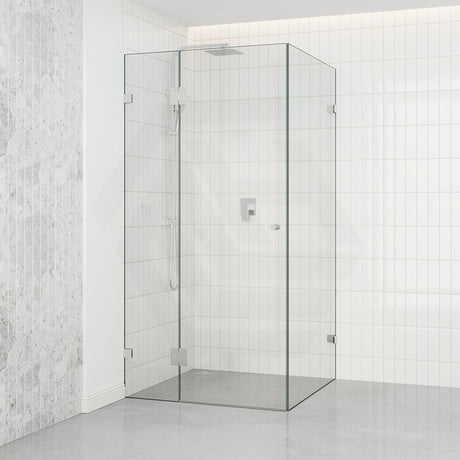
Before installation begins, it is important to select a screen that suits the layout of the bathroom. Shower screens are available in a variety of configurations, including pivot doors, sliding doors, fixed panels and walk-in designs. For contemporary bathrooms, a frameless shower screen is one of the most popular choices. It gives off a modern aesthetic and with the right planning, can make a bathroom feel more open and spacious. That’s not to say that traditional shower screens are “bad”, per se, but they’re best suited to older installations. Regardless of the screen type, homeowners need to measure the area carefully before picking which option to go with, including the wall-to-wall distances, door clearance and the position of taps or shower fittings.

Are the Walls and Floors Level?
One of the most overlooked steps before installation is ensuring that the walls and floors are level. It’s often skipped because, it can seem rather trivial to the untrained eye. Unfortunately, even the smallest irregularities in the wall or floor can affect how the screen aligns. Use a spirit level to assess the vertical alignment of the walls and the slope of the shower base. If the wall happens to be uneven, there are adjustable wall channels or packing shims that can compensate for this.
Installing Wall Channels or Mounting Brackets
Most shower screens rely on wall channels or mounting brackets for stability as these anchor the glass panel to the wall and must be installed securely. Homeowners need to mark the fixing points carefully before drilling into the tiles. It’s recommended that people double and triple-check these spots before drilling any holes because it’ll be near-impossible to reverse. Using a tile drill bit here is recommended as it will help prevent cracking. Once the holes are drilled, insert wall plugs and fasten the channel or bracket firmly with screws. Without sounding like a broken record, there are a lot of steps that need this, but taking time during this step is critical, as the entire structure of the shower screen depends on these fixtures being strong and properly positioned.
Position, Position, Position
The age-old real estate tip: Location, location, location gets a bit of a run here with positioning. After the channels or brackets are installed, the glass panels can then be positioned. Because shower screen glass is often extremely heavy and likely made from toughened safety glass, it is best to have a second person (at minimum) assist during this stage. Apologies to all the solo renovators out there. Carefully slide the panel into the wall channel or align it with the mounting brackets. Ensure the panel sits evenly and remains perfectly vertical before tightening any fittings. For frameless installations, discreet clamps or brackets are typically used to secure the glass to keep the minimalist aesthetic.

Seal the Screen Properly
With almost every element of a bathroom renovation, it’s followed by extensive sealing. This sealing is a crucial step that prevents water leakage and protects surrounding areas of the bathroom. A high-quality silicone sealant should be applied along the outside edges of the screen where it meets the wall and base of the shower. It’s important to avoid sealing the inside edge of the screen, as this can trap water - a nightmare scenario for homeowners. Alternatively, leaving the interior edge unsealed allows any moisture that collects inside the channel to drain back into the shower area. Follow the silicone’s instructions for use but most require 24 hours without any water or disruption to fully seal.
Looking Forward
The job isn’t finished after installation. So often, homeowners are looking for ways to keep that “new”, clean look in their shower screen. Unfortunately, that’s a maintenance task and nothing can be done during the installation to guarantee a long-term crystal finish. Since shower screens spend most of their time wet water build-up, grime and soap scum are inevitable. The only way to keep the crystal-clear glass look and with regular cleaning and drying after use. It’s recommended that people keep a squeegee in their shower to wipe large water droplets off the shower after each use. Additionally, spraying and cleaning the screen with a glass cleaner from time to time helps.