01 June, 2026
Best Way to Clean Toilet: Our Top Picks for 2026
Find the best way to clean toilet for your pan type. Our Australian guide covers rim, rimless and smart toilets for a hygienic result.

Video Credit: Clean My Space
Understanding the Best Way to Clean Toilet
It's easy to overlook the nuances of toilet cleaning, especially when you assume all bowls are pretty much identical. However, the type of pan you own — whether it's a standard rim, rimless, or a smart toilet — dictates the best way to clean toilet in order to keep it truly hygienic. The shape of the ceramic, the type of glaze, and where the cistern is situated determine which cleaning methods you should use, and which could do more harm than good.
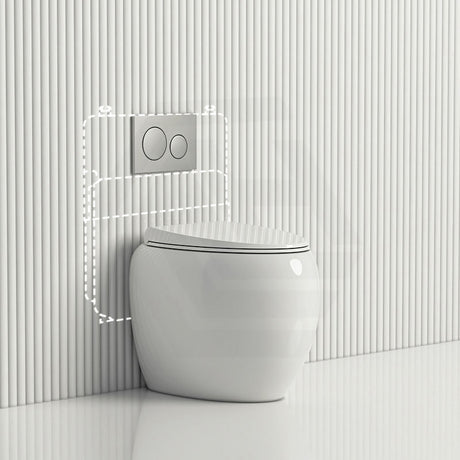
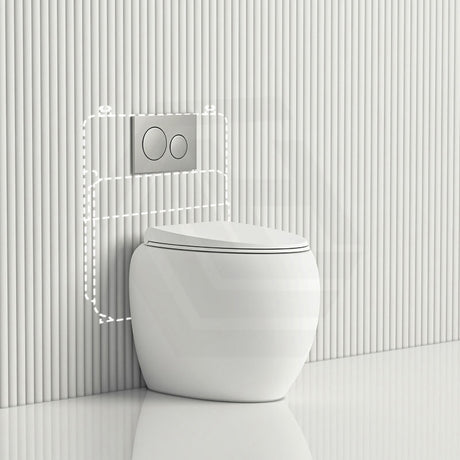
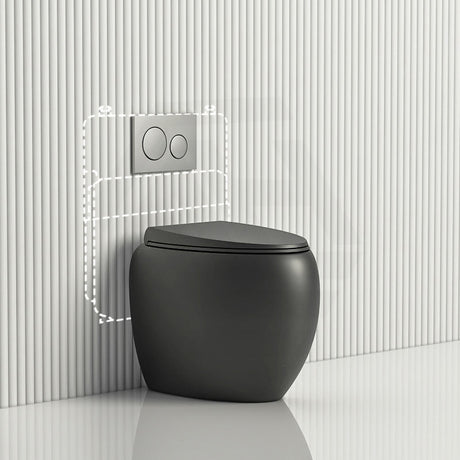
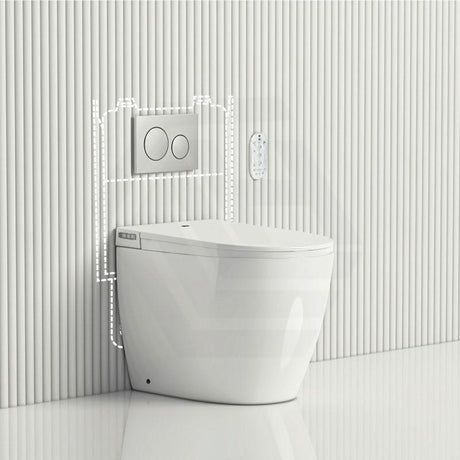
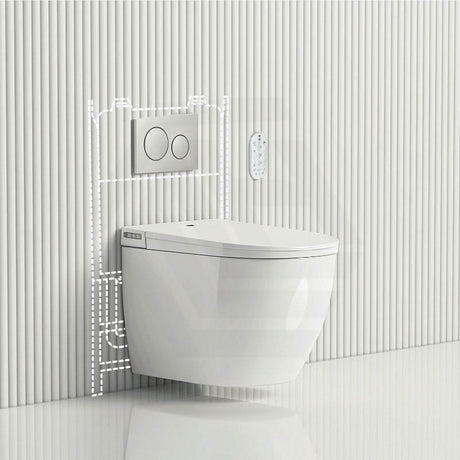
A rim toilet features a channel under the rim where the water flows — an unseen area where bacteria and scale build up. You can't see it or reach it easily, and so can't clean it properly. A rimless toilet doesn't have that channel, so the method will change. The benefit of a wall-hung toilet is the opportunity to clean underneath the pan, making the surrounding floor easier to maintain too. A skirted, close-coupled toilet has a number of external surfaces and crevices around the bowl to clean as well. For smart toilets, which start at $1,619 and often come equipped with a self-cleaning wand function, the cleaning method will be very specific, often requiring pH-neutral cleaners — follow the manufacturer's instructions.
The glaze on vitreous china is your toilet's greatest ally in the battle against stains. Using an abrasive scouring tool could scratch the glaze, creating a microscopically rough surface that clings to every deposit that follows. This means you need to consider how you clean your toilet from the very first clean.

Products You'll Need When Cleaning a Toilet
So you know your pan type and the common areas for build-up — the next step is gathering the products you'll need and choosing the right cleaning agent for each zone.
A silicone toilet brush with a flexible head will clean the under-rim area on a rimmed pan much better than any traditional rigid-bristled brush. You'll need rubber gloves, a spray bottle, bathroom-only microfibre cloths, and, if necessary, a pumice stone for stubborn limescale on unglazed surfaces.
White vinegar and citric acid are the go-to solutions for mineral and limescale deposits — citric acid is particularly effective and costs just a few dollars per packet at the supermarket. Bicarbonate of soda is also a gentle, deodorising option that won't scratch the glaze. Gel-based cleaners with bleach are ideal for disinfecting and general bowl cleaning, but never combine them with acidic solutions — mixing bleach with vinegar or citric acid produces chlorine gas, which is seriously harmful. Enzymatic cleaners are great for organic staining and safe on coloured ceramics and chrome fittings. If your toilet has a hydrophobic coating such as the Nano-Glaze found on Fienza toilets, use only pH-neutral products, as stronger acids can degrade the surface treatment and undermine exactly what makes those toilets so low-maintenance.

Step-by-Step: The Best Way to Clean Toilet Thoroughly
With your toolkit ready, a structured cleaning sequence puts each product to work in the right order, maximising dwell time and preventing cross-contamination between zones.
Start at the top and work your way down. Apply your bowl cleaner — gel or liquid — under the rim on rimmed pans, or around the bowl interior, and leave it to dwell for at least five to ten minutes. While that sits, wipe down the toilet cistern exterior, the push button, and the top and underside of the lid using a damp microfibre cloth. Move to the toilet seat — top surface, underside, and hinge recesses — with a separate cloth. Then wipe down the outside of the pan, including the base and any skirting. Only after all exterior surfaces are clean do you return to scrub the bowl interior, working the brush in firm circular strokes and reaching under the waterline where mineral deposits form.
Use a different cloth for each zone. It sounds like the most basic hygiene rule, but it's one that's commonly overlooked.

Addressing Limescale Rings, Stubborn Stains, and Under-Rim Grime
A routine clean handles everyday dirt, but persistent mineral deposits, rust staining, and under-rim grime require more targeted methods.
To treat limescale rings, dissolve two to three tablespoons of citric acid in warm water — not boiling, as extreme heat can damage plastic seat components — apply it to the affected area, and leave it for thirty minutes before scrubbing. A pumice stone can remove stubborn mineral deposits, but use it only on the unglazed ceramic inside the bowl, never on the exterior glaze.
For rust-coloured stains caused by old pipes, apply bicarbonate of soda to the bowl and leave it overnight, then scrub in the morning.
The toilet seat deserves far more attention than it typically receives. The hinge recesses — where the seat is fixed to the pan — are among the dirtiest spots on the entire fixture. Where hinges are removable (as on most soft-close seats), detach the seat and clean the recesses thoroughly with a brush and enzymatic cleaner. The underside of the toilet seat and the area around the hinge fixings should be cleaned every time you do a thorough clean.
If under-rim build-up remains difficult to shift even after scrubbing with gel, a rimless commode is worth considering for your next upgrade. Brands such as Poseidon and Fienza both offer rimless options — and Fienza's rimless commode range includes their Nano-Glaze hydrophobic coating, which is designed to repel staining. Note that a rimless commode eliminates the under-rim channel but does not prevent limescale forming in the bowl interior, so descaling remains necessary.

How Frequently to Clean a Toilet and the Mistakes to Avoid
Staying on top of regular maintenance makes a significant difference — it's far easier to tackle staining early than to remove heavy build-up later.
A quick wipe-down of the toilet seat and exterior every two to three days takes just two minutes and prevents the kind of build-up that requires serious effort to shift. A weekly scrub of the bowl interior with toilet gel keeps staining at bay. Monthly, give the toilet seat hinges and the toilet cistern exterior — including around the push-button and in any crevices a thorough wipe with a microfibre cloth and cleaning spray. Any internal cistern valve inspection or repair requires a licensed plumber and is not part of a routine homeowner maintenance schedule.
The most common mistakes include using steel wool or scouring pads inside the pan (which scratches the glaze and makes future cleaning harder), mixing bleach with acidic cleaners, and neglecting the toilet cistern exterior and flush button, which collect dust, moisture, and fingerprints.
The best way to clean toilet, if you want a consistent result, comes down to frequency and sequence rather than which products you use. And if you're planning a reno and want cleaning to be as easy as possible, a rimless commode in a hydrophobic glaze is hard to beat.