09 June, 2026
Best Way to Clean Bath: Our Top Picks for 2026
Discover the best way to clean bath surfaces without damage. Our 2026 Australian guide covers acrylic, stone and more.

Video Credit: Clean Crisp Air
There is really nothing better than taking a long, luxurious soak in a spotless, gleaming tub. During the years I've spent diving into, renovating, and writing about bathroom designs, I've come to realise that one of the most prevalent and expensive blunders people (and myself in the early days of our bath renovation) make is to use the wrong cleaning techniques. You can use the wrong cleansers or apply a general cleaning approach to the incorrect type of bathtub and it will either leave you with surfaces that look subpar, cause scratches that you can visibly see on an acrylic bath, or permanently damage the finish on a stone bath. So, before you pick up your arsenal of cleaning products, it's important that you know what material you are working with.
Why Choosing the Right Cleaning Method Matters for Your Bath
It is also worth thinking about the cost: if you have put a lot of your savings towards your bathtub, and if you are purchasing a freestanding type, this may range anywhere between $878 and $7,000. A lot of money to then spend years aggressively brushing with an abrasive scouring pad that will leave behind tiny micro-scratches. Which not only damage the finish of your bathtub, but over time will make them look more aged and rougher to touch and actually collect soap scum more than ever. Therefore, making you have to clean your bathtub even more.
Most bathtubs will also have a sealant applied along their edges that prevents water from getting underneath. According to AS 3740:2021, the Australian Standard for waterproofing in residential wet areas, there are strict requirements for the installation of waterproof membranes and seals in order to stop water damage from occurring in new homes. Which means that you do not want to damage that sealant by using abrasive cleaners or harsh chemicals when scrubbing. If the sealant does deteriorate, reapplying it is entirely DIY-permitted — just ensure the area is completely dry before you begin.

Cleaning by Bath Material: Acrylic, Enamel, and Stone
At the moment, the most commonly stocked bath options on the market here in Australia are acrylic baths. Some of the major brands you will come across locally include Broadway, Poseidon, and CETO, to name a few. These types of baths consist of an acrylic exterior with fibreglass backing, making them more sturdy. Acrylic baths are a comfortable option, having a non-porous surface, although they can be easily scratched. Therefore, when choosing which cleanser to use for acrylic baths, you want to avoid any cleansers with an abrasive formula. No steel wool or scouring pads allowed, and do not use harsh chemicals or bleach. These will, over time, degrade and accelerate the yellowing of the bath material.
Enamel-on-steel baths (also known as porcelain-enamel steel) are often tougher against scratching compared to acrylic but can still chip or break if something heavy is placed inside. With enamel baths, make sure you do not use any products with an acid-based formula like white vinegar regularly, as this can dull and damage the enamel finish over time.
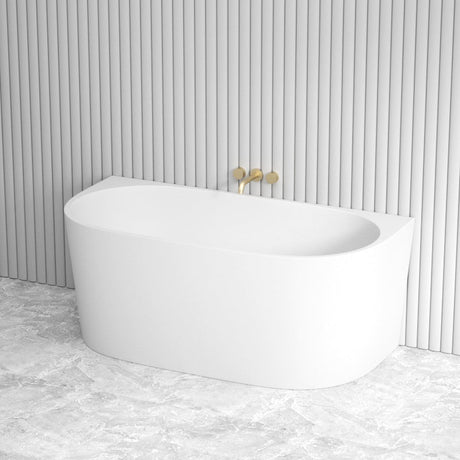
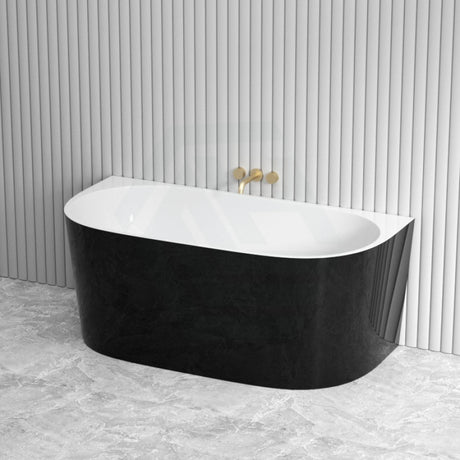
With stone or solid-surface bathtubs, it is even more important that you use a product that is safe on these materials. Bleach or vinegar, which are acidic, will result in staining or etching. Stick to pH-neutral detergents and make sure the surface is periodically resealed, if applicable. Under NCC 2025 (ABCB Housing Provisions, Part 10.2), any wall directly behind a bath must be waterproofed to at least 150mm above the top of the bath vessel. If you notice anything that looks off about your waterproofing at any of these inspections, engage a licensed waterproofer. A back to wall bath in particular warrants close attention at those wall junctions, since the installation format places the bath perimeter directly against tiled surfaces where waterproofing failures are harder to detect early.

Essential Tools and Products for an Effective Bath Clean
• Soft microfibre cloths — suitable for cleaning acrylic baths
• Non-scratch sponge
• Soft brush for the edges of the grout and sealant
• Small squeegee
Along with the tools, you should also have a bathroom cleaning spray (preferably pH-balanced), and a paste of bicarbonate of soda and a small amount of water to make it spreadable. Diluted white vinegar is useful too, although not on stone baths — it works on acrylic and enamel. To avoid having your bathtub cleaning kit stored under the vanity and out of reach at bath time, you can buy a bath caddy ($29–$139).

Step-by-Step: The Best Way to Clean a Bath Thoroughly
The following is the best way to clean bath surfaces properly, in a sequence that actually works.
Wet the entire surface with warm water — never hot, especially on acrylic, where it can cause thermal shock to the surface and poses a scalding risk to you.
Spray your cleaner on and let it sit for three to five minutes, then wipe.
Start on the top edge of the bath using a non-scratch sponge and circular motions, moving toward the waste. On acrylic, press very lightly — you do not need to scrub.
Pay attention to the bathtub plug and waste fitting and, if possible, remove the waste cover, as it is another place where soap and hair can accumulate.
Rinse the whole surface and dry with a clean microfibre cloth; otherwise, soap residue can reform into soap scum and limescale.
Note that P3 is the minimum slip resistance rating recommended for wet bathroom floors under NCC 2025 (ABCB Housing Provisions, Part 10.2) — worth keeping in mind if your clean reveals worn floor surfaces.

Maintaining Your Bath Long-Term and Avoiding Common Mistakes
To keep a bath surface clean on a long-term basis, make cleaning it a weekly habit. After you're finished in the bath, do a quick wipe-down of the whole surface with a dry or damp microfibre cloth — a 30-second job — to keep soap and limescale in check so your deep clean doesn't turn into a bigger one.
Check the sealant, the grout lines, and the waste every four to six weeks. A back to wall bath needs special attention around the grout lines, where you can use a soft brush and a paste of bicarbonate of soda.
Do not clean an acrylic bath with bleach; do not forget the waste; and do not wait until the sealant is already cracked and mouldy before addressing it. You can re-seal a bath yourself — you just have to remove all the old sealant and ensure the area is bone dry before you start on the new. If your deep clean reveals that your waterproofing is failing, engage a licensed waterproofer.
The bathroom needs to be well ventilated. NCC 2025 (ABCB Housing Provisions, Part 10.8) states a minimum extraction rate of 25 litres per second, and if your fan is underperforming, this will be a significant contributor to the build-up of mould on your sealant and grout lines. Sealant will generally need reapplying every three to five years, so note this in your maintenance calendar. Following the best way to clean bath surfaces consistently, combined with proper ventilation and timely resealing, is what keeps a bathtub looking its best for the long term.
References
AS 3740:2021 Waterproofing of Domestic Wet Areas, Standards Australia
National Construction Code 2025, ABCB Housing Provisions, Part 10.2 Wet area waterproofing
AS 4586:2013 Slip resistance classification of new pedestrian surface materials (incorporating Amendment No. 1:2017), Standards Australia
National Construction Code 2025, ABCB Housing Provisions, Part 10.8 Condensation management