22 June, 2026
How to Get Rid of Mould in Shower: An Aussie Homeowner's Reference
Learn how to get rid of mould in shower areas with expert steps for grout, silicone seals, screens, and lasting prevention!

Mould never announces itself. First you spot a few grey specks on the grout and think nothing of it. Then there's a dark smudge on the silicone — a day or two on. Next thing you know, the shower screen framing has gone black and the whole recess looks grubby no matter how often you rinse it down. Truth is, mould's everywhere. Every shower I've come across has had at least a bit of mould somewhere — yet a decent strategy will keep that build-up right down.
Video Credit: Cleaning How To
Why Australian Bathrooms Are Such a Magnet for Shower Mould
Here in Australia, the climate's rarely on your side. Coastal and temperate-adjacent areas already sit at high humidity, and a hot shower dumps even more water vapour into the room — doubly bad when ventilation is poor.
The spores you'll most often find in a home bathroom are Cladosporium and Aspergillus niger. Give either spore type moisture, warmth and a surface to land on, and they're happy. Sound familiar? That's your average Aussie bathroom.
Older homes tend to cop it worse — exhaust ventilation often wasn't even part of the original build. Under the National Construction Code, bathroom exhaust units must hit a minimum flow rate of 25 L/s (NCC 2025, ABCB Housing Provisions, Part 10.8) — yet older properties routinely fall well short of that mark.
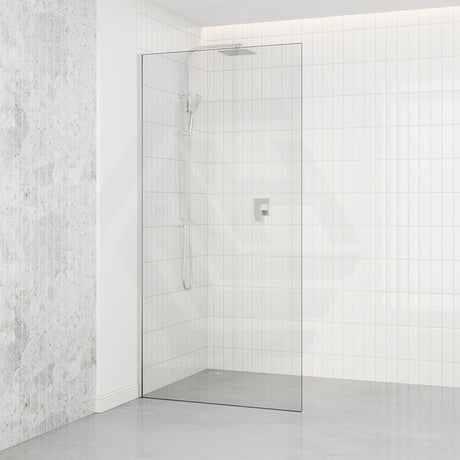
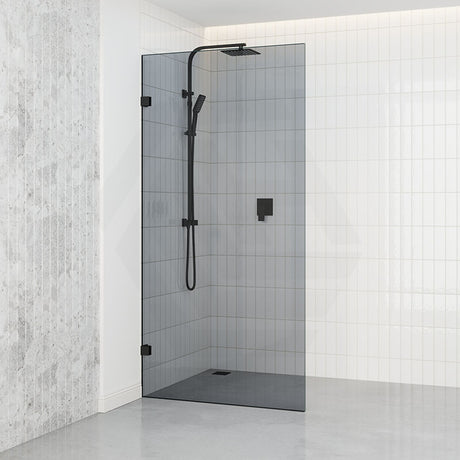
Check the grout, the silicone bead where wall meets floor, and the shower screen framing — those are the usual suspects. Each one holds onto moisture. Grout soaks up water by its very nature. Over time, silicone breaks down and can lift away from the surface, leaving tiny pockets where water sits. Aluminium channel framing in particular gathers soap scum and holds water in spots a frameless screen simply doesn't.

Tools and Safety Gear to Have Ready Before You Begin
Crack a window and get some airflow through the room first. Disturbing mould sends spores into the air, so you really do need that ventilation sorted. Grab the following before you start:
• rubber gloves
• P2 respirator mask (pick one up for $8–$15 at your local hardware store)
• a stiff-bristle grout brush
• a small detail brush for tight corners
• spray bottle
• microfibre cloths
• white vinegar
• bicarbonate of soda
• bleach-based bathroom mould spray
Most of these are likely to be $10–$15 each or less and you will probably have some already.
One important note: don't mix bleach-based sprays with vinegar or ammonia-based sprays. The chemicals react to produce chlorine gas. You can use one or the other, not both.
Bear in mind too that while bleach-based sprays are generally okay to use on ceramic or porcelain tiles, repeated applications might damage silicone sealant. Don't use these sprays directly on the silicone; use straight up vinegar or a bicarbonate paste there instead.

Step-by-Step: How to Get Rid of Mould in Shower
Follow these steps:
1. Ventilate. Windows open, exhaust fan on — then you're ready to go. 2. Put the cleaner on. For ceramic tiles and grout, a bleach-based mould spray is your best bet. For silicone beads, decant full-strength white vinegar into a spray bottle and coat the area. 3. Dwell time. A mould spray typically needs 5–10 minutes to do its job, whereas vinegar requires a full 10–15 minutes before it'll break down those colonies. Let it sit. Don't cut it short. 4. Work over the grout with a stiff-bristle brush using firm, short strokes. Natural stone calls for a softer brush — hard scrubbing will scratch the surface. 5. Give everything a solid rinse with warm water, then wipe it all down with a microfibre cloth.
If the mould problem was severe, re-apply the product and allow the surface to dry before doing a second wipe down. If mould returns in a few days or you see dark staining coming from behind the tile, your waterproofing membrane has failed and you'll need to call in a licensed waterproofer to fix it. This type of mould is beyond the scope of surface cleaning.

Targeting Stubborn Mould on Grout, Screens and Seals
Grout is particularly stubborn. Bicarbonate of soda paste is ideal for it: apply and leave for 15 minutes, then scrub thoroughly and rinse. An oxygenated bleach pen also helps, especially when the grout is heavily stained; you can target it precisely, keeping it away from the surrounding tiles. After cleaning, seal the grout with a penetrating sealer (available at hardware stores for $15–$25). This is an easy DIY job, and you shouldn't skip it — unsealed grout will be soaked with moisture and reinfected with mould after just a few weeks.
If the silicone has turned black and scrubbing won't remove the mould, the fungal infection has penetrated the silicone. The entire section needs to be cut out and replaced; this is a DIY job but will require 24 hours of drying time between removal and reapplication and will cost $15–$40 in materials. If a waterproofing failure is present at the wall-floor junction, however, the repair must be carried out by a licensed waterproofer.
Don't scrub shower screen glass with a scourer, as this will scratch and create more area for mould to grow. Instead, use white vinegar and a microfibre cloth. If you have a bath shower, pay special attention to the channel at the bottom of the screen, where it abuts the bath; soap and stagnant water can collect here, as can mould. If you have over bath shower screens, carefully inspect the frame and seals too. Water will pool in the channels and encourage mould growth.

Preventing Mould From Coming Back for Good
Clearing mould out of your shower is one thing — keeping it from coming back is the real challenge. Run your exhaust fan for at least 15–20 minutes after you've finished showering — not just while you're in there. The National Construction Code sets the floor at 25 L/s — your bathroom may well need a higher rate than that. Get a licensed electrician to look at your fans; a room sized 2 m × 2 m × 2.4 m needs at least 100 m³/h, which works out to 10 air changes per hour. A mirror still fogged up five minutes after you've stepped out is a dead giveaway your fan can't cope.
After each shower, run a squeegee across the screens — it takes 20 seconds flat and strips away the standing water mould relies on. Once a year, hit the grout with a penetrating sealer (a job that'll take under an hour) and have a look at the silicone beads for any cracking or peeling. Sort those defects early — a full bead replacement costs around $20 a tube, and that adds up. Don't forget to check the bathtub plug and the drain surround too — any water that sits in the basin long enough will turn into a mould problem.
Down the track, a frameless or semi-frameless enclosure is worth considering as a replacement. Fewer aluminium channels means far less surface area for mould to take hold. Brands like Covey make nano-coated screens built to shed water and soap residue, cutting off the very conditions mould depends on. A clear plan for tackling shower mould — and sticking to it — is your best shot at a clean bathroom all year.
References
National Construction Code 2025, ABCB Housing Provisions, Part 10.8 Condensation management
State and territory plumbing licensing authorities (Building and Plumbing Commission Victoria; Building Commission NSW / NSW Fair Trading; Queensland Building and Construction Commission; Plumbers Licensing Board Western Australia (administered by Building and Energy); Consumer, Building and Occupational Services Tasmania; Access Canberra ACT; Office of the Technical Regulator / Consumer and Business Services South Australia; Plumbers and Drainers Licensing Board Northern Territory)
AS 3740:2021 Waterproofing of Domestic Wet Areas, Standards Australia