26 June, 2026
How to Fix a Leaking Shower: What Aussie Homeowners Should Know
Find out how to fix a leaking shower before water damage takes hold — expert guidance for Australian homeowners is right here!

A leaking shower is the kind of issue that doesn't always scream for attention immediately, yet it has a nasty way of turning into a costly mess. I've fixed enough leaking showers to know that they often boil down to a few common root causes. Missed signs early on and the water can end up in wall cavities and rot subfloor timbers; at that point you're looking at gutting and remodelling the whole bathroom instead of a $20 fix.
The silver lining? Most of these leaking showers are pretty easy to repair yourself as long as you're fast, and know what you are looking at.
Video Credit: Frugal DIY
Why Showers Leak: Common Causes Every Aussie Homeowner Should Know
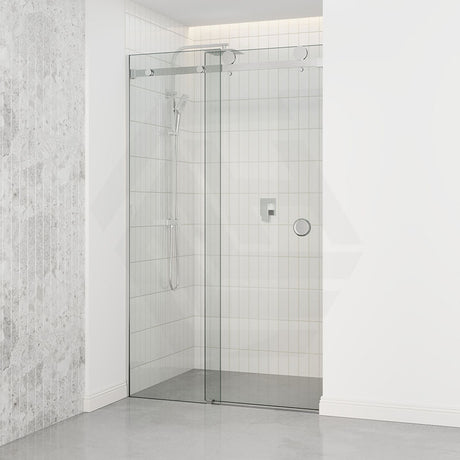
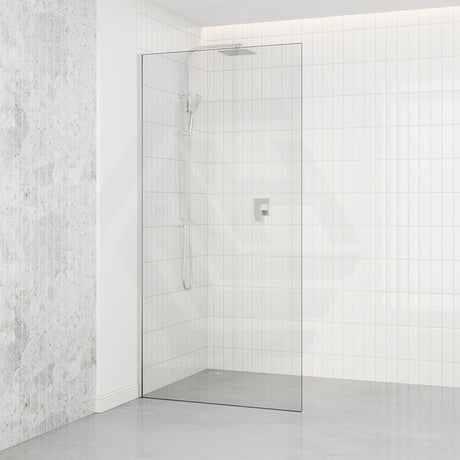
The most likely cause of a leaking shower is failed silicone sealant and you will know this straight away if you are observant. Take a look where your shower screen meets the wall, and where the floor tiles meet the shower wall tiles. Eventually if this sealant fails it will start to crumble, shrink or crack, separating from the tiles and allowing water to get through into the walls.
The next most likely reason for a leaking shower is grout. Grout is the filler used between tiles. It isn't waterproof and over time it can crumble, crack, or erode to the point where water actually gets through the tile layer. Hard water is prevalent in some parts of Australia, which makes shower grout deteriorate faster than you might expect because of the mineral salts in the water that break down grout that much faster.
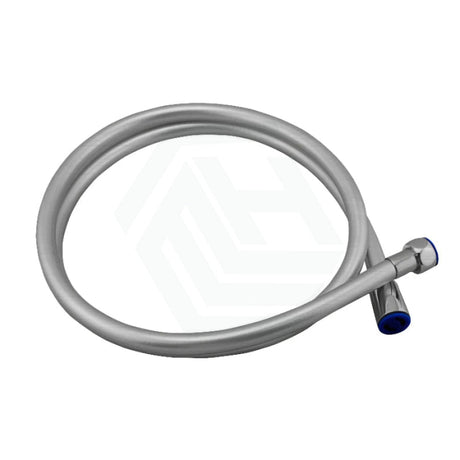
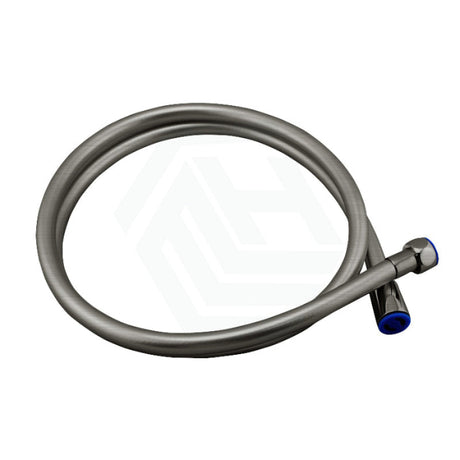
Failed tap washers could also be the issue. As your tap goes bad it starts dripping, causing what appears to be an excess accumulation of water at the bottom of your shower which seems to be a leak but really is coming from the tap. One worn washer could be causing you to waste hundreds of litres of water every week. Your shower base could also be where water is leaking from; fibreglass bases are known to develop hairline cracks from years of flexing.
Outdoor and semi-exposed showers are at a higher risk of leaking, for the obvious reason that direct sunlight causes silicone sealant to degrade at a much faster rate than when sheltered in a covered internal bathroom. Routine replacement of shower silicone sealant every three to five years is a smart preventive measure regardless of visible damage.

Tools and Materials You'll Need Before You Start
Now that you have a better understanding of where your leaking shower might be leaking from, you need to prepare yourself with the right materials and tools first to save you wasting valuable time mid-repair having to go to the shops.
The majority of silicone sealant and grout jobs will only need the following tools:
• A grout saw or oscillating multi-tool with a grout blade ($30–$80) at a major hardware chain
• A caulking gun — any trigger gun type will do ($10–$20)
• A putty knife or scraper to remove old sealant
• A torch so you can make sure you've gone all the way around the edge
• Neutral-cure silicone sealant for wet areas ($12–$20 per tube)
• Matching tile grout for your tiles
• Thread tape and replacement tap washers if the mixer is dripping
Only use neutral-cure silicone in a shower. Acetoxy-cure silicone is not meant to be used in wet areas and will likely cause early failure. Look for a product that conforms to AS/NZS 4858:2004. Make sure you adequately ventilate when working with silicone and silicone cleaners, as showers are small spaces and fumes accumulate quickly.

Step-by-Step: How to Fix a Leaking Shower
You have your tools laid out and are ready to go. Here is how to fix a leaking shower step by step.
1. Isolate the water supply at the isolation valve behind the mixer or at the metre. 2. Use a putty knife and grout saw to remove all old silicone completely. Be thorough — applying new sealant on top of old silicone is one of the most common mistakes, and it won't last. 3. Clean the substrate thoroughly with a compatible surface cleaner and ensure it is absolutely dry. This is vital; silicone applied to a damp surface will deteriorate within weeks. 4. Apply a fresh bead of wet-area neutral-cure silicone at 6–8 mm width along all perimeter joints. Smooth with a wet finger or a caulking tool. 5. For grout repairs, rake out damaged grout to a minimum depth of 3 mm before re-grouting. 6. Allow the silicone to cure for a minimum of 24–48 hours before any water contact.
A quick note: waterproofing membrane repairs are not DIY work. Under NCC 2025, shower walls must be waterproofed to a minimum height of 1800 mm (NCC 2025, ABCB Housing Provisions, Part 10.2) above the floor substrate. Membrane application requires a licensed waterproofer in most Australian states — this is a line you should not cross.

Leaks Around the Bath and the Drain
The steps above will help fix a regular shower recess. However, if you have a bath, you'll also need to inspect the bath drain and bath hose.
A bath drain plug stuck at the closed or partially closed position will cause slow draining that can be mistaken for a bath perimeter leak — water appears to leak from the bath but it's actually overflowing. Rule out a bath drain plug stuck issue before checking the silicone on your bath perimeter.
The seal around the bath waste fitting may also have failed over time. This can be resealed using plumber's putty or silicone once you remove the drain cover, and this is a legal DIY task.
Another often neglected water source involves over bath shower screens. If the hinge is misaligned or the seal has failed, water will escape from the screen gap and flow down the outer side of the bath into the wall. Inspect the sealant on the entire screen perimeter and reseal where it has failed.
A leaking bath hose connector at the wall fitting must be attended to by a licensed plumber. You may be able to unscrew the bath hose and replace it if it is a simple threaded connection, but if the issue lies with the wall fitting itself, that requires a licensed plumber.

When to Call a Licensed Plumber in Australia
The majority of the fixes discussed above can be tackled by an enthusiastic DIYer. However, some leaks require a licensed plumber.
If you have leaks behind the walls, tiles falling off, signs of waterproofing membrane failure, or a leaking shower waste connection under the floor — stop. Contact a licensed plumber and more than likely a licensed waterproofer. Under plumbing licence laws across Australian states and territories, plumbing work must be carried out by a licensed plumber, who will then provide a compliance certificate.
Budget anywhere between $150 and $500 for a professional shower leak repair, depending on the scale of the job. To verify your plumber is licensed, contact your local state authority — the Victorian Building Authority, Fair Trading NSW, or the Queensland Building and Construction Commission. Knowing how to fix a leaking shower yourself is valuable, but so is knowing when to call a pro.
References
AS/NZS 4858:2004 Wet area membranes, Standards Australia
National Construction Code 2025, ABCB Housing Provisions, Part 10.2 Wet area waterproofing
State and territory plumbing licensing authorities (Building and Plumbing Commission Victoria; Building Commission NSW / NSW Fair Trading; Queensland Building and Construction Commission; Plumbers Licensing Board Western Australia (administered by Building and Energy); Consumer, Building and Occupational Services Tasmania; Access Canberra ACT; Office of the Technical Regulator / Consumer and Business Services South Australia; Plumbers and Drainers Licensing Board Northern Territory)