15 July, 2026
How to Change a Tap Washer
Find out how to change a tap washer with our clear guide covering tools, water shut-off, removal, and every step to stop a dripping tap.

That tap that is constantly dripping. Day in day out, it's there but has little effect on your life as it exists in the background of your home. I have seen so often in my reno work, that the smaller – and mostly overlooked – issues are more likely to do damage to your home (and your wallet) long term, than the larger issues. Knowing how to change a tap washer is an essential life skill, and not one you'll get locked out of using without a plumbing qualification. With some prep work, some tools and a plan, this is an easy job you can do yourself.
Video Credit: Curran Plumbing, Electrical, Heating and Air
What Is a Tap Washer and How Does It Deteriorate?
A tap washer is a small, round rubber or fibre piece inserted into the body of a compression-style tap. Turning the tap to the 'off' position moves the spindle and pushes the washer down into the tap seat. The washer compresses and forms a watertight seal. It is a simple, elegant design that has remained the standard for Australian taps for decades.
Over time, rubber degrades naturally and will do so more quickly with hard water. The way people use their taps will also likely lead to a bad washer. Lots of people crank their tap down as tight as they can to get that last drop to go, but this compresses and distorts the rubber too quickly. It is common for a washer to harden over time. If your washer has been in place for over ten years, you can bet it has degraded enough to no longer seal correctly in the tap seat. The same can be said if the washer is a little too big or a little too small. Understanding the failure is important as it helps you decide whether to change the washer (and you can) or if there's something more serious going on — such as a damaged or worn tap seat — that you can't fix without an experienced hand.

Tools and Materials You'll Need
You must have all the components before you start as you don't want to be running to the store while the tap is taken apart. You will need:
• An adjustable spanner
• Flathead screwdriver
• Phillips head screwdriver
You'll need to source a few different sized replacement washers — 12 mm and 15 mm are standard Australian tap sizes. The other things you need are a replacement jumper valve, O-rings (depending on your tap model), some plumber's grease, some thread tape, and optionally a tap reseating tool that might just save you phoning the plumber if you have an older tap and the seat is lightly scored rather than worn through. The cost of parts to replace a regular tap washer is usually less than $15. Hardware stores usually stock them, but specialist plumbing suppliers will have a greater selection of washer sizes and a higher-quality jumper valve.

How to Turn Off the Water and Remove the Tap
With your tools and parts prepared, start by turning off your water.
There should be an isolation valve under your basin or behind an access panel next to the bath — you need to turn this to the closed (clockwise) position. If you don't have an isolation valve, turn off your mains stopcock — usually near your water metre at the front of the property — and open the tap right up to relieve any residual pressure. Not doing this may cause water to shoot out as soon as you even touch the tap body.
Next, take a small flathead screwdriver and prise off the cap on top of the tap handle and remove the screw. This should free up the handle, allowing you to pull it off the body. Using your adjustable spanner, unscrew the body of the tap (sometimes called the bonnet) out of its seat. Remember to use a clean, soft cloth to pad the jaws of your spanner whenever you touch a chrome surface, otherwise you'll mar the finish. Apply even pressure on the spanner. Stripping a tap body is the number one error when changing a tap washer — don't let this simple job turn into a costly one.

How to Change a Tap Washer Step by Step
You should now have a body that is exposed and the water supply is cut off, and it's all easy from here on to change the tap washer.
1. Check if the jumper valve — the small brass or plastic piece that retains the washer — is removable or fixed. If there are any signs of corrosion, replace the jumper valve. 2. Check the seat inside the body of the tap. If lightly scored, it can be re-surfaced using a tap reseating tool. If it is heavily scored, the replacement washer will not make a proper seal and you will need a licensed plumber to replace the tap body itself. 3. Ensure your replacement washer's diameter and thickness are identical to the existing one — a 12 mm washer won't fit if the original was 15 mm. 4. Slide the new washer over the jumper valve, use a dab of plumber's grease on the O-rings, then fit the tap body back together. Apply thread tape if necessary, winding it clockwise around the thread in the direction it will be screwed in. 5. Re-fit the handle and rose cap in reverse order. Switch the water on slowly and check every joint as well as the base of the tap for drips.
If this is your first go at such a repair, expect it to take 30 to 45 minutes, whereas someone who has done the work previously can have it done in 20 minutes. Note: the above applies to compression tapware only. Ceramic disc tapware features a cartridge mechanism (40 mm diameter) — there are no rubber washers to replace. If a ceramic disc mixer is dripping, its cartridge needs replacing — this is a completely different repair. Any work that connects and/or disconnects tapware to/from water supply can only be done by a qualified and licensed plumber. Check your state/territory requirements before undertaking any such work.

When to Upgrade Your Tapware Instead of Replacing the Washer
A new washer will solve the dripping problem on a compression tap, but it may not be in your best interests to fix your taps rather than replace them. Consider replacing if:
• you change the washer more than once a year
• the tap body is excessively corroded
• the tap seat has been scored repeatedly and will continue to score, even after being resurfaced
• your tap carries no water efficiency rating
Tapware that relies on ceramic discs, rather than a rubber washer, does not suffer from the same problems of wear and tear. It also delivers a more even flow and lasts much longer. Choose new tapware that has WaterMark and WELS water efficiency certification: both are legal requirements in Australia.
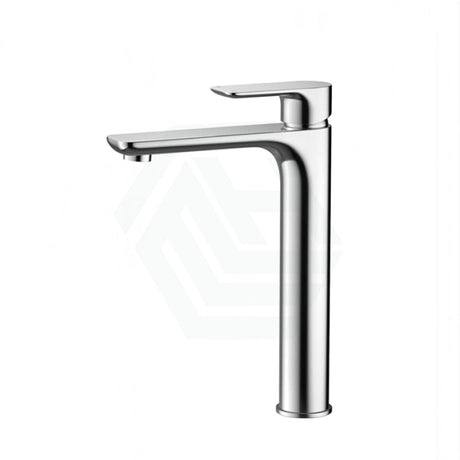
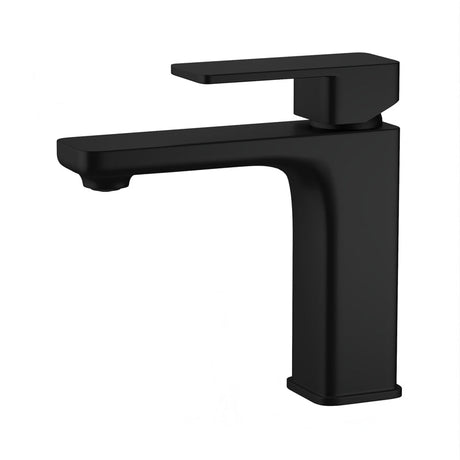
There is something for everyone and for every budget, from the likes of Fienza, Meir and Bella Vista. Basin mixers begin at $56; bath and basin sets at the upper end reach $807. If you're thinking of getting new fittings for your bath, ask yourself which freestanding bath tapware will be most suitable for your room: the tapware will be a defining finish of the bathroom space. Consider also bath hose and bath shower, as you will likely want them to complement the style and finish of the bath setting.
All tapware that will connect to water supply must be installed by a licensed plumber. This is the legal standard and there are no exceptions in Australia.
References
State and territory plumbing licensing authorities (Building and Plumbing Commission Victoria; Building Commission NSW / NSW Fair Trading; Queensland Building and Construction Commission; Plumbers Licensing Board Western Australia (administered by Building and Energy); Consumer, Building and Occupational Services Tasmania; Access Canberra ACT; Office of the Technical Regulator / Consumer and Business Services South Australia; Plumbers and Drainers Licensing Board Northern Territory)
WaterMark Certification Scheme, Australian Building Codes Board
AS/NZS 6400:2016 Water efficient products — Rating and labelling (incorporating Amendment No. 1:2022 and Amendment No. 2:2022), Standards Australia
AS 3718:2021 Water supply — Tap ware (incorporating Amendment No. 1:2024), Standards Australia