23 February, 2026
How to Fix a Leaky Faucet Step by Step
Fix leaky faucet DIY: Step-by-step guide identifies causes like worn washers, replaces cartridges & stops drips. Save water, prevent damage & cut bills fast!

That slow drip from a leaky faucet may appear to be no big deal at first. It’s nothing urgent, just a little something extra added onto your daily routine. But it doesn't take long for those drips to add up and make a huge impact on your wallet in the form of increased water bills, and potentially lead to water stains, mold growth, and other costly repairs to your cabinets and/or benchtops. In my experience, I’ve witnessed the slow drips from an initial minor annoyance grow into larger repair jobs solely due to ignorance.
Fortunately, repairing a leaky faucet isn’t as difficult as many believe. Once you have the proper tools, and follow the correct process, you will likely be able to resolve the issue before it becomes a bigger repair job.
So let’s start the breakdown of how to fix a leaky faucet.
Step 1: Locate the Source of the Leak
Prior to obtaining any tools, you should attempt to determine where the leak is originating from. As mentioned previously, not all leakages are created equally. Some common areas where leaks originate include:
- the spout (constant dripping)
- around the handle
- under the sink connections
- the base of the tap
Depending upon the location of the leak, there could be a variety of potential causes. For example, if the drip is coming from the spout, it is probably due to a worn out washer, O-ring, or cartridge. If the leak is coming from around the handle, it is typically a result of a broken seal. Finally, if water is collecting underneath the sink, it could be due to loose connections or old/rotted hoses.
Determining the cause is a necessary first step when determining how to fix a leaky faucet properly.

Step 2: Turn off the Water Supply
Although this may seem trivial, turning off the water supply prior to beginning your repairs is essential.
You’ll find shut off valves for both the hot and cold water located directly below your sink. Rotate these valves clockwise until you feel resistance. This indicates that the valves are completely closed. Next, open the tap to relieve any residual water pressure in the pipes. Neglecting to complete this critical step can result in a simple repair turning into a flood in your kitchen in a matter of seconds.
Step 3: Take off the Handle
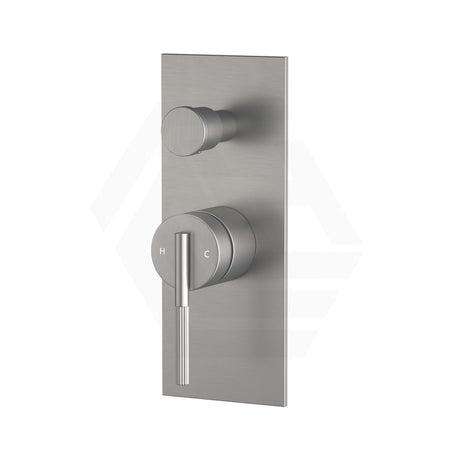
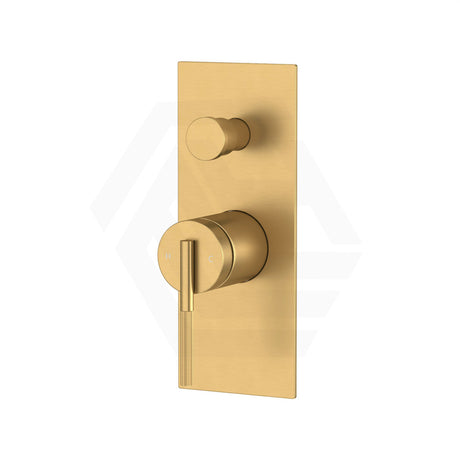
Most modern taps, especially high-quality kitchen tapware, have a little decorative cap over the screw. Gently pry the decorative cap off using a flat head screwdriver. Now remove the handle from the tap. Underneath, you will either find a washer system (older taps) or ceramic disc cartridge (more common in newer taps). Depending upon which one you find under the handle, you’ll need to follow different steps to complete your repair.
Step 4: Inspect the Washer or Cartridge
If your tap uses a washer:
Remove the washer and take a close look at it. If the washer appears cracked, flattened, or worn out, that’s likely where the leak started. Usually simply replacing the old washer with a new one of the same diameter will stop the grip.
If your tap uses a ceramic cartridge:
Carefully pull the cartridge out. If it’s damaged or worn out it may need to be replaced. Ceramic cartridges generally cannot be repaired; they just need to be replaced.
Cartridges are very common in modern kitchen tapware. Although they are made of strong material, like other things in your home, they can eventually show signs of wear, especially if you live in an area with hard water.
Step 5: Inspect for Worn O-Rings and Seals
Occasionally, instead of the washer or cartridge being the problem, it is the small rubber O-ring located near the base of the faucet, or inside the faucet itself. If there are signs of leakage around the handle or base, most of the time the small rubber O-rings are the cause of the problem. Replace the O-rings and put some plumber’s grease on them before putting everything back together. This will help extend the life of the O-rings and give a tighter seal.
Step 6: Rebuild and Test
Once you’ve replaced any of the worn-out parts, put everything back together in reverse order and slowly turn the water supply back on. Check both the hot and cold side to make sure the leak has stopped. If the leak has stopped – good job! If it continues to leak, check to make sure all the parts fit together as they should and are securely fastened, but don’t over tighten anything.

When the Problem is Bigger than a Washer
You may encounter situations where a leaking faucet repair requires more than simply replacing the washers or cartridge; i.e., the faucet itself is old or has excessive corrosion, and continues to have problems. In those cases, replacing the entire faucet unit may be the most cost-effective solution. Today’s kitchen faucets are made to be more water efficient, longer lasting, and easier to maintain than their predecessors. In addition to extending the life of your faucet, a new faucet will provide better performance and function – which may be a good opportunity to upgrade your sink area at the same time.
The Role of Water Quality in Faucet Life Expectancy
Many people forget that water quality is critical in determining the longevity of faucet components. If you live in an area with “hard” water (i.e., high levels of minerals), the buildup of minerals inside your faucet will accelerate the degradation of internal components. This will cause increased frequency of leaks and decreased performance of your faucet over time.
Using effective water filtration systems to clean your incoming water supply can help to significantly reduce sediment and mineral deposits inside your faucets. While protecting your faucet components from premature wear, using filtered water supplies will also improve the quality of the water you drink.

What are the Warning Signs?
Knowing when a leaky faucet problem may be becoming worse is a good idea before attempting to learn how to fix a leaky faucet. Keep an eye out for:
- rust forming near the faucet base
- water staining in surrounding cabinetry
- reduced water flow through your faucet
- grinding or stiff handle when turning on/off water flow
- persistent dripping from your faucet after completing repairs
All of these symptoms may be indicative of corrosion inside your faucet, or greater plumbing issues. If so, it would likely be best to seek assistance from a plumber.
Why You Shouldn’t Delay Repairs?
You can avoid the problems caused by ignoring the drip. Ignoring a slow drip does not seem like a serious issue; however, it could cost you thousands of litres of water per year, which could have a significant effect on your water bill. In addition to increasing your water bills, the ongoing moisture can cause damage to the cabinets, promote mould growth, and weaken adjacent materials.
In most instances, the longer you delay repairs, the more costly they will become. Learning to repair a leaky faucet early can help you avoid the additional costs and stress that comes from having to repair a larger problem.