16 September, 2026
Toilet Side View Explained: How to Read Spec Drawings
A toilet side view reveals key dimensions like rim height and outlet centre. Learn to read spec sheets confidently for your bathroom renovation.

Spec sheets can look deceptively simple — until you are standing in a bathroom showroom trying to work out whether a suite will actually fit the space. Reading an elevation drawing correctly is a function-first skill: understanding the "why" behind each dimension is what separates a well-planned bathroom from a costly mistake. A side elevation shows the profile of the pan, cistern and seat, and reveals five key measurements you must check — starting with rim height, typically 400 to 430 mm from finished floor level, through to the outlet centre height that governs your plumbing connection. Get these right, and the rest of the specification process becomes straightforward.
Video Credit: PTS CAD EXPERT
What a Toilet Side View Drawing Actually Shows
I often come across spec sheets for toilets when putting together a display home bathroom. Or indeed, any bathroom. Amongst all of the views presented on a spec sheet, the toilet side view, or elevation drawing as it is also called, is the most useful for the purposes of planning and designing.
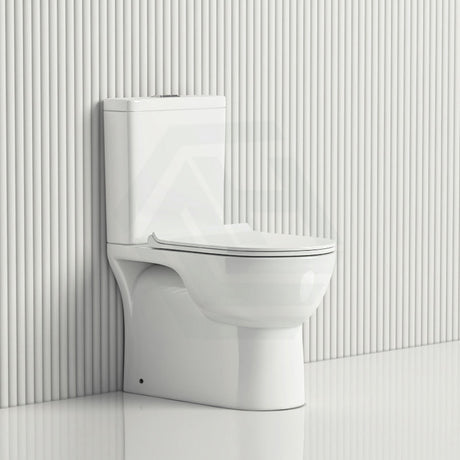
A toilet side view is basically a profile of the toilet suite, seen from the side (either left or right). This gives you an idea of the shape and size of the pan, cistern and seat. It also shows where the waste outlet is in relation to the floor and wall, which is vital information for plumbers and builders alike.
It will clearly display the wall line and floor line. It is important to know what these lines refer to when looking at the measurements. This drawing also indicates what type of outlet the toilet has — whether it wastes down through the floor, or back through the wall. This is crucial information for plumbing.

Key Dimensions to Read on a Side View Spec Sheet
So once you know what you are looking at on a toilet side view spec sheet, how do you know what measurements to look for, and what they mean? There are five measurements that I like to always check on a toilet side view.
The first measurement is the rim height — this is the distance from the finished floor level to the top edge of the pan bowl. For a standard adult suite this is usually 400 to 430 mm.
The second measurement is the seat height. This is the rim height plus the thickness of the seat on top — typically another 45 to 50 mm above the rim. You should not mix these two figures up, as this can make a huge difference if you are specifying a comfort height suite for accessible design purposes.
Thirdly, we have overall height. This is the total height from the floor to the top of the cistern.
Next, we have the pan depth, which is the distance from front to back — usually 650 to 750 mm for a back-to-wall suite. This is the measurement that affects whether the toilet fits into the circulation zone of the room. According to the NCC Livable Housing Design Standard, you require a clear circulation space of 1200 mm by 900 mm (NCC 2025, ABCB Livable Housing Design Standard) from the front edge of the pan. So the pan depth is critical.
The final measurement to note on the side view is the outlet centre height, which is probably the most misunderstood measurement on the spec sheet. I'll go into more detail about this later in the article.

How Rough-In Measurements Are Shown in Profile
The height and depth of the toilet help determine its size, but the rough-in measurement — or setout as it is known in Australian plumbing terminology — tells you whether the toilet can be connected to your current waste pipe. This will appear differently in profile depending on the outlet type.
In an S-trap application, the waste goes down through the floor. On the side view, this is shown as a horizontal measurement: the distance from the finished face of the wall to the centre of the waste pipe outlet. S-trap set-out is measured from the finished wall to the centre of the floor outlet — not the pipe edge, which is a very important difference. Caroma recommends 140 mm; on myhomeware the most common set-out is 180 mm, then 160 mm and 140 mm, and adjustable pans cover roughly 100–180 mm. That pipe-centre distinction matters more than it sounds — a unit conversion rounding error can introduce a 5 mm discrepancy in setout, so always verify against your site measurement.
For a P-trap the waste outlet is on the wall, so the setout is a vertical measurement from the finished floor to the centre of the wall outlet and is standardised at 185 mm. In a side view drawing this would be represented by a vertical dimension arrow from the finished floor reference line up to the outlet centre. Be sure you know what type of drawing you're looking at and what it is measuring before ordering.

Matching Side View Specs to Common Toilet Types
Now that you understand how rough-in dimensions work, let's look at the three different types of toilets found in most Australian bathrooms.
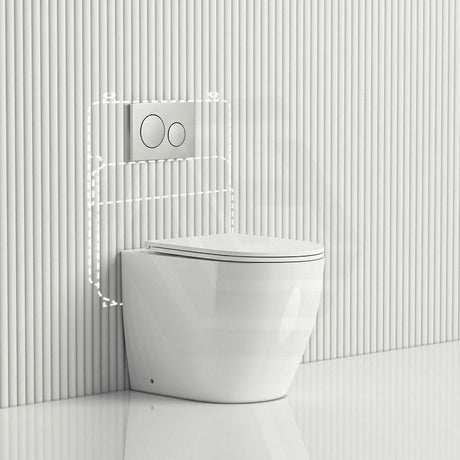
An s trap toilet has a floor outlet and an exposed cistern at the rear. In the side view, this will be the tallest of the three, with a total height to the top of the cistern typically between 780 to 830 mm.
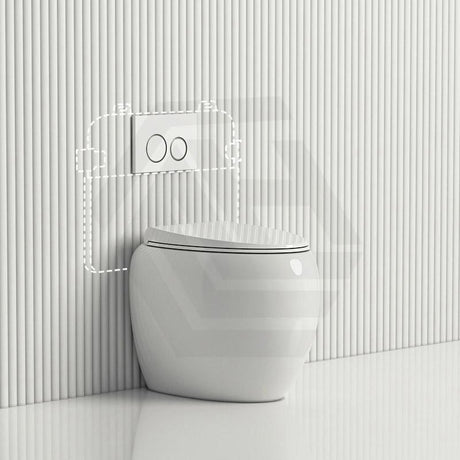
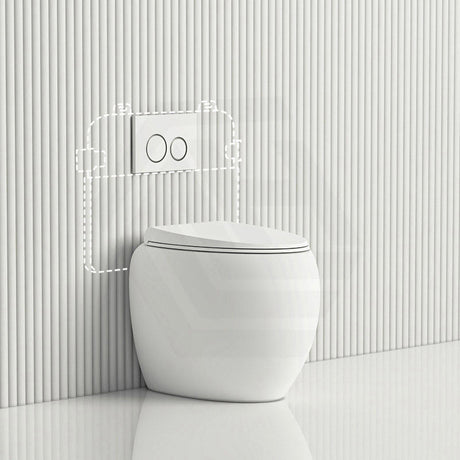
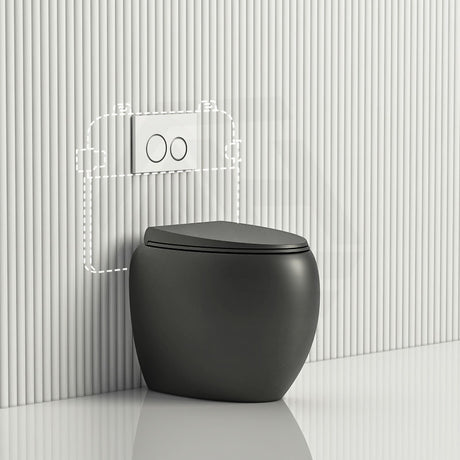
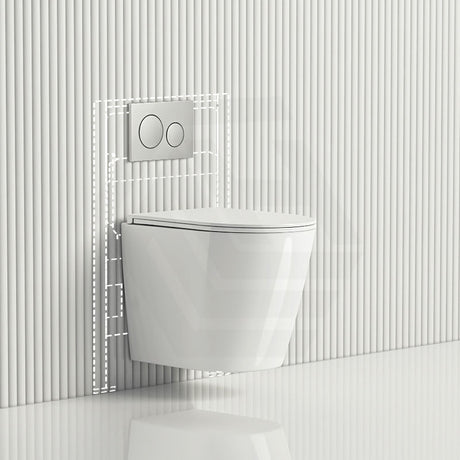
A wall hung toilet looks quite different to the s trap. The toilet pan appears to float away from the wall and the cistern is hidden within the wall, often concealed in a Geberit in-wall cistern frame — the Geberit Duofix is a common example specified on Australian projects. In the side view, we can only see the depth and rim height of the toilet pan because the in-wall cistern information is supplied elsewhere.
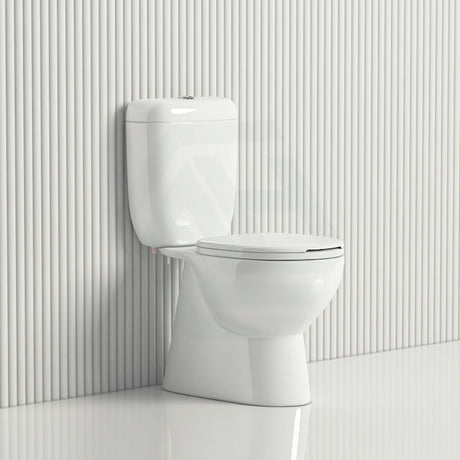
A close coupled toilet has its cistern sitting directly on top of the toilet pan, and they act as one unit. You can see the cistern sitting on top of the toilet pan in the side view.
To be sold in Australia, every toilet needs to have a WaterMark certification and WELS rating, so double check the spec drawing contains this information.

Common Mistakes with Side View Drawings
Even though you've now got a clear idea of how to read the side view drawings, there are still mistakes that can cause you major headaches.
Confusing rim height with seat height. Rim height is the height of the ceramic pan from the finished floor. Seat height is rim height plus the thickness of the seat on top. Mixing these two up on an accessible toilet project means you fail compliance.
Confusing outlet centre height with setout distance. Outlet centre height is the vertical measurement from the finished floor to the centre of the outlet on the toilet pan. Setout distance is the horizontal measurement from the wall for an s trap, or the vertical measurement from the finished floor for a p trap. These are completely different dimensions, drawn in completely different ways on the side view drawing.
Noting the finished floor level reference. All measurements on a spec drawing are taken from the finished floor level — meaning the floor is already tiled. If your floor tiles are 10 mm thick then your structural floor is 10 mm lower. Ordering based on the structural floor level will put all components 10 mm out.
Cistern clearance. If the side view specifies a clearance is needed behind the cistern for the flush button and maintenance access, make sure you allow for this when positioning the suite. Putting the suite too close to the wall will mean an expensive re-work once the tiles are done.
Always speak to your licensed plumber about your interpretation of the dimensions before buying your suite, and always compare the dimensions on the spec drawing with your own site measurements.
References
National Construction Code 2025, ABCB Livable Housing Design Standard, Part 3 Internal doors and corridors and Part 4 Sanitary compartment
AS/NZS 3500.2:2025 Plumbing and Drainage — Sanitary Plumbing and Drainage, Standards Australia
WaterMark Certification Scheme, Australian Building Codes Board
AS/NZS 6400:2016 Water efficient products — Rating and labelling (incorporating Amendment No. 1:2022 and Amendment No. 2:2022), Standards Australia