08 May, 2026
Bidet Installation Guide: Everything You Need Before You Start
Bidet installation guide: everything you need to know before starting, including types, tools, WaterMark requirements and step-by-step fitting. Make the switch with confidence in your Australian bathroom.

Bidets Explained: Which Type Is Right for Your Bathroom?
If you're reading this and thinking, "what is a bidet?", you aren't alone. Many of us have seen one of those fixtures next to a toilet on a European holiday and wondered what it was for. Bidets are making a comeback in Australia and with good reason.
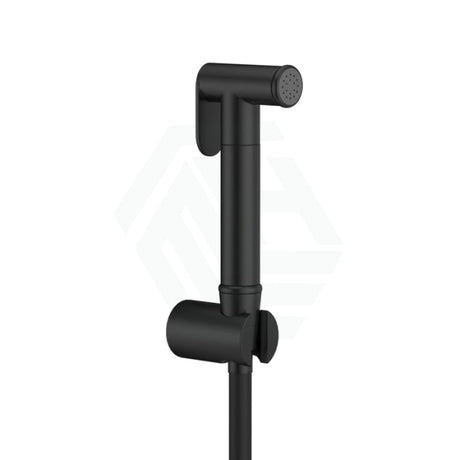
Put simply, a bidet uses a gentle water spray to clean you up after you've used the toilet. Bidets come in a few different forms, and three have taken off here in Australia: the standalone bidet bowl, the bidet toilet seat (or smart seat cover), and the bidet attachment. A standalone bidet sits beside your toilet as a separate porcelain bowl in its own right. Extra plumbing rough-in is needed, so it's a big job — not one to tackle unless you're a professional renovator. A bidet toilet seat or smart seat cover bolts straight onto your existing toilet, swapping out the old seat and adding a spray nozzle. Slim and plastic, a bidet attachment slots between the seat and pan, tapping into the toilet cistern fill valve inlet to split the water flow.
The bidet toilet seat is the go-to choice in Australia, with brands like Poseidon, Fienza and Kohler covering a wide price range from $80 up to $1,846 for top-spec electric models that include heated seats, warm water, and an air-drying function. Bidet attachments can be had for as little as $7, so they're a pretty low-risk way to try the idea out before you splash out on a full bidet toilet seat. Smart toilets sit in their own category altogether — all-in-one units that kick off at $1,619 and need a licensed plumber for the install.
Don't forget to check your toilet pan shape (round versus elongated) and the fixing hole spacing before buying. The last thing you need is to find out you've bought the wrong item after it has been delivered.

Tools, Materials, and What to Check Before You Start
After determining which bidet is the right choice for your bathroom, gather your tools and complete this pre-installation checklist before commencing the installation.
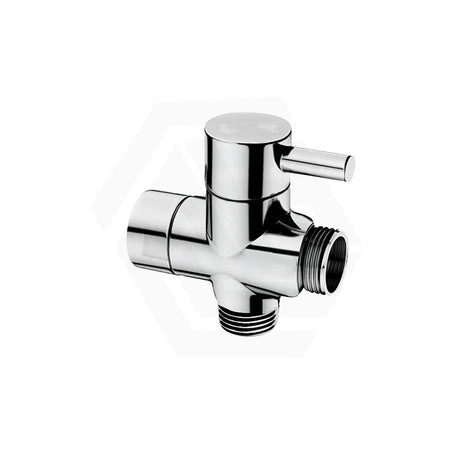
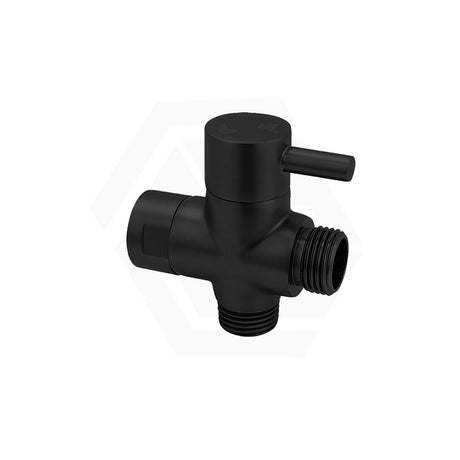
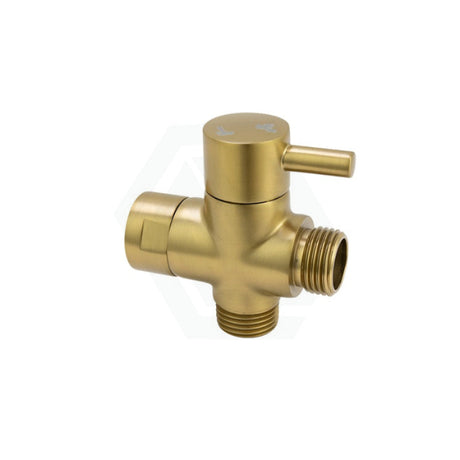
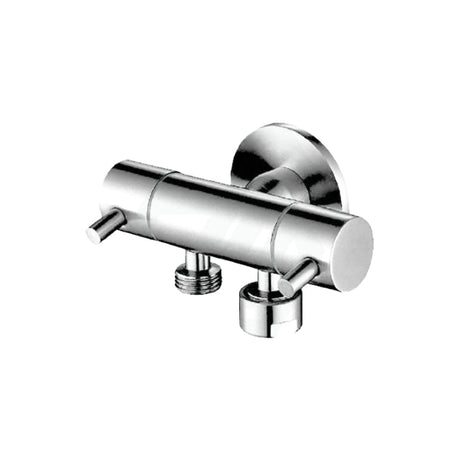
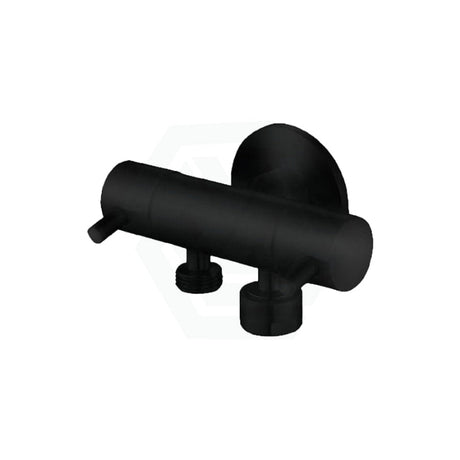
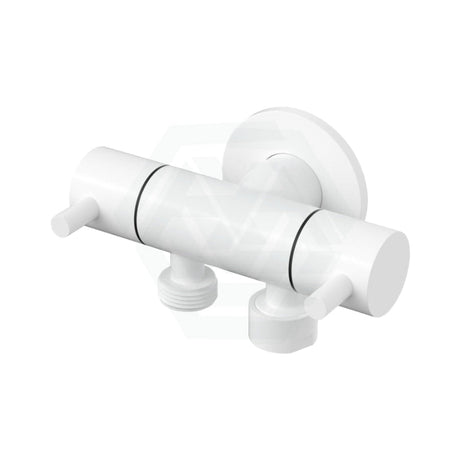
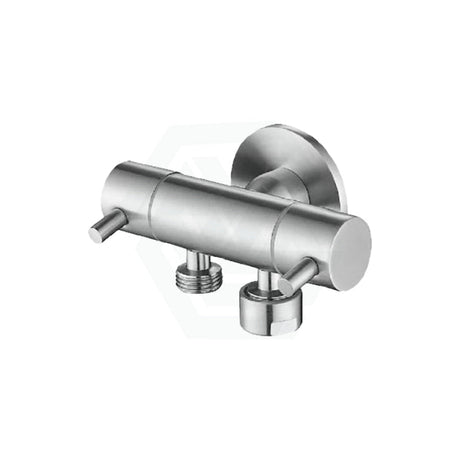
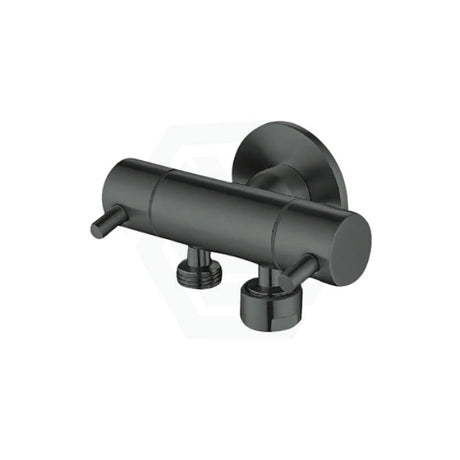
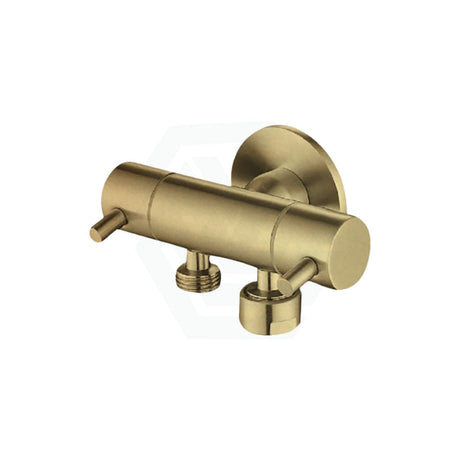
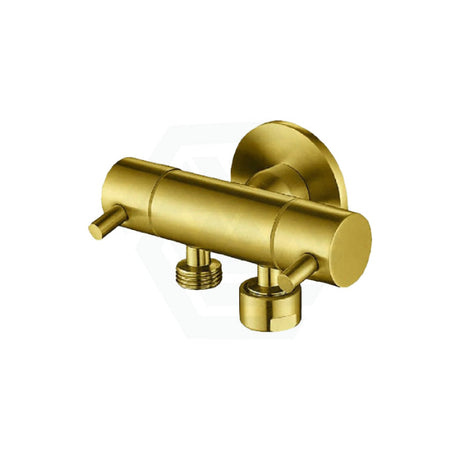
A bidet seat installation requires an adjustable wrench, Teflon tape, a bucket and a few towels to mop up spills, plus a T-valve (also referred to as a splitter valve or diverter valve) — a plumbing fitting that connects to the toilet water supply line where your cistern connects to the wall. And here's where it gets legally complicated in some states.
Before buying or installing, check two things. First, make sure all fittings carry WaterMark certification. WaterMark certification is mandatory under Australian plumbing regulations — non-certified fittings may not be accepted by local plumbing authorities. All fittings included in the WaterMark Schedule of Products are required to be lead-free no later than 1 May 2026, so check your fittings before purchasing. Second, if you are installing an electric bidet seat, confirm there is a grounded power point (GPO) within 1.2 metres of your toilet. If one is not nearby, you will need a licensed electrician to install one before anything else happens.
Finally, confirm the exact location of your water supply valve and that it actually closes properly. Surprisingly, many people begin a bidet installation only to discover their shutoff valve is non-functional.

How to Install a Bidet Toilet Seat: Step-by-Step
This how to install bidet toilet seat guide assumes you've confirmed compatibility and assembled all tools and parts. Work methodically — knowing how to install a bidet correctly comes down to not rushing the connections.
First, close the water supply valve at the wall by turning it clockwise until it stops. Flush the toilet to clear the cistern and place a bucket under the supply line before disconnecting anything.
Next, remove your existing toilet seat by unscrewing the plastic bolts at the back of the pan.
Fix the bidet seat's mounting plate to the pan with the supplied hardware — start by hand-tightening, then give it a firm snug with your wrench. Don't go too hard on those bolts — cracked porcelain is a genuinely terrible outcome.
Snap the seat down onto the mounting plate until it clicks home.
Before you thread the T-valve onto the cistern inlet, wind Teflon tape two to three rotations around the valve threads to get a good seal. Use a wrench, but take it steady. Run the bidet supply hose from the T-valve's outlet port.
Turn the water supply valve back on gradually, then go over every connection and look for leaks.
Electric bidet seats need their power lead plugged into a grounded GPO. Don't hardwire the unit under any circumstances — that work must go through a licensed electrician under AS/NZS 3000:2018. The plug-in type? Totally DIY-legal. Set aside 30 to 60 minutes for a clean, uncomplicated retrofit. Hit a point where you're not sure what you're doing? Put the tools down and ring a licensed plumber. Make sure you look up your state or territory rules on supply line work before you start.

Cisterns, Plumbing Connections, and Water Supply: What to Consider
The steps above apply to a standard close-coupled toilet where the supply valve is accessible at the wall behind the toilet, making T-valve connection relatively straightforward.
If you have an in wall cistern, the supply connection sits behind the wall and the access point is typically concealed behind tiling. Do not attempt a DIY retrofit on a toilet connected to an in wall cistern — you will need a licensed plumber to access the supply line safely.
Regardless of which type of cisterns you have, most bidet seats and attachments operate within a water pressure range of 150 to 600 kPa. If your pressure falls outside that range, a licensed plumber will need to install a pressure-limiting valve. If you're on a gravity-fed system, note that pressure may fall below the 150 kPa minimum required for most bidet seats to function correctly.

Plumbing Mistakes, Costs, and When to Call in a Pro
The most common DIY mistakes include overtightening fittings (risking a cracked pan or stripped threads), failing to shut off the water supply first, using non-WaterMark fittings, and purchasing a bidet seat with incompatible mounting hole spacing. A quick pre-installation check prevents all of these.
DIY materials — T-valve kit and fittings — typically cost $30 to $80 depending on quality. If a licensed plumber is required for supply line work, expect a callout cost of $150 to $300, with labour at $80 to $120 per hour. In Australia, all work involving water supply pipes and connections is legally restricted to licensed plumbers. The T-valve connection is a grey area in most states — check your state/territory requirements before proceeding.
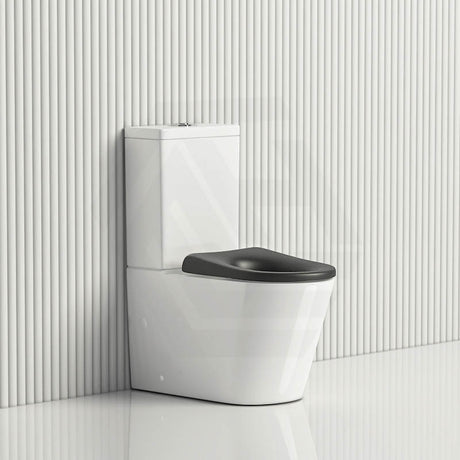
For broader toilet upgrades or renovations — for example, if you need to install a back to wall wc — a licensed plumber is required and a compliance certificate must be issued on completion. This bidet installation guide should help you identify what you can handle yourself versus when to call a professional. Ultimately, part of knowing how to install a bidet is recognising when the job calls for a licensed tradesperson.
References
WaterMark Certification Scheme, Australian Building Codes Board
National Construction Code 2022, Volume Three (Plumbing Code of Australia), Part A5 Documentation of Design and Construction — Lead-Free Copper Alloy Requirements
AS/NZS 3000:2018 Electrical Installations (Wiring Rules), Standards Australia
State plumbing licensing legislation (VBA Victoria; Fair Trading NSW; QBCC Queensland; Building Practitioners Board WA; CBOS Tasmania; ACTPLA ACT; Building & Energy SA; ABPB NT)