19 May, 2026
Bathroom Waterproofing: Why It Matters and How to Get It Right
Poor bathroom waterproofing can cause hidden damage for years. Learn how a waterproof membrane protects your home and how to get it right.

Video Credit: Jax Tiling
What Bathroom Waterproofing Actually Does
Poor waterproofing is one of the most costly errors you can make in a bathroom renovation. I have seen countless instances of this, when a newly tiled bathroom looks great from a distance but underneath, water has been infiltrating the substrate for years, and is only revealed when the tiles have started to fail. Once the damage is visible, it often requires the removal of all the tiles and the replacement of the framing as well as remediation of mould in bathroom walls, and often beyond.
A waterproofing membrane essentially acts as a barrier between the wet surface of your bathroom and the structural elements of your home that lie below it, such as the floor joists and frame of the walls, or even the adjacent rooms below or to the side. The membrane is there to keep the water from getting through to these areas. Over time, water always finds the path of least resistance, even over small amounts of moisture that gets absorbed into grout or into the surface of a tile, and seeps down into the floor beneath the surface.
The cost of remedying failed waterproofing is very high. You are looking at not just replacing a waterproofing membrane, but also removing tiles, replacing substrate and remedying mould. To get it right the first time is the most cost-effective solution.

Australian Standards and Legal Requirements
To understand the damage that water ingress can cause, you can see why the Australian building regulations do not leave bathroom waterproofing to chance. Bathroom waterproofing is regulated by the National Construction Code and AS 3740:2021 (Waterproofing of Domestic Wet Areas), which specifies which areas must be waterproofed and the height at which they must be waterproofed. Shower walls must be waterproofed to a minimum of 1800mm (NCC 2022, ABCB Housing Provisions, Part 10.2) above the floor substrate. Bath hob surrounds require a minimum of 150mm above the finished floor level, and the floor of the shower must be fully waterproofed, including the hob or step-down.
The work of waterproofing wet areas is considered licensed work in most Australian states, and is not to be carried out by the homeowner. Your licensed waterproofer must apply the membrane before any tiling begins, and the work must be inspected and allowed to cure prior to being covered in tiles. If the waterproofing is not done correctly, it can void your home insurance and cause liability problems when you sell your property. This is not an area where cutting corners is a good idea.
Furthermore, your bathroom plumbing rough-in must be completed and inspected before the waterproofing membrane is applied. Good builders and plumbers understand this and will not proceed unless these stages of construction are finished first.

Waterproofing Materials: Types, Properties and Costs
Once you know which areas must be waterproofed according to building code and to what heights, the next decision is which membrane product will actually do the job — and at what cost.
There are three main product categories used in Australian residential bathrooms. Liquid-applied membranes — polyurethane or acrylic — are the most common. They are rolled or brushed directly onto the substrate, allow for good coverage around penetrations, and typically cost between $8–$20 per m² for materials. Sheet membranes offer consistent thickness and are particularly effective on large, flat surfaces. Cementitious coatings are rigid, bond well to masonry substrates, and suit areas with minimal structural movement — though they lack flexibility compared to the other two types.
Your licensed waterproofer will guide product selection based on your substrate type, the presence of movement joints, and the specific wet area configuration. All products used must carry WaterMark certification — non-certified products may not be accepted by your local plumbing authority. Don't let anyone apply a product that doesn't meet this requirement.

Common Waterproofing Mistakes and How to Avoid Them
Choosing the right waterproofing membrane is only half the battle — the best product available won't work if it's applied improperly. The waterproofing errors I regularly come across include the following:
Not enough of an upstand to a wall. This is especially important at the walls of the shower recess, where the membrane is not taken up to 1800mm as required.
Bond breaker not installed at internal corners. If flexible foam-backed rods and sealant are not placed at the corner junctions, the membrane can fail when the building settles or moves in the course of its normal life.
Applying membrane over a wet substrate. Membrane needs to be applied over an absolutely clean, dry, and primed substrate.
Not allowing the correct curing time between coats. Most liquid membrane products require a second coat applied after the first has cured — 24–48 hours between coats — and a full cure time of 24–72 hours before tiling can commence. This must not be rushed.
Not waterproofing correctly to the bath flange and penetrations at the walls. A bathtub is the most likely place for a waterproofing failure to occur if the detail at its flange junction is not executed properly.
None of these failures is inevitable. The solution is simple: engage a licensed waterproofer who installs in accordance with the manufacturer's instructions and AS 3740:2021. Allow three to five days in your renovation programme for the waterproofing schedule.

Budgeting Waterproofing into Your Bathroom Renovation Cost
If you want to avoid these errors, better materials and labour are involved, which raises the question: what should you pay for bathroom waterproofing as part of your overall bathroom renovation cost?
Labour for waterproofing runs at $50–$80 per m², and a standard Australian bathroom of 5–8 m² will typically cost $400–$800 in labour, exclusive of materials. Waterproofing is a relatively small line item against the whole bathroom renovation cost, but it is the one you should never cut back on. Bathroom renovations start at around $9,000 in Hobart and $11,500 in Sydney, depending on project scope and finishes.
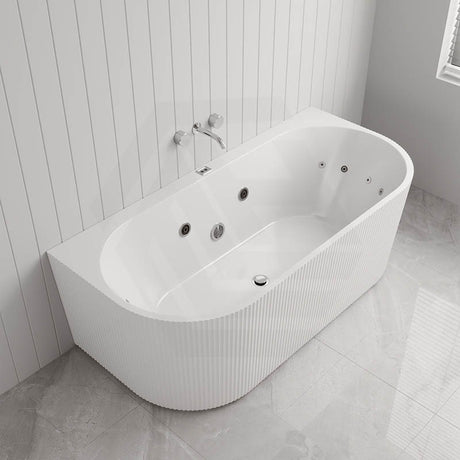
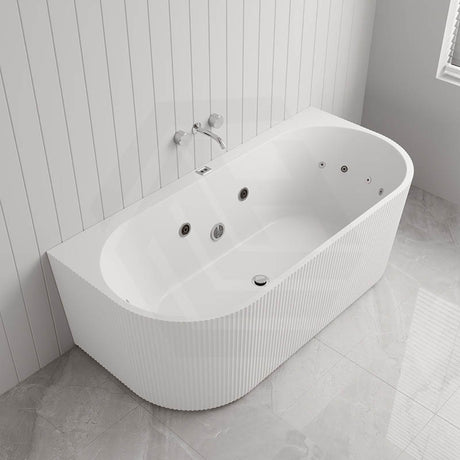
The type of bath will also influence the scope of waterproofing involved. A back to wall bath requires correct waterproofing of the wall and hob on all sides before installation proceeds. Similarly, a back to wall bathtub installation must never take place before the waterproofing is complete — the more complex the bath surround configuration, the more critical the waterproofing detail becomes. Factor this into your bathroom waterproofing budget from the start. If you are also considering bathroom plumbing changes that shift the bath position, the waterproofing scope may increase accordingly.
From experience, the renovators who are unhappy with their bathroom in years to come are those who did not pay a proper price for their waterproofing.
References
National Construction Code 2022, ABCB Housing Provisions, Part 10.2 Wet Areas
State plumbing licensing legislation (VBA Victoria; Fair Trading NSW; QBCC Queensland; Building Practitioners Board WA; CBOS Tasmania; ACTPLA ACT; Building & Energy SA; ABPB NT)
WaterMark Certification Scheme, Australian Building Codes Board
AS 3740:2021 Waterproofing of Domestic Wet Areas, Standards Australia