15 May, 2026
Wet Room Bathroom: The Complete Design and Installation Guide
Plan your wet room bathroom with confidence. This Australian guide covers waterproofing, drainage and accessibility essentials.

Video Credit: TheBespokeBloke
What Is a Wet Room Bathroom and Is It Right for Your Home?
A wet room bathroom is a fully waterproofed, open-plan bathroom where the shower zone is not enclosed by a screen or tray. The entire floor is a wet area: the floor falls to drain, there is no shower base, no shower screen door, and no tray lip.
I've seen wet rooms work well in many different situations. They look great in small inner-city apartments and also large family bathrooms. They are accessible, meeting the AS 1428 requirement, as you do not need to enclose a step-free shower entry. Less cleaning to do as well.
They don't suit all bathrooms though. Timber floors do need some consideration as the addition of membrane layers increases the height, and some floor structures may need to be reinforced before you start building. A concrete slab is easier to work off. Depending on the size of the room, the location of the existing plumbing and the chosen finishes, expect a price range of between $8,000 and $20,000 or more. Having the drain located in a good spot can make a huge difference. You can move a drain in a concrete slab — it just adds to the cost.
Once you've confirmed a wet room suits your home's structure and budget, the next critical step is getting the bathroom floor plan right — because drainage placement and zone sizing must be locked in before any waterproofing or tiling begins.

Wet Room Bathroom Floor Plan: Layout, Sizing, and Drainage Specs
The bathroom floor plan must define the wet zone and dry zone clearly before any trades start work. The shower zone minimum is 900 mm × 900 mm per NCC requirements, though in practice a wet room feels most comfortable at 1200 mm × 1200 mm or larger.
Floor fall to drain is non-negotiable. A gradient of 1:80 to 1:60 is the accepted range — shallow enough to walk comfortably, steep enough to move water toward the floor waste without pooling. A linear drain positioned along one wall gives a clean, contemporary finish and makes the fall easier to achieve consistently across a large tiled floor. Centre drains work well in smaller, more contained wet zones.
Position the wet zone away from the vanity and toilet where possible. Water spread is the enemy of longevity in a wet room, and keeping the shower spray zone at least 600 mm from cabinetry and fixtures will save you ongoing maintenance headaches. Windowless wet areas also require mechanical exhaust ventilation of at least 25 litres per second — this is not optional and needs to be factored into your builder's scope.
With your layout and drain positions confirmed, the bathroom floor plan hands directly over to the waterproofing stage — the most technically demanding part of any wet room build and the one where most costly failures occur.

Bathroom Waterproofing: Membranes, Standards, and Common Mistakes
Bathroom waterproofing is the stage where a wet room either succeeds long-term or quietly fails behind your tiles. In most Australian states, membrane application must be carried out by a licensed waterproofer — this is not a DIY task, and having seen the consequences of unlicensed work firsthand, I can't emphasise this enough.
There are two primary membrane types used in Australian wet rooms. Sheet membranes — pre-formed fabric or polyethylene — offer consistent thickness and are well-suited to timber subfloors where movement is a factor. Liquid-applied membranes are brushed or rolled directly onto the substrate, cure to a seamless coating, and are the common choice on concrete slabs. Liquid membranes typically cost $8–$15 per m² in materials alone; sheet membranes run slightly higher. Cure times range from 24 to 72 hours — tiling over an uncured membrane is not advised. NCC 2022 Part 10.2 specifies a minimum waterproofing height of 1800 mm on shower walls above the floor substrate. AS 3740:2021 is a common compliance requirement.
The three most common waterproofing mistakes include:
• Membrane not applied high enough — minimum cove height of 150 mm at the base of walls is required.
• Unbonded membrane at internal corners where the shower floor meets the walls.
• Membrane applied to an unprimed substrate.
After waterproofing is complete and the full cure period has passed, tiling and fittings can proceed.

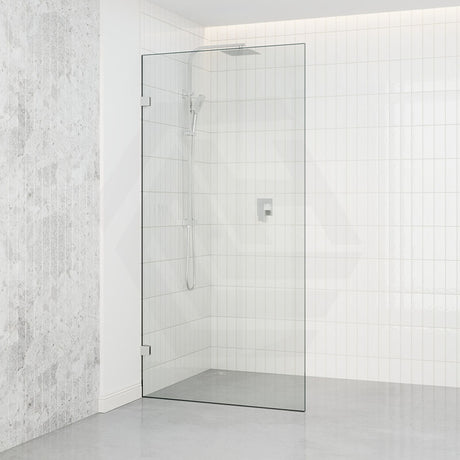
Walk In Shower Ideas and Fittings for Your Wet Room Bathroom
With the waterproofing done and tiles laid, you can turn your attention to walk in shower ideas and fittings. A fixed glass deflector panel helps limit water spread throughout the rest of the wet room when installed at the shower entry. To comply with AS/NZS 2208, the glass must be 10 mm tempered safety glass. Covey supply frameless deflector panels to a standard height of 2000 mm for both left and right side entry. Note that 10 mm glass is significantly heavier than 6 mm glass, so wall framing and fixing points must be confirmed during the rough-in phase.
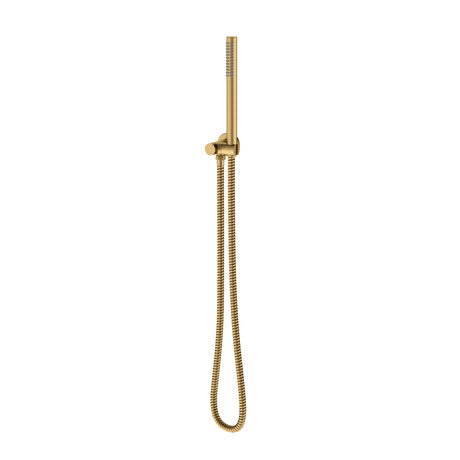
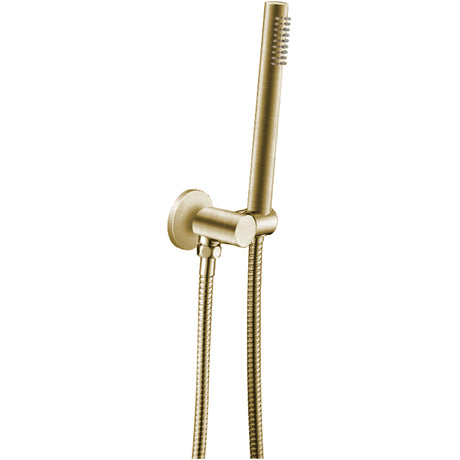
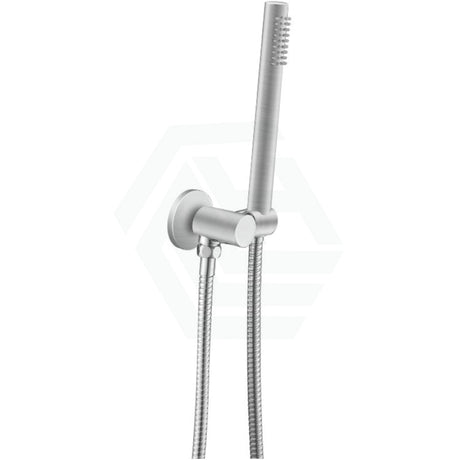
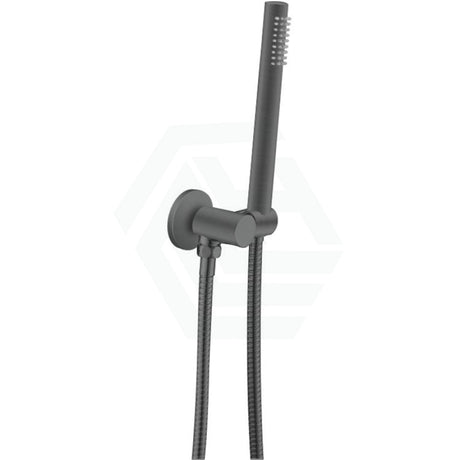
Shower mixers can be wall mounted with a diverter to allow a rainfall overhead and hand shower to run separately or together. Both Meir and Fienza offer a wall mixer with diverter. Shower mixers range from $83 to $758 across different finishes and specifications. WaterMark certification is required on all tapware.
For floor tiles, AS 4586 specifies a minimum P4 slip resistance rating for wet room floors — polished porcelain does not meet this. Matte-finish 600 × 1200 mm large-format porcelain tiles are recommended, as fewer grout lines make cleaning across the graded floor easier. LED mirrors must be hard-wired by a licensed electrician in the relevant zone per AS/NZS 3000:2018.

Vanity, Storage, and Finishing Selections for Your Wet Room Bathroom
Without a shower screen to contain steam, the entire wet room bathroom becomes a damp environment when the shower runs. This must be considered when selecting materials and finishes throughout the space.
### Storage: bathroom high cabinets
To keep the floor clear and maintain a spacious feel, bathroom high cabinets take storage upward rather than outward. bathroom high cabinets should be positioned a minimum of 600 mm from the wet zone boundary. Where exhaust ventilation is limited, moisture-resistant materials such as PVC board or marine ply are preferable to standard MDF for cabinet carcasses.
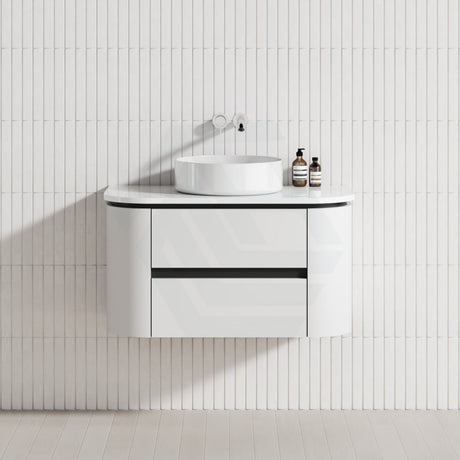
Wall-hung vanities expand the visual length of the floor and are straightforward to clean underneath. Both Aulic and Lukka manufacture wall-hung vanities in durable solid plywood construction. If you choose a wall-hung vanity, confirm bracket locations with your builder and plumber during the rough-in before tiles go down.
### Benchtops: Stone Vanity Tops
The stone vanity top you select should suit the wet room environment. Stone vanity tops are durable and non-porous once sealed. A 20 mm engineered stone benchtop is the practical standard; a 30 mm profile is available for a more substantial visual weight. Natural marble looks stunning but requires regular sealing and maintenance to remain water-safe in a wet room bathroom. Porcelain benchtops are another strong option given their low water absorbance and minimal maintenance requirements.
With the right materials, quality workmanship, and correct construction sequence, a wet room bathroom will perform well for many years.
References
National Construction Code 2022, ABCB Housing Provisions, Part 10.8 Condensation Management
National Construction Code 2022, ABCB Housing Provisions, Part 10.2 Wet Areas
AS 3740:2021 Waterproofing of Domestic Wet Areas, Standards Australia
AS/NZS 3000:2018 Electrical Installations (Wiring Rules), Standards Australia