09 October, 2026
Putting In a Toilet: Set-Out, S-Trap vs P-Trap and Install Steps
Putting in a toilet starts with set-out and trap type. Learn how licensed plumbers measure S-trap and P-trap configurations for Australian bathrooms.

Getting a toilet installation wrong is an expensive mistake — and in my experience, most problems trace back to two things people overlook before they even buy a pan: the set-out and the trap type. Common set-outs in Australian bathrooms are 140 mm, 160 mm, and 180 mm, and your drain will be either an S-trap (floor outlet) or a P-trap (wall outlet) — you cannot mix them. This guide walks you through measuring your set-out correctly, identifying your trap configuration, and understanding the install sequence your licensed plumber will follow.
Video Credit: AmplifyDIY
What 'Set-Out' Means and Why It Drives Every Decision
A set-out is the distance between the finished wall face and the centre of the drain outlet in the floor. Common set-outs in Australian bathrooms are 140 mm, 160 mm, and 180 mm.
If you order the wrong size toilet pan, it's going to cost you. I've seen this happen so often; people buy a toilet suite online that looks great, only for the plumber to arrive and realise that the cistern hits the wall or the pan doesn't align with the drain. Now they have to return the toilet, delay their project, and blow their budget.
So before you buy any toilet suite, check the set-out of your bathroom. If you're replacing an existing toilet, remove the pan. If it's a new build, make sure the set-out is already done. Measure from the finished wall face to the centre of the pipe opening in the floor. Make a note of the measurement, and bring it with you when you're shopping for a pan.
Be sure that your floor is also completed, because the set-out is measured from the finished wall. So if you haven't laid your tiles yet, be sure to account for that. Most adjustable pans allow for between 100 mm to 180 mm of set-out variation, so you have a little room for error here, but there are some models in the market from around 60 mm to 320 mm. The NCC 2025 Livable Housing Design Standard has minimum clearances around the toilet position as well, so if you're moving things around, get your plumber to check those measurements with you.
Now we know what the set-out of your bathroom is. Let's move on to the next issue that affects which pan you can use: the direction of your existing drain outlet, and that comes down to whether you have an S-trap or a P-trap.

S-Trap vs P-Trap: Which Drain Configuration Do You Have?
What I notice about most homeowners is that they don't necessarily know whether they have an S-trap or a P-trap, which is quite common. But that's okay; the names simply describe the shape of the drain path and the direction in which the water exits the pan.
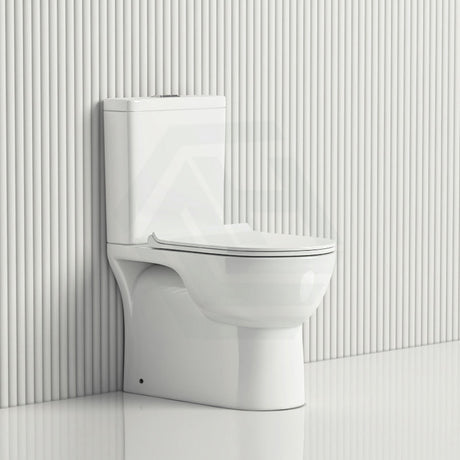
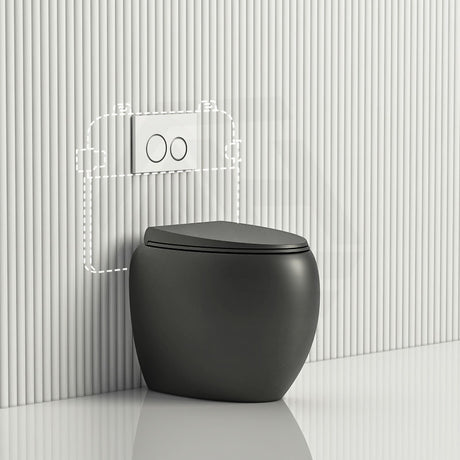
An S-trap drains straight down: waste leaves the pan and goes vertically through the floor. These are typically found in older homes that were constructed on a concrete slab, but they are still very commonly used in Australia today. A P-trap drains sideways — waste leaves the pan and exits through the wall. They're more commonly found on raised timber floors, and in many new builds.
To determine whether you have a P-trap or S-trap, check your set-out. If the outlet is in the floor, it's an S-trap; if it's in the wall, it's a P-trap.
This is important: you cannot fit an s trap toilet pan to a P-trap set-out, nor can you fit a P-trap pan to an S-trap set-out. It will be a non-compliant installation, and any licensed plumber will refuse to certify the work. Only P-traps and S-traps that comply with AS 1172.1 (WaterMark Certification Scheme) and are WaterMark certified can be used in Australia.
For a P-trap, the set-out isn't measured from the face of the wall. It's the height from the finished floor to the centre of the outlet in the wall. The standard height is 185 mm. This is not the distance from the face of the wall, despite what some sources might suggest.
Assuming you've already determined which trap type and pan size you require, here's what you'll need on the day so you don't have to dash to the hardware store during installation.

Tools, Materials and Pre-Install Checks
Your licensed plumber will make all the necessary connections. All plumbing work must be completed by a licensed plumber in every state and territory, and a compliance certificate must be provided when work is complete. However, you can ensure all materials are available ahead of time.
What you'll need:
1. A WaterMark-certified toilet suite or toilet pan and cistern 2. Rubber pan collar or pan connector suitable for your trap type 3. Cistern connector (flexible) 4. PTFE tape and silicone sealant 5. Pan fixing screws or bolts, or masonry anchors (for fixing into concrete) 6. Spirit level, adjustable spanner, hacksaw or PVC cutter
Prior to the job, make sure the water is turned off and the drain set-out is clear of debris and covered. Ensure your floor is level, as a sloping floor will cause the toilet pan to rock and compromise the sealant. Check that the set-out of your toilet matches the outlet position; don't estimate.

Step-by-Step Guide to Putting In a Toilet
The steps involved in putting in a toilet must be followed in a specific sequence, and your licensed plumber will complete each step in turn. A straightforward pan-and-cistern replacement on an existing set-out takes approximately one to two hours. Below is the process so you can keep an eye on a renovation if needed, or understand what your plumber is working through.
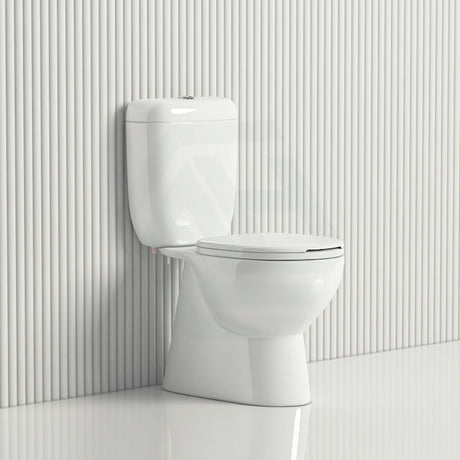
1. Your plumber will slide the toilet pan over the waste outlet and line up the trap with the floor or wall collar. 2. Your plumber will fix the pan to the floor with pan fixing screws (tile) or concrete screws (concrete), tightening by hand then a quarter turn further. Over-tightening will crack the vitreous china. 3. Your plumber will attach the trap outlet to the wall or floor collar using the rubber pan collar or pan connector supplied with the suite. 4. Your plumber will position the cistern onto the pan (close coupled) or mount it to the wall, then connect the cistern to the pan with the flush pipe. 5. Your plumber will connect the water supply to the cistern inlet, using PTFE tape on all threaded connections. 6. Your plumber will install the seat and ensure it's sitting square.
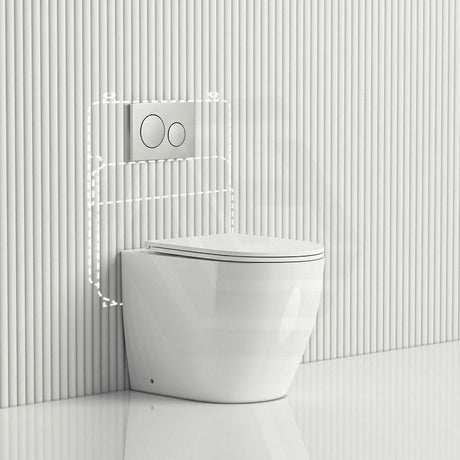
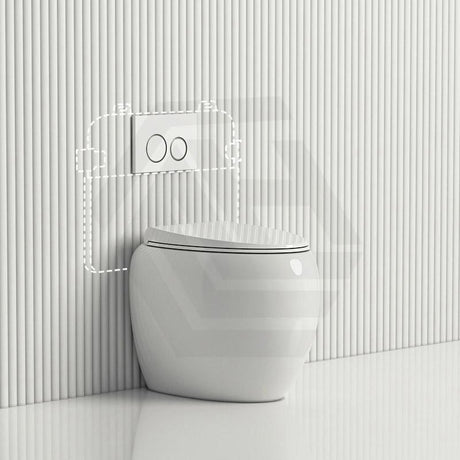
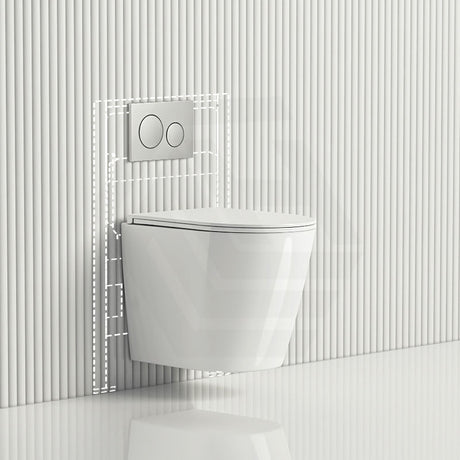
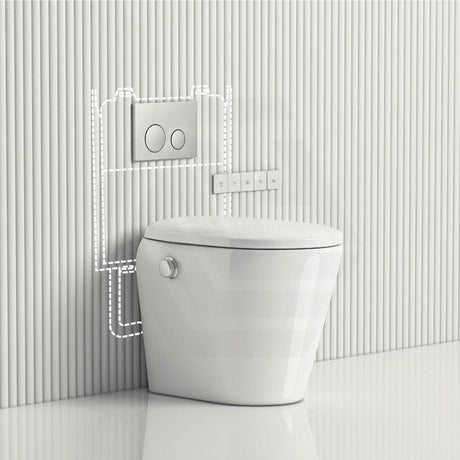
For a back to wall toilet, the cistern is mounted directly to the wall cavity or fixed within it, making steps four and five more complex. The toilet pan is installed to the drain in the same manner, but the cistern is accessed from the wall side and the water supply is connected differently.

Final Steps, Checking and Common Pitfalls to Avoid
A good plumber will fill the cistern and run two complete flush cycles to confirm everything works correctly. Run a dry paper towel along each connection to check for moisture.
Some common mistakes when putting in a toilet include:
• Not checking the set-out and ordering the wrong set-out size
• Over-tightening the pan bolts and cracking the toilet pan
• Failing to fit the pan connector correctly or not placing the rubber pan collar correctly
• Not caulking around the base of the pan with silicone, allowing moisture and bacteria to enter the gap
• Not ensuring the floor is flat before installing the pan
Materials for a standard toilet installation cost between $80 to $200, depending on the suite and whether a new collar is required. Labour costs for a licensed plumber range between $250 and $600 for a standard toilet swap-out. More expensive jobs involve replacing a rough-in, breaking through concrete or installing a back to wall toilet with a concealed cistern. It's best to get two or three quotes. If you're unsure which trap type suits your set-out, an s trap toilet or P-trap pan must match the existing outlet direction before any purchase is made.
References
National Construction Code 2025, ABCB Livable Housing Design Standard, Part 3 Internal doors and corridors and Part 4 Sanitary compartment
WaterMark Certification Scheme, Australian Building Codes Board
State and territory plumbing licensing authorities (Building and Plumbing Commission Victoria; Building Commission NSW / NSW Fair Trading; Queensland Building and Construction Commission; Plumbers Licensing Board Western Australia (administered by Building and Energy); Consumer, Building and Occupational Services Tasmania; Access Canberra ACT; Office of the Technical Regulator / Consumer and Business Services South Australia; Plumbers and Drainers Licensing Board Northern Territory)
AS/NZS 3500.2:2025 Plumbing and Drainage — Sanitary Plumbing and Drainage, Standards Australia