14 April, 2026
How to Install a Bidet: Types, Costs and DIY Guide
How to install bidet: practical DIY guide covering handheld sprayers, bidet seats, costs, tools needed, and common mistakes to avoid for a clean, leak-free setup in your bathroom.

What You Need to Know Before Installing a Bidet
You've decided to install a bidet, a brilliant idea! But before you roll up your sleeves, crack open your toolbox, and hit play on a YouTube how-to video, let's take a quick look at what you're dealing with.
Put simply, a bidet connects to your toilet's water supply to flush a targeted stream of water for your backside. How you go about connecting this stream is entirely dependent on which bidet model you choose, though the good news is that most are designed for DIY installation. You do not need a plumber to install a bidet seat, for instance, but if you're after a freestanding bidet, you should engage one.
First things first, you should take a peek around the back of your toilet to locate the water shut-off valve; this will be the pipe into which your bidet will connect. If your shut-off valve is rusty or hard to turn, it could be a good time to upgrade it. Secondly, should you be looking at electric seats, you'll want to check whether a power point is installed within reach of the unit (most Australian bathrooms don't have this already, so it could have a bearing on your decision).

Types of Bidets and What Installation Involves
There are a few different kinds of bidets you can purchase and install in your own home: handheld bidet sprayers, non-electric bidet seats, electric bidet seats, and standalone bidets. Here's everything you need to know about their installation process, costs, and complexity levels to help you decide which one is right for you.
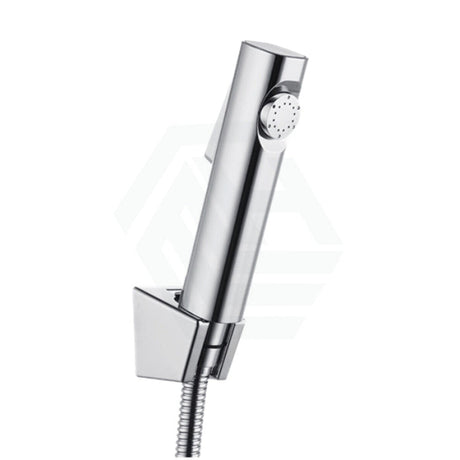
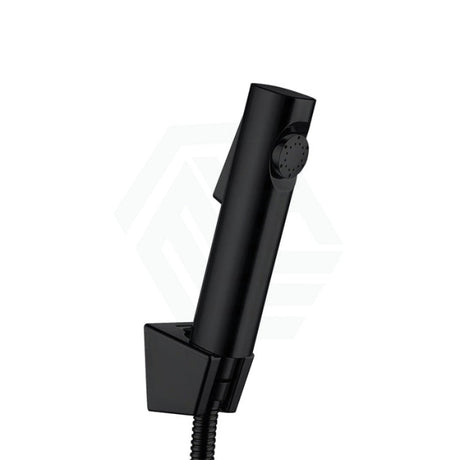
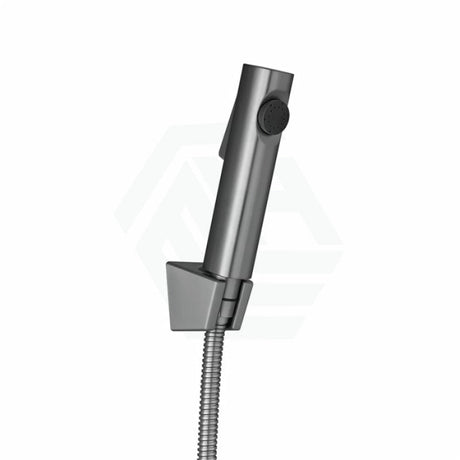
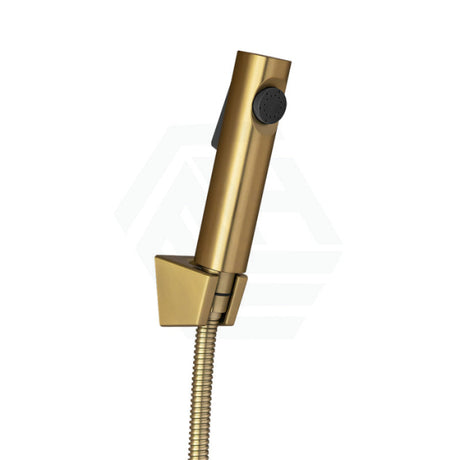
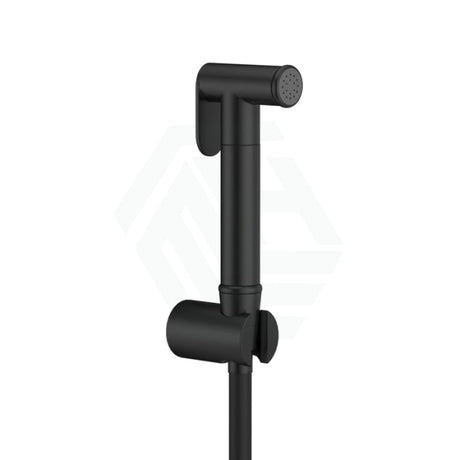
Handheld Bidet Sprayer Hands-down the simplest to install is a handheld sprayer, essentially a miniature shower head on a flexible hose that you mount onto the side of your toilet. You'll need to screw a T-adapter onto the toilet's water supply behind your toilet (and then attach the hose to the adapter), but that's basically it. The process usually takes only 15 to 30 minutes. A sprayer will range from $30 to $100, and the tools you'll need are as basic as an adjustable wrench and some plumber's tape.
Non-electric bidet seat A non-electric bidet seat, as the name suggests, requires no electricity. Instead, these seat-styles hook up to the cold water through a T-adapter, just like a sprayer. The installation process is a little longer than a sprayer as it involves removing your old toilet seat and replacing it, which can take 30 to 60 minutes to do. Seats will cost between $50 and $200, but the only knowledge you'll need to be a successful installer is the ability to unscrew and then replace a toilet seat; it shouldn't be any more complicated than putting in a new lightbulb.
Electric Bidet Seat An electric bidet seat ups the ante with warm water, heated water, temperature adjustments, pressure adjustments, and in some models, a warm-air dryer or nightlight. The installation itself isn't much different from that of a non-electric seat, except for one major thing: a power point has to be installed if you're installing one. If there isn't already a power point within range of your toilet, you'll need to hire a licensed electrician to put one in for you (which will range from $200 to $400, on top of the $300-$1200 for the unit itself).
Standalone bidet require floor space, a hot and cold water supply and a separate drain. It's best left for a licensed plumber and will cost $1,500 to $4,000 for the equipment plus installation.

Costs, Tools and What to Budget For
Cost is one of the first things to ask when doing a bidet installation guide. Here's a breakdown of what the average Australian should expect to pay.
The handheld bidet sprayer kit will cost anywhere from $30 to $100, plus $15 for plumber's tape and a wrench if you don't already own them. The only ongoing maintenance costs are a replacement hose every few years.
A non-electric bidet seat will cost $50 to $200. This generally includes the T-adapter and you may require mounting bolts for your toilet (most hardware stores sell these for under $10) to match the toilet if required.
For an electric bidet seat, it's $300 to $1,200 for the seat with an additional $200 to $400 in electrician fees if you require an electrical point. Many people use a power extension cord for this as a temporary solution, however, it's generally not safe for long term use in a wet area.
The tools needed for all DIY bidet installations will generally be limited to an adjustable wrench, plumber's tape, screwdriver and a towel (for any small amount of spillage). Have a bucket on hand when disconnecting the water supply to catch any water.

Step-by-Step DIY Bidet Installation
If you want to learn how to install a bidet seat or handheld sprayer yourself, this guide will explain how.
To install a handheld bidet toilet sprayer, the process starts by turning off the water supply valve behind the toilet. Flush the toilet and disconnect the water supply hose from the bottom of the cistern. Then, attach the T-adapter to the fill valve at the bottom of the cistern, this will separate your water line into two. Attach the water supply hose to one side of the T-adapter and then the bidet sprayer hose will be attached to the other side. The sprayer holder attaches to the wall and your toilet using the provided bracket.
For how to install bidet toilet seat, the process begins by turning the water off and flush the toilet and disconnect the water supply hose from the toilet. Remove your existing toilet seat from the bottom using the mounting bolts. Then place the bidet toilet seat's mounting plate on your toilet and secure them. Attach the bidet seat to the mounting plate until it clicks into place. Attach the T-adapter and the bidet's water supply hose similar to how you would a handheld sprayer.
Check all of the fittings for leaks when the supply is turned back on. If you see any small dribbling from a fitting, just tighten that up a quarter turn or perhaps put some more tape on the threads. Run your bidet several times to clear the line and test out the water pressure.

Common Mistakes and Professional Tips
Now you know how to install a bidet, but understanding how does a bidet work is only half the battle. There are also a few common mistakes you should know about. Even a simple installation can be done wrong if a few steps are missed, and here's the most common mistakes and the professional tips you need to avoid.
Perhaps the most common mistake is not checking water pressure before you begin. If you have low water pressure in your home, then any non-electric bidet seat or sprayer will provide a low-pressure water spray which won't be satisfying to you. In this case, an electric bidet with a pump is recommended. To test your water pressure, fill a one-litre water container from the closest tap to your toilet. If this takes more than six seconds, you have low water pressure.
Another common mistake is not adding plumber's tape to threaded joints. All threaded joints should have two or three turns of tape clockwise, which prevents any slow leaks that could cause water damage to the bathroom floor.
If you are considering adding a toilet lid with bidet functionality, you must ensure to measure your toilet before buying. All Australian toilets will come in round or elongated, and bidet seats are made for specific dimensions. You should measure from the mounting bolt holes to the front of the toilet bowl. This will tell you which seat would fit your toilet. If you are looking to buy a bidet wc seat, make sure you check the measurements with the toilet seat.
Another professional tip is to always turn the water back on slowly. If you open the water valve too fast, this can create a water hammer, which can damage your fittings and can potentially crack your toilet cistern in older toilets.