24 September, 2026
Back to Wall Toilet Installation: A Step-by-Step AU Guide
Understand every stage of back to wall toilet installation, from measuring the set-out to choosing a suite and calling a licensed plumber.

Picture this: you've measured twice, ordered the pan you love, and the plumber turns up only to tell you it doesn't fit your outlet. Frustrating, right? Here's the honest overview — get your measurements sorted, get a licensed plumber to connect the pan to the waste, then finish it off yourself with the seat and button. A typical swap from an old pan to a new one takes around two to three hours from start to finish, and once the set-out is confirmed on paper, the rest is refreshingly straightforward. This guide walks through each stage in order, so nothing gets missed.
Video Credit: How 2 Extreme
What a Back to Wall Toilet Installation Includes
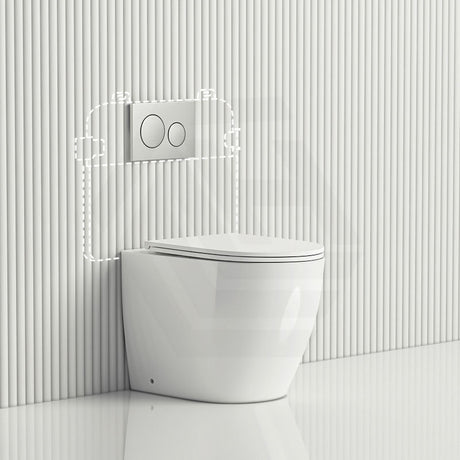
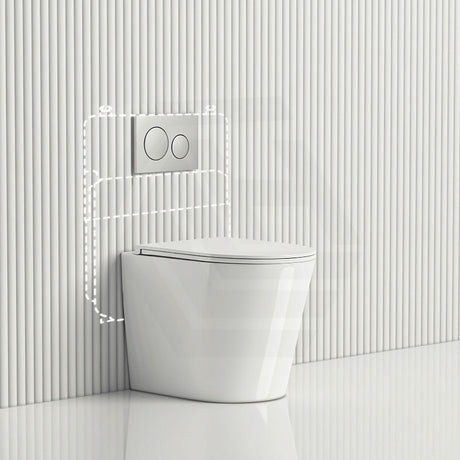
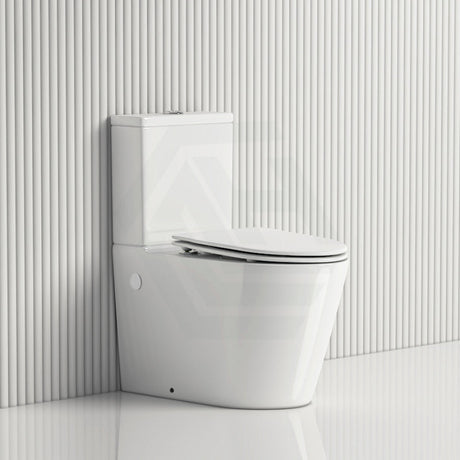
First off, let me clarify this clearly before we dive deeper. A back to wall toilet installation is a setup where the pan butts directly into the wall, and the cistern is hidden behind gyprock or placed in a low-profile cabinet or box-in, leaving only the sleek pan visible without any exposed pipework. It's currently the most popular type of toilet in Australian homes, and for good reason: it looks neat, it's easy to maintain, and there's no mould in the gap between a close-coupled cistern and the wall anymore!
However, what many homeowners don't realise is that although you can tackle the planning, procurement, and finishing touches, the actual linking up of the pan to the waste is a job for a licensed plumber in every state and territory, without exception.

Before You Start: Measuring Your Set-Out and Choosing the Right Suite
This is the point where DIY plans either soar or fail. The set-out (Australian terminology for rough-in, although often the terms are used interchangeably) tells you which toilet suite will suit your existing plumbing.
| Outlet Type | Set-Out Measurement | Measured From |
|---|---|---|
| S-trap (floor outlet) standard | 180mm | Finished wall to centre of floor outlet |
| S-trap (floor outlet) alternative | 160mm | Finished wall to centre of floor outlet |
| S-trap (floor outlet) alternative | 140mm | Finished wall to centre of floor outlet |
| S-trap adjustable pan with offset connector | 100-180mm | Finished wall to centre of floor outlet |
| P-trap (wall outlet) standard | 185mm | Finished floor to centre of wall outlet |
For an S-trap (floor outlet), the distance is measured from the finished wall to the centre of the floor outlet. Most set-outs available are approximately 180mm, followed by 160mm and 140mm, with adjustable pans with an offset connector covering about 100–180mm if you're unsure of the measurement.
For a P-trap (wall outlet), the measurement is taken from the finished floor to the centre of the wall outlet; it's a height, not a distance from the wall. Standard is 185mm. This is the most common and irritating mistake I encounter.
Also note, if there's a sanitary compartment, the National Construction Code mandates a minimum clearance of 1200mm by 900mm from the front of the pan, and 900mm clear width between opposing walls on either side (NCC 2025, ABCB Livable Housing Design Standard).

How the Installation Process Works, Step by Step
Once you've got those clearances sorted on paper, it's time to get stuck into the actual job. After removing the old toilet (which I must say is quite gratifying, as nothing beats stripping off years of grime!), your plumber will place the new pan against the wall to ensure it fits and aligns correctly with your measured set-out. A typical swap from an old pan to a new back to wall toilet installation takes around two to three hours from start to finish.
Then, it's all in the realm of licensed plumbing. The pan connects to the waste using a pan connector for a wall outlet, or a rubber pan collar for a floor outlet, not a wax ring, which is an American fitting you won't see in an Australian van. The pan is secured to the floor using pan fixing screws or bedded in mortar, and the connection complies with AS/NZS 3500.2:2025.
No, you cannot do this yourself, regardless of the many YouTube videos claiming otherwise. Plumbing licensing laws in every state and territory mandate that this work must be performed by a licensed plumber, who'll provide a compliance certificate upon completion.

Choosing Your Back to Wall Toilet Suite and S Trap Toilet Configuration
At this stage, I recommend taking a moment and double-checking your outlet before becoming enamoured with a toilet suite online. Both S-trap and P-trap options are perfectly legal, (WaterMark Certification Scheme), and equally standard under the national certification scheme. Neither is outlawed, limited, or considered the "correct" choice today. Ultimately, the decision depends on the location of your existing waste outlet.
When shopping for a back to wall toilet suite for a floor outlet bathroom, search the back-to-wall subset of s trap toilet options rather than the entire range, which also includes pans, smart toilets, and accessibility models, none of which apply to this article.

The Finishing Details: Flush Buttons, Seats, and Common Pitfalls to Avoid
Once your plumber has approved the connection, it's time to select a toilet flush button plate, install the seat (top-fixing bolts are the easiest), and add any other small items to finish your back to wall toilet installation. These tasks are all simple DIY jobs.
Where people frequently make errors: assuming the set-out without taking a proper measurement, bypassing the need for a licensed plumber, or using American nomenclature when ordering components, which almost invariably leads to receiving the incorrect part. Measure accurately and leave the connection to the plumber, and everything else is straightforward.
References
National Construction Code 2025, ABCB Livable Housing Design Standard, Part 3 Internal doors and corridors and Part 4 Sanitary compartment
AS/NZS 3500.2:2025 Plumbing and Drainage — Sanitary Plumbing and Drainage, Standards Australia
State and territory plumbing licensing authorities (Building and Plumbing Commission Victoria; Building Commission NSW / NSW Fair Trading; Queensland Building and Construction Commission; Plumbers Licensing Board Western Australia (administered by Building and Energy); Consumer, Building and Occupational Services Tasmania; Access Canberra ACT; Office of the Technical Regulator / Consumer and Business Services South Australia; Plumbers and Drainers Licensing Board Northern Territory)
WaterMark Certification Scheme, Australian Building Codes Board