06 May, 2026
Ensuite Layout Ideas: Fitting a Freestanding Bath into a Compact Space
Ensuite layout ideas for compact spaces: smart ways to fit a freestanding bath with optimal clearances and layouts. Create a luxurious yet practical bathroom in your Australian home.

Why Freestanding Baths Work in Compact Ensuites
Did you know that the floor space of a freestanding bath is actually smaller than that of an alcove bath? When you think about the space needed to surround an alcove bath with tiled panelling, plus the shower hob, and all the plumbing boxes needed for a shower, you have a much larger footprint. Freestanding baths, meanwhile, simply live inside the bathroom, so you can clean around them easily, while still leaving you with plenty of wall space behind them for other fixtures.
It is a fine line when it comes to a freestanding bath dominating your small ensuite if the planning is not right from the start. However, if you do plan the ensuite layout correctly then plenty of Australians are pulling off small ensuite designs with freestanding baths.
It is therefore important to know why freestanding baths can be space-efficient when it comes to your small ensuite design before you decide the exact location and configuration of the bath in your ensuite.

Ensuite Layout Strategies for Small Spaces
So how does everything fit? This is where small ensuite ideas really come into their own, because only a few different arrangements work in a small space: linear, L-shaped, and a wet room. Each arrangement works best in a room with a different shape and size.
In a linear or galley layout, all the fixtures are located on one or both of two parallel walls. The toilet and vanity are arranged first, then the freestanding bath sits at the back of the ensuite. A linear layout is great for narrow rooms and makes it easy to navigate through the room, as the flow pattern is straightforward. The L-shaped layout has the fixtures arranged on two adjoining walls, which is a great option for an ensuite with a square floor plan. Having the freestanding bath along one side of a square room means it can be placed naturally into a corner, making better use of the space. The wet-room arrangement, where the bath and shower are both located within the same waterproofed floor area on one level, is the most space-efficient of all when executed properly.
With a bath plus shower, try to have at least 3 m² of clear floor area. Below this, it gets really challenging to maintain comfortable clearances for both a shower and freestanding bath. The other consideration is sequencing — the toilet should be closest to the door, the vanity second, and the bath at the far end. A layout in this order avoids a bottleneck of traffic. Wall-hung vanities and sliding pocket doors help save valuable space in a small bathroom that would otherwise make it feel cramped.
Once you have picked an ensuite layout to your preference, it is time to get the numbers right. You cannot simply place a freestanding bath in a small ensuite without paying attention to its size and the necessary clearances.

Sizing, Clearances, and Plumbing Considerations
Most freestanding baths are 1400–1700 mm long and 700–800 mm wide, depending on their design. The 1500 mm length is the practical minimum for comfortable adult bathing, so resist the temptation to go shorter just to save floor space. Crucially, there must be a minimum clearance of 300 mm on the sides of the bath and 600 mm at the access end. These are the figures referenced in the NCC 2022, ABCB Housing Provisions, Part 10.2 for wet area compliance.
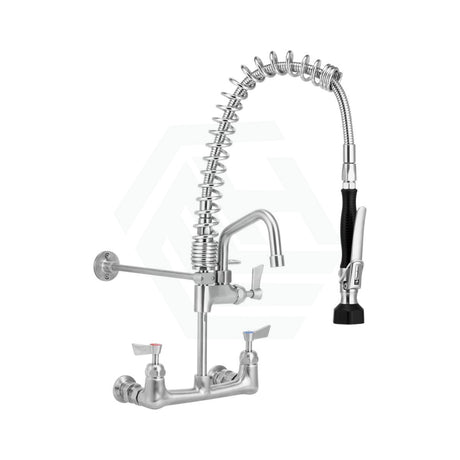
Plumbing position is the single biggest variable that catches people out. A floor-mounted mixer requires floor penetrations that must be roughed-in before tiling — change your mind afterwards and you're looking at tile removal and replumbing by a licensed plumber. A wall-mounted bath spout is far more forgiving in a compact ensuite: no floor penetrations, cleaner visual lines, and easier access for your licensed plumber to connect to. The surrounding walls, floor, and bath surround all need to be waterproofed to AS 3740:2021 and must be left to cure for 24 to 48 hours before tiling can begin.

Choosing the Right Freestanding Bath for Your Ensuite
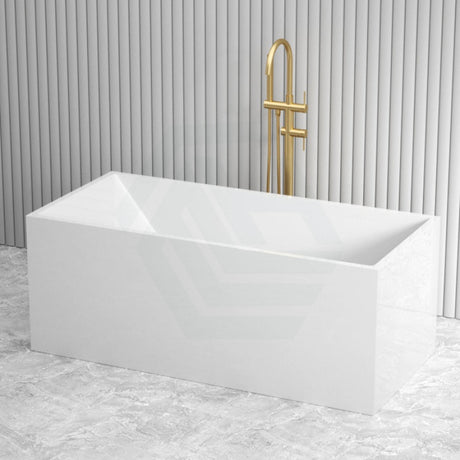
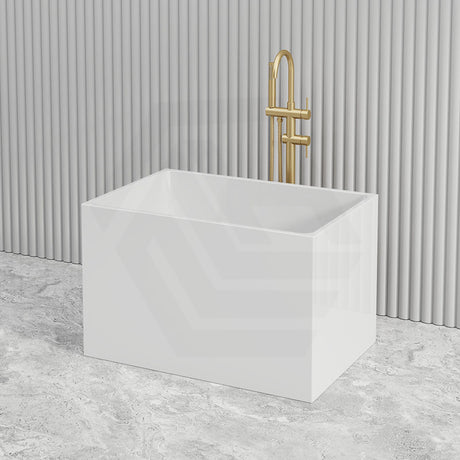
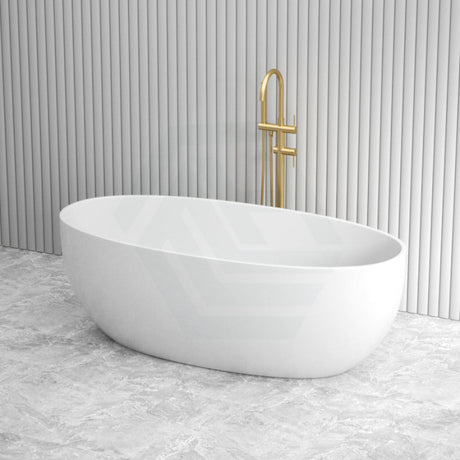
There is more to consider than just the aesthetics of a bathroom freestanding bath, as material can make a major difference to your ensuite. Acrylic freestanding baths have a layer of fibreglass bonded to the underside for strength and typically weigh 25–40 kg, making them a safe option for most timber floors across Australia. The material is lightweight and heats up quickly, making it well suited to smaller spaces. Broadway and Poseidon both have ranges of acrylic freestanding baths available.
Stone resin freestanding baths weigh 100–160 kg, retain water temperature longer, feel solid underfoot, and are available in a wide range of colours. They are significantly heavier, so confirm your floor can accommodate the additional weight before committing — talk to your builder. Cast iron freestanding baths are the heaviest option, ranging from 150–250 kg. In smaller ensuite areas, you may need to consult a structural engineer to ensure the floor can carry the load.
Freestanding baths come in many styles and shape profiles, so pick one that fits the proportions of your room. A flat-bottomed design sits low to the floor and suits lower ceilings and more intimate ensuite spaces. A slipper bath is raised at one end for extra comfort. A double-ended freestanding bath suits centrally placed designs. A freestanding corner bath is not a separate product category — it is simply a placement approach where a freestanding bath is positioned into the corner of the ensuite to utilise space better and leave clearance on each side. Do not overdo the size or profile, as it could make the room feel cramped.
Ensure your free standing bath and tapware are WaterMark certified — it is against plumbing regulations for a licensed plumber to connect any non-certified product. A wall-mounted spout is our top recommendation for small ensuite bathroom ideas, as it has no floor penetrations and keeps the look clean.

Budgeting for Your Ensuite Renovation
Understanding ensuite renovation cost is the reality check every project needs. Expect a freestanding bath to cost from $878 up to $4,000. Plumbing the rough-in and relocating existing waste to accommodate your chosen freestanding bath costs between $800–$2,500 depending on complexity, and tiling supply and installation around the bath zone runs $50–$120 per m² (AS 3740:2021 waterproofing included). Factoring in your chosen fixtures, vanity, toilet, trades, and labour, a compact ensuite renovation should sit somewhere between $10,000 and $25,000, with Sydney and Melbourne typically at the higher end.
The three most common budget blow-outs are: waterproofing remediation, structural upgrades required to support heavier stone resin or cast iron baths, and additional plumbing where the freestanding bath is relocated away from existing waste and water lines. Have these discussions before demolition begins. A compact ensuite renovation typically takes four to six weeks from demolition to completion. By finalising your ensuite layout, bath selection, and plumbing scope beforehand, your project is far more likely to finish on time and within budget.
References
National Construction Code 2022, ABCB Housing Provisions, Part 10.2 Wet Areas
AS 3740:2021 Waterproofing of Domestic Wet Areas, Standards Australia
WaterMark Certification Scheme, Australian Building Codes Board
HIA (Housing Industry Association) — Bathroom Renovation Cost Guide 2025