05 May, 2026
Small Bathroom Layout with a Back-to-Wall Bath: Space-Saving Design
Small bathroom layout with back-to-wall bath: space-saving designs, clearances, and fixture placement tips. Practical ideas to maximise compact Australian bathrooms while maintaining functionality and style.

Why a Back-to-Wall Bath Suits a Small Bathroom Layout
If you are working with a small bathroom with bath, there is a strong argument for considering a back-to-wall option. Often, the first casualty in a smaller bathroom is the bath itself. Clients frequently choose to forego the bath entirely before considering a back-to-wall as an alternative.
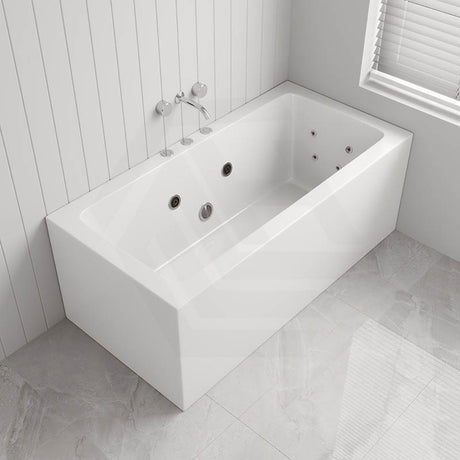
This type of bath has a flat back panel that sits flush against the finished wall behind, be it a tiled surface or a prefabricated surround. That panel serves a double function in the layout. It prevents the need to clean behind the bath — something that is impossible to avoid in a completely freestanding solution — and it visually pulls the mass of the bath back to the perimeter. This is especially beneficial in a small bathroom layout. If you are specifying a freestanding bath, you must allow a minimum clear space of 700 mm around all openable sides of the bath. In a 3 m × 2 m bathroom, such a requirement could consume most of the available floor area. However, with a back-to-wall bath, all floor space behind the bath is completely recovered.
So, what is the argument for a back-to-wall bath in a small bathroom design? A back-to-wall bath offers the space efficiency of a built-in bath while still reading as a design-led feature. Plumbing can often be kept short, a factor that becomes increasingly important when you are on a tight budget.

Measuring Up: Minimum Dimensions and Clearances
With that argument made, you are in a better position to understand whether the back-to-wall bath is an appropriate option for your bathroom layout. You need to make some measurements.
Back-to-wall baths come in sizes ranging from 1500 mm × 750 mm to 1700 mm × 800 mm. The 1500 mm bath is usually sufficient for adults. A bath smaller than 1500 mm is not recommended, however tight your small bathroom layout is. A 1500 mm bath is often suitable in a bathroom space of 4–5 m², while a 1700 mm model generally requires at least 5.5 m².
The clearances are as important as the dimensions of the bath itself. A minimum of 700 mm is required on the open long side of the bath. The door swing zone of 900 mm must be completely clear, and the door opening itself carries its own minimum requirement. A minimum 820 mm clear door opening (NCC 2022, ABCB Housing Provisions, Part 12.2) is required by the NCC 2022 for new Class 1a dwellings. On drawings, the thickness of wall tiles is often overlooked — typically 10–12 mm per tiled surface — and how far the bath apron projects from the finished wall face will further reduce your clearances if not accounted for at the planning stage.

Smart Layout Configurations for a Small Bathroom with Bath
Once you know your clearances, you can start arranging fixtures. The way in which you arrange them will go a long way to determining how your finished bathroom feels.
There are three configurations that work reliably well for a small bathroom with bath. A linear or galley arrangement places the bath along one wall, with the vanity and toilet opposite — this suits narrower rooms of approximately 1800 mm wide and 3000 mm long. An L-shaped arrangement places the bath on the short wall with the vanity and toilet along the long wall, suiting near-square rooms of 2400 mm × 2400 mm or larger. A corner arrangement places the bath in a full corner with both the rear and side panels against tiled walls, which is particularly effective for small bathroom layout ideas because it anchors the bath visually and keeps the centre of the room clear.
Fixture sequencing also matters. Positioning the bath furthest from the door, with the vanity at mid-point and the toilet closest to the entry, creates a natural wet-zone separation that functions well and feels considered. A back to wall freestanding bath pairs well with a wall-hung vanity in the 400–600 mm width range and a back-to-wall toilet, keeping the floor area beneath those two fixtures open and improving the perceived scale of your small bathroom layout.

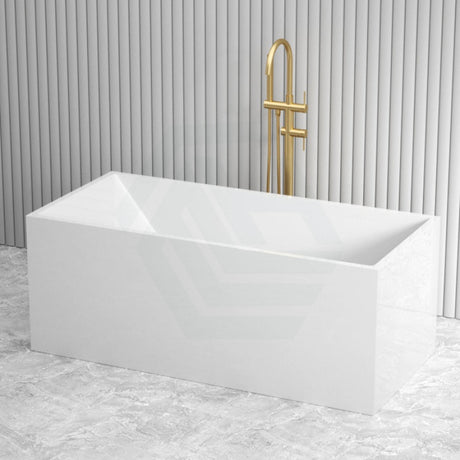
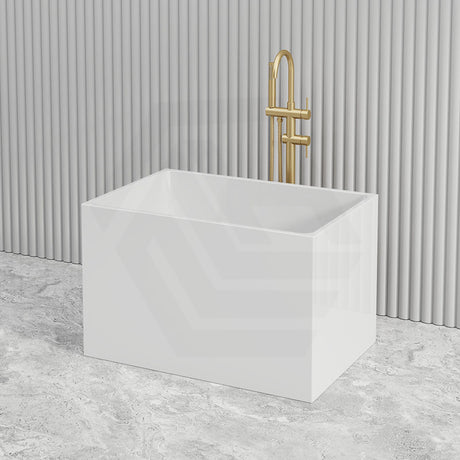
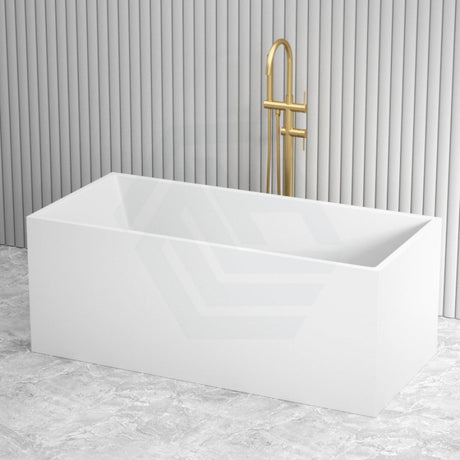
Choosing the Right Back to Wall Freestanding Bath
Once you have established your small bathroom layout and confirmed where the bath will sit, you can move on to selecting a bath. Size, material, and tap ware all influence price and suitability. The most common material for back to wall freestanding bathtubs in Australia is acrylic with fibreglass reinforcement — lightweight, comfortable, and reasonably priced. Quality back to wall freestanding bathtubs from brands such as Broadway, Poseidon, and ABS are priced from $938–$2,085 AUD. If you prefer a bath that retains heat longer and feels more premium, a solid surface or stone resin composite is worth considering — note that this material is heavier, so ensure your builder and plumber are informed. A wall-mounted bath mixer or wall spout costs $36 to $467 AUD, keeps the bath surround clear, and supports safe entry and exit with step-over heights below 500 mm.

Installation Considerations and Common Mistakes to Avoid
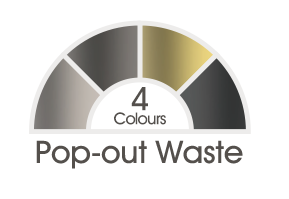
Selecting a back to wall freestanding bath is only half of the equation. Correct installation ensures the bath is properly waterproofed and sealed for longevity. A frequent mistake is having the waste roughed in before the bath is selected — your plumber will need to confirm waste placement based on the specific bath chosen. Your waterproofer will need to waterproof all bath-adjacent walls to a minimum of 150 mm above the bath rim (NCC 2022, ABCB Housing Provisions, Part 10.2) (AS 3740:2021) and apply a minimum 40 mm horizontal flashing leg at all wall-to-floor junctions. This must be carried out by a licensed waterproofer before the bath and tiling are installed.
If your small bathroom layout is 5.5 m² or more, you may consider upgrading to a free standing spa bath tub. In this case, your plumber will install the bath drain and a licensed electrician will connect power to the spa jet pump. You will also need to confirm the floor structure can handle the additional weight when the spa is filled, and ventilation is another compliance item that must be locked in early. In the absence of an external window, any small bathroom design must provide a minimum of 25 L/s mechanical exhaust ventilation (NCC 2022, ABCB Housing Provisions, Part 10.8) under NCC 2022 — confirm this with your builder before wall construction begins. Once ventilation, drainage, and structural requirements are all confirmed, a small bathroom layout can comfortably accommodate a back-to-wall bath and meet all relevant requirements.
References
National Construction Code 2022, ABCB Housing Provisions, Part 12.2 Livable Housing
AS 3740:2021 Waterproofing of Domestic Wet Areas, Standards Australia
National Construction Code 2022, ABCB Housing Provisions, Part 10.2 Wet Areas
National Construction Code 2022, ABCB Housing Provisions, Part 10.8 Condensation Management