13 July, 2026
How to Install Shower Screen: An Aussie Homeowner's Reference
Learn how to install shower screen correctly with our guide covering tools, screen types, sizing, sealing, and waterproofing for Australian bathrooms.

Honestly, your shower screen can lift the whole bathroom — or drag it down completely. Nail it, and that dead-ordinary bathroom? Suddenly it's something worth showing off. Mid-reno, everything clicking along nicely — then the shower screen becomes the one thing that blows up the whole job. Been there. What separates a screen that holds up for a decade from one that's dripping by July? Every bit of it traces back to the prep work — done before a single screw touches the wall. Let's dive in.
Video Credit: M J Tiff Plumbing
What to Have on Hand Before You Even Pick Up a Drill
Before a single thing goes on the wall, have every tool and material right there. No exceptions. Halfway through the job, heart sinking — you've left the wall plugs out in the car. Classic.
What you'll need:
• power drill with masonry and tile-specific bits — diamond tip on tiles, full stop (more on that below)
• a spirit level
• silicone gun
• tape measure
• pencil
• rubber mallet
You'll also need neutral-cure, mould-resistant silicone sealant and the correct wall plugs and screws. Budget approximately $30–$60 for the silicone, plugs, and screws. Any shower screen should be delivered with its aluminium channels, brackets, and fixings included. Note: these must all be WaterMark certified in order to comply with Australian plumbing standards — it is compulsory.
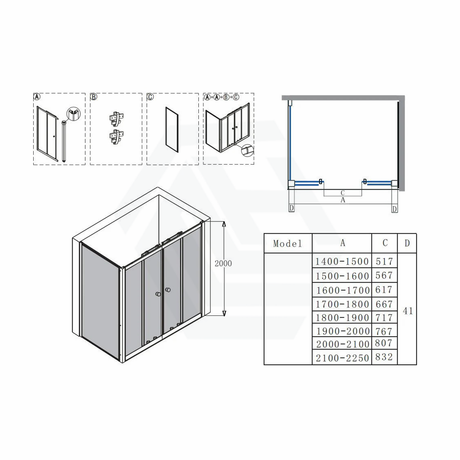
Before purchasing anything, measure your shower recess to understand the required width, height, and return wall depth. Check the wall material in your shower — whether it is tiled, rendered, or timber framed — to ensure you're using the best fixing method. After all the tools and consumables are ready, choose the right screen type and configuration. Because if you get the dimensions wrong, all that installation knowledge in the world doesn't help you.

Understanding Shower Screen Types and Sizing
Fair warning: this is the part most people get wrong — and also the most interesting bit.
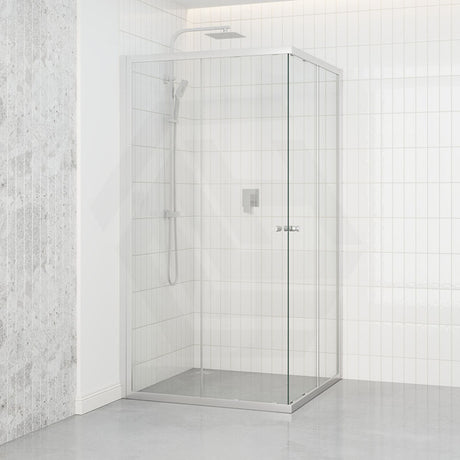
Three main types of shower screen exist here in Australia — framed, semi-frameless, and frameless. A full aluminium border wraps around 6mm tempered glass — that's the basic anatomy of a framed screen. Cost-wise, framed screens sit at the lower end of the $130–$2,550 range — and they're the easiest of the lot to put in. Bump up to semi-frameless and the glass runs 8–10mm with just a touch of framing; strip that away entirely and you've got 10mm tempered safety glass with nothing holding the edges. The weight difference between 6mm and 10mm glass is no joke — frameless screens need rock-solid anchoring, and for that job, call in a professional.
Australian law requires shower screen glass to meet AS/NZS 2208:2023 on safety glazing — and the install itself has to line up with AS 1288:2021, which covers glass selection and human-impact performance. Compulsory. Not optional, not advisory — compulsory.
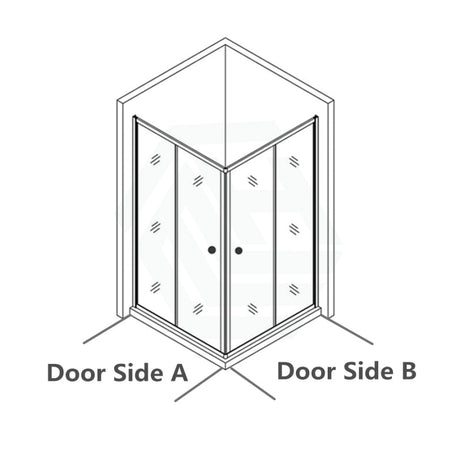
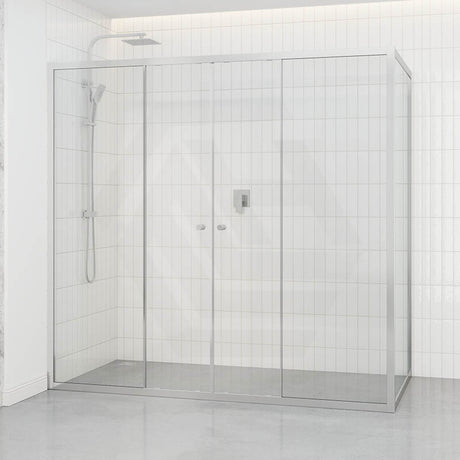
Height-wise, 2000mm is the standard, though certain models stretch up to 2100mm. Pivot or sliding — those are your two door options. In a tight bathroom where a swinging door's a problem, sliding wins every time. Across those configurations and price points, Covey, Fienza, and Aquaperla all have decent options worth a look.
Right — screen picked, recess measured up. Grab the drill; it's time to get into it.

The Install, Step by Step
Sequence is everything here — skip a step and the problems show up later, usually at the worst time.
Pencil and spirit level in hand, mark out the exact position of the wall channels. On a tiled wall, keep your speed low and use a diamond-tipped drill bit — rush it and you'll crack the tile — then push in your wall plugs. Fix the bottom track or wall jamb to the wall, check it's level, then lock it off permanently. Older bathroom walls are almost never square, so keep shims handy — a 2–3mm variance is enough to throw off how the glass sits.
Channels locked in, use the manufacturer's instructions to slide or hang the glass panel, fit the door, verify it swings freely, check plumb, and fasten it off. Watch your torque — go too hard and the aluminium around the brackets will crack. Under NCC 2025 and AS 3740:2021, a licensed waterproofer must install and fully cure the waterproofing membrane before the screen goes anywhere near the wall. Once the substrate is prepped, a confident DIYer can expect the framed screen install to take two to four hours.

Final Adjustments, Sealing and Waterproofing
Patience is key. Everything in place? Run a bead of neutral-cure, mould-resistant silicone sealant along the walls, channels, and glass panel. Steer clear of acid-cure silicone — it'll react with the aluminium and cause problems down the track. Run a wetted finger or tool along the sealant to smooth it off, then leave it alone for 24 hours before any water hits it.
Under NCC 2025, shower walls need waterproofing to a minimum height of 1800mm above the floor substrate — and a licensed waterproofer must do that work before the screen is installed. Sealant fully cured, go back and check the door alignment, dial in the hinge tension, and clip on the magnetic strip if your screen has one.

Practical Tips and Mistakes Worth Avoiding
Never use anything but a diamond-tipped drill bit on tiles — a masonry or metal bit will crack the tile and be far more costly to fix. Drill slowly and never use the hammer setting. Use a spirit level throughout; walls can appear square to the naked eye but often aren't, and a screen that isn't plumb can cause the door to swing freely. Don't use acid-cure silicone near aluminium. If pivot hinges aren't tightened correctly, the door will sag — follow the manufacturer's recommended torque.
If you're installing over bath shower screens, your considerations differ greatly from a standard shower recess install. With a bath shower, the bottom channel sits on the rim of the bath tub rather than the tiled floor, and you must assess that rim's width and material before fixing. A bath shower is a separate installation altogether — with its own fixing method, sealing approach, and load path requirements. Do not attempt to combine the two methods.
Understanding how to install shower screen correctly — whether for a standard recess or a bath surround — means respecting these distinctions. All structural and waterproofing work must be carried out by a licensed tradesperson to meet your state or territory plumbing and drainage requirements.
References
WaterMark Certification Scheme, Australian Building Codes Board
AS/NZS 2208:2023 Safety glazing materials in buildings (incorporating Amendment No. 2:2025), Standards Australia
AS 1288:2021 Glass in buildings — Selection and installation, Standards Australia
AS 3740:2021 Waterproofing of Domestic Wet Areas, Standards Australia
National Construction Code 2025, ABCB Housing Provisions, Part 10.2 Wet area waterproofing
State and territory plumbing licensing authorities (Building and Plumbing Commission Victoria; Building Commission NSW / NSW Fair Trading; Queensland Building and Construction Commission; Plumbers Licensing Board Western Australia (administered by Building and Energy); Consumer, Building and Occupational Services Tasmania; Access Canberra ACT; Office of the Technical Regulator / Consumer and Business Services South Australia; Plumbers and Drainers Licensing Board Northern Territory)