22 September, 2026
How to Put In a Toilet: What You Can and Can't DIY in AU
Understand how to put in a toilet in Australia — what work needs a licensed plumber and what doesn't. Get cost estimates and make informed decisions.

Imagine standing in your bathroom, new toilet suite in hand, wondering exactly how much of this job you're legally allowed to tackle yourself — and how much needs a licensed tradie. The answer splits neatly into three areas of work: mechanical, plumbing (licensed) and cosmetic. So, while you can position the pan, fit the seat, and attach the flush button, connecting the toilet pan to the waste pipe and the water supply line must be done by a licensed plumber — expect to pay approximately $150 to $350 for the licensed work alone. Not as daunting as it sounds!
Video Credit: Rosco's Plumbing and Gas
What the Job Actually Involves: A Quick Overview
Putting in a toilet is split into three areas of work: mechanical, plumbing (licensed) and cosmetic. If you're wondering how to put in a toilet, you should know what's required for each component. Basically, it means isolating the water supply, disconnecting and removing the old toilet pan, fitting the pan connector to the waste outlet, securing the new toilet pan in place and bolting it down, and finally connecting the cistern or in-wall flush system.
Australian plumbing law classifies every part of this job separately. The key components are:
• pan (or bowl)
• pan connector (connects the outlet on the pan to the soil and waste stack on the floor or wall)
• cistern
• flush button or flush plate
• water supply line to isolation valve
• floor bolts
You can do certain parts of this job yourself, while others absolutely must be completed by a licensed plumber. There are no exceptions to this rule.

What You Can Legally DIY in Australia
So now we know what goes into putting in a toilet, the big question becomes: which parts of that process can Australian homeowners legally DIY? The answer isn't as much as you'd like, but there are still some things you can do.
Most states and territories permit homeowners to perform purely mechanical or cosmetic tasks, provided no connection is made to the sanitary plumbing system. This allows you to position and secure the new pan. You can also fit the toilet seat, seal around the toilet pan with silicone sealant, and attach a flush button or flush plate to an in-wall cistern frame.
However, you may not make any changes to the soil and waste stack, reposition the rough-in for a drain, or connect the water supply line to the isolation valve. Such activities count as sanitary plumbing and must be performed by a licensed plumber in every Australian state and territory. This requirement is the same everywhere — check your local authority only for procedural details like how to book an inspection.

What Must Be Done by a Licensed Plumber
Knowing what you're allowed to DIY is helpful, but so too is knowing exactly where the law draws the line before you reach for a spanner. Connecting the toilet pan to the waste pipe, changing any aspect of the drain layout, and connecting the water supply line are all restricted to licensed plumbers across Australia under state and territory plumbing licensing legislation.
After completion, your plumber is obligated to provide you with a compliance certificate — the exact title of the document differs from state to state, but the requirement doesn't. Don't view this as a bureaucratic formality; it will safeguard you when you sell or insure the property.
AS/NZS 3500.2:2025 Plumbing and Drainage — Sanitary Plumbing and Drainage is the standard that determines how toilet pans are connected, how drains are graded and vented, and more. Licensed plumbers work to this standard as a baseline. For a straightforward toilet swap — same rough-in position, no drain relocation — expect to pay approximately $150 to $350 for the licensed work alone. It's a fair price for the legal protection it affords you.

Choosing the Right Toilet and Connector for Your Setup
Once you've established what work needs to be completed by a licensed plumber, the next step is choosing the correct toilet and pan connector for your existing drain arrangement — because if you choose the incorrect product, the installation cannot move forward no matter who is doing it.
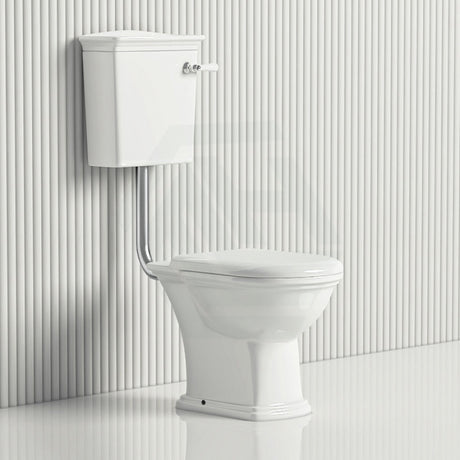
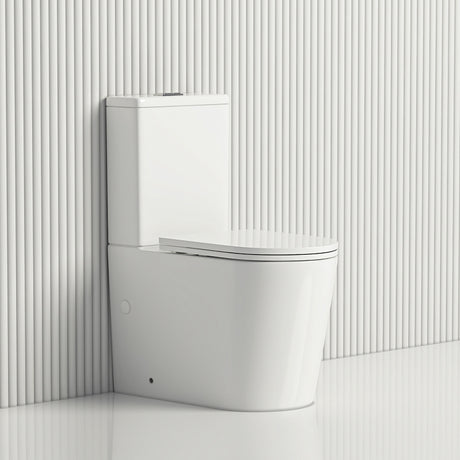
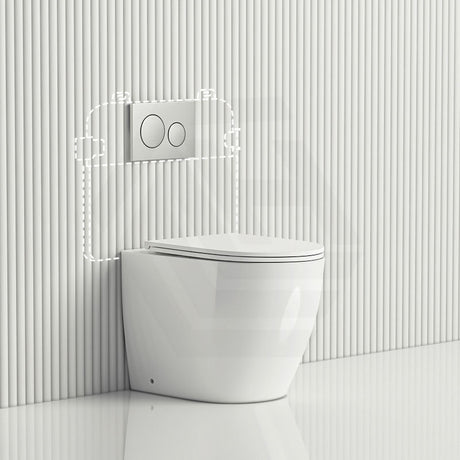
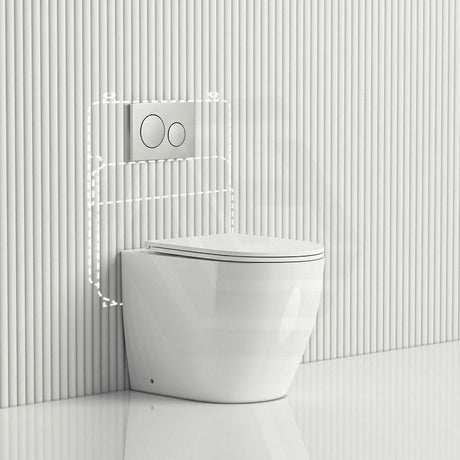
Your first decision is which toilet suite style — back to wall toilet, close-coupled or wall-hung — will suit your needs and space. Your second, separate decision is which pan connector you need based on where your current drain outlet is located. If it's on the floor, you'll need a pan connector with an S-trap. The typical set-out distance from the finished wall to the centre of the outlet is 180 mm, 160 mm or 140 mm. If the drain outlet is in the wall, you'll need a p trap pan connector. The key dimension here is the height from the finished floor level to the centre of the outlet, usually 185 mm. Pan connectors are 110 mm in diameter. Adjustable pan connectors can cover a range of set-outs from 100 mm to 180 mm, which is handy if your rough-in isn't one of the standard sizes.
Both the toilet suite and pan connector must carry a WaterMark Certification Scheme label. Without this certification, plumbing inspectors will refuse the product. The toilet should also be listed on the Water Efficiency Labelling and Standards (WELS) register. A 4-star dual-flush toilet uses 4.5 L for a full flush and 3 L for a reduced flush, giving an average flush volume of 3.3 L — relatively low for an Australian home.
### Step by step: how to install a back to wall toilet (the DIY-eligible steps)
Now that you've chosen the right toilet suite and pan connector for your rough-in, the following tasks are ones you can do yourself — and knowing how to put in a toilet correctly at this stage matters. A licensed plumber must handle the waste pipe and water supply connections before and after these steps.
1. Dry fit. Place your back to wall toilet pan over the connector without sealant and confirm the outlet seats into the connector and the pan sits level. Don't discover this doesn't work after you've applied silicone.
2. Fit the pan. Once you're confident the pan is aligned, apply the rubber seal or silicone according to the manufacturer's directions, place the pan over the connector and floor bolts, and tighten the nuts by hand then a quarter turn more. Don't overtighten and risk cracking the vitreous china. Check the pan is level using a spirit level.
3. Fit the toilet flush button or flush plate. When fitting your toilet flush button or flush plate to the in-wall cistern frame, follow the installation instructions supplied with the frame. For example, Geberit frames have their own specific fitting procedure.
4. Seal with silicone, but not all the way round. Run a thin bead of silicone sealant around the base of the pan but leave the rear edge unsealed. Sealing all the way round means a leak beneath the pan won't be visible until the damage is extensive. Leaving a gap at the back provides an early warning.
References
• Your state or territory licensing authority for plumbing and drainage (Building and Plumbing Commission Victoria, Building Commission NSW / NSW Fair Trading, Queensland Building and Construction Commission, Plumbers Licensing Board Western Australia administered by Building and Energy, Consumer, Building and Occupational Services Tasmania, Access Canberra ACT, Office of the Technical Regulator / Consumer and Business Services South Australia, Plumbers and Drainers Licensing Board Northern Territory)
• AS/NZS 3500.2:2025 Plumbing and drainage: Sanitary plumbing and drainage, Standards Australia
• WaterMark Certification Scheme, Australian Building Codes Board
• AS/NZS 6400:2016 Water efficient products: Rating and labelling (incorporating Amendment No. 1:2022 and Amendment No. 2:2022), Standards Australia
References
State and territory plumbing licensing authorities (Building and Plumbing Commission Victoria; Building Commission NSW / NSW Fair Trading; Queensland Building and Construction Commission; Plumbers Licensing Board Western Australia (administered by Building and Energy); Consumer, Building and Occupational Services Tasmania; Access Canberra ACT; Office of the Technical Regulator / Consumer and Business Services South Australia; Plumbers and Drainers Licensing Board Northern Territory)
AS/NZS 3500.2:2025 Plumbing and Drainage — Sanitary Plumbing and Drainage, Standards Australia
WaterMark Certification Scheme, Australian Building Codes Board
AS/NZS 6400:2016 Water efficient products — Rating and labelling (incorporating Amendment No. 1:2022 and Amendment No. 2:2022), Standards Australia