23 June, 2026
How Do You Replace a Tap Washer?
Wondering how do you replace a tap washer? Discover the tools, washer types, and when to call a licensed plumber to stop that drip for good!

There's something very satisfying about fixing a dripping tap. It's one small job you can tackle yourself, and the constant noise of a leaking tap at 2am is often caused by a simple rubber tap washer. Knowing how do you replace a tap washer is really quite simple if you know what you are doing. I am no plumber; however, having recently completed the renovation of several houses, I know that having some understanding of the way your home operates can be incredibly handy in making informed decisions about which DIY tasks to tackle. A tap dripping once per second wastes around 30 litres a day — that's 10,000 litres a year from a single dripping tap.
Video Credit: Inspire DIY
What Is a Tap Washer and Why Does It Fail?
In a normal tap, like pillar taps (taps with cross handles or pairs of taps on a basin or bath), it is the compression of a washer that holds the water back. A rubber disc (the tap washer) is forced hard up against a valve seat each time the tap handle is turned to shut off the water supply. After a while, the rubber washer will wear down, and the water starts to leak through. In older houses, this can often happen even sooner because typical Australian mains water pressure sits between 200 and 500 kPa, and many homes don't have a pressure-limiting valve installed. Furthermore, the chlorination of the water supply used across the continent tends to speed up the deterioration of the rubber.
Don't confuse this with a leaking modern single-lever mixer tap, which uses a ceramic disc cartridge and contains no rubber washer at all. Repairing a dripping mixer is a completely different process, and you will be best to call a licensed plumber to take care of it.
Now that you understand some common causes of washer failure, make sure you have the right tools and replacement parts on hand before you start.

Tools and Materials You'll Need Before You Start
Thankfully, the list of tools is relatively short and cheap to obtain. You will need an adjustable spanner, a flathead screwdriver, and a Phillips head screwdriver. You should also pick up a mixed tap washer assortment pack — the most common sizes are 12 mm and 15 mm — which can be purchased at most hardware stores for around $5 to $10. Also grab a tube of silicone grease and some PTFE tape while you're there; both cost under $10 and it's always good to have some on hand.
A word of warning: while some Australian states are happy for this to be carried out by a homeowner, in others all internal plumbing repairs must be done by a licensed plumber. Always check your state or territory requirements before proceeding. The call-out fee from a licensed plumber is nowhere near as painful as a fine for unlicensed plumbing work.
With your tools assembled, the first physical step — the one most DIYers neglect at their peril — is turning off the water supply correctly before any disassembly begins.

How to Turn Off the Water Supply Safely
Find the isolation valve below the basin or bath. This is a small inline valve on the supply pipe, operated with a flathead screwdriver, and should be rotated 90 degrees so that the slot runs perpendicular to the pipe. If your home doesn't have these fitted, the main stopcock is usually located near the water metre at the front of the property.
Once the supply is off, open the tap fully and let any remaining water drain out completely. Never assume the pipe is depressurised, especially a hot water pipe. Water can be at up to 50°C (AS/NZS 3500.4:2025) at bathroom outlets — if pressure is not fully released first, scalding water can spray during disassembly. If you don't have isolation valves, or they don't work, have a licensed plumber install new ones before you proceed. Don't skip this.

Step-by-Step: How Do You Replace a Tap Washer
Remove the tap handle — there is normally a small decorative cover button on top. Carefully prise it off using a flathead screwdriver to reveal a screw beneath. Undo that screw and pull the handle straight off.
Using your adjustable spanner, carefully undo the packing nut — the large hexagonal nut just below the handle. Unscrew the tap spindle by hand and remove it from the tap body.
The washer sits at the bottom of the spindle, held in place by a small brass nut or seated in a groove. Remove the old washer and fit the new one. Basin tap washers are generally 12 mm and bath tap washers are generally 15 mm. While you're there, replace the O-ring seals on the spindle if they show wear.
Reassemble the tap, tightening the packing nut by hand then a quarter-turn further. Over-tightening can damage the tap seat. Refit the handle, turn the water supply back on, and check for leaks. Replace the decorative cover button.

When to Upgrade Your Tapware Instead of Repairing It
Replacing the washer will sort out most dripping tap problems. But if you find yourself changing the washer repeatedly over a short period, you may have a deeper issue. If the tap seat is pitted or eroded, it may need dressing with a specialist tool, or the tap may need full replacement. Generally, if a tap is over 15 to 20 years old, replacement is the smarter option over repeated repair.
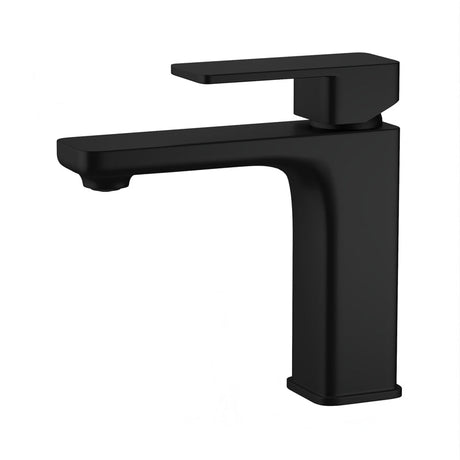
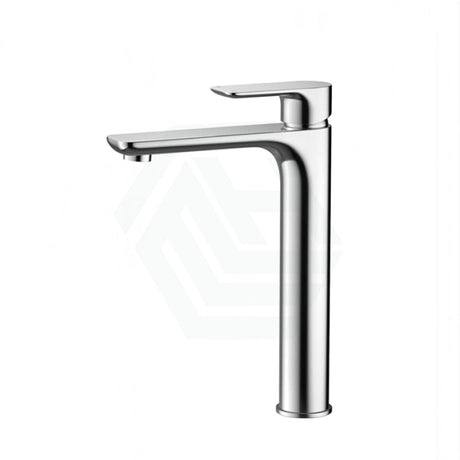
This could be a good opportunity to plan a broader bathroom upgrade. Fienza, Meir, and Bella Vista all offer freestanding bath tapware ranging from $52 up to $807 for a full three-piece set. Replacing a bath hose can also completely transform a bathroom's functionality. A well-chosen set of over bath shower screens can modernise the entire space. When selecting new tapware, look for WaterMark certification and a WELS star rating. Remember, in all states, a licensed plumber must connect any new tapware to the mains water supply — regardless of whether you started by asking how do you replace a tap washer.

When to Call a Licensed Plumber
Call a licensed plumber if you don't have an isolation valve or if yours is faulty. Call one if the tap seat is seriously worn and requires a specialist dressing tool. Call a plumber if the tap is still leaking after you've replaced the washer. And if your state or territory requires that all internal plumbing repairs be carried out by a licensed plumber, do not attempt this yourself. A tap washer pack costs around $5 — far less than the cost of ignoring the problem or attempting unlicensed work.
References
AS/NZS 3500.4:2025 Plumbing and Drainage — Heated Water Services, Standards Australia
State and territory plumbing licensing authorities (Building and Plumbing Commission Victoria; Building Commission NSW / NSW Fair Trading; Queensland Building and Construction Commission; Plumbers Licensing Board Western Australia (administered by Building and Energy); Consumer, Building and Occupational Services Tasmania; Access Canberra ACT; Office of the Technical Regulator / Consumer and Business Services South Australia; Plumbers and Drainers Licensing Board Northern Territory)
WaterMark Certification Scheme, Australian Building Codes Board
AS 3718:2021 Water supply — Tap ware (incorporating Amendment No. 1:2024), Standards Australia
AS/NZS 6400:2016 Water efficient products — Rating and labelling (incorporating Amendment No. 1:2022 and Amendment No. 2:2022), Standards Australia