08 July, 2026
Complete Guide to Polished Concrete Bathroom
Everything you need to know about a polished concrete bathroom — finishes, waterproofing, slip resistance and costs for Australian homes.

Few surfaces stop you mid-step quite like a beautifully finished concrete floor — and right now, bathrooms are where this material is having its most exciting moment. A polished concrete bathroom is built around mechanically grinding, honing, and sealing concrete to produce a hard-wearing surface that can range from a soft matte through to a full mirror finish. Supply and install for a concrete overlay runs between $75 and $150 per square metre with most Australian installers, making it achievable across a range of budgets. This guide covers everything — finishes, compliance, waterproofing, slip resistance, and the fixtures that suit the aesthetic best.
Video Credit: How to make my house
What Is a Polished Concrete Bathroom?
Polished concrete is quite literally the name – it involves taking concrete in its most basic form, mechanically grinding it, honing it, and sealing it to produce a hard-wearing surface. It is possible to achieve anything from a soft, muted finish through to a reflective mirror finish; it is not simply painted or coated concrete. The grinding and honing process uses tools of successively finer diamond-tipped grit, with each pass refining the surface until the desired finish is achieved.
There are basically two types of polished concrete systems used in bathrooms. The first is the traditional in-situ cast structural floor slab — in other words, the concrete structural floor is ground back and polished. The second system is a concrete overlay, a much more common and practical option for renovating existing properties.
A concrete overlay is essentially a layer of 10 to 40 mm poured over an existing substrate — tiles, compressed fibre cement sheet or existing concrete. Because it has minimal structural implications, overlays are popular for renovation projects.
However, even an overlay adds weight to a floor, something your builder or structural engineer will need to consider. Also, skilled concreters who specialise in polished finishes can have lead times of several weeks, so factor that into your project schedule early.

Polished Concrete Floors and Walls: Finishes, Materials and Costs
Get the system straight first — then mix design and finish grade are the two variables that'll drive both cost and real-world performance in a bathroom.
| Finish Grade | Grit Level | Sheen Level | Typical Aggregate Exposure | Approx. Cost (Supply & Install) |
|---|---|---|---|---|
| Honed | 400–800 grit | Matte | Cream (aggregate buried) | $75–$100 per m² |
| Semi-Polished | 1500 grit | Gentle sheen | Salt-and-pepper | $100–$125 per m² |
| Full Mirror | 3000 grit | High gloss / mirror | Full aggregate exposure | $125–$150 per m² |
Three finish grades are worth knowing before you go any further:
Honed — ground to 400–800 grit, this one's soft and understated, landing somewhere close to a matte stone with no real sheen to speak of.
Semi-polished sits at 1500 grit — you get a gentle sheen, but it's nowhere near mirror territory.
Push it to 3000 grit and you're into full mirror territory — the kind of surface that makes people stop mid-step. Think The Block — gorgeous to look at, but the upkeep will keep you honest.
Aggregate exposure is a separate design decision that deserves its own thought. Cream finish keeps the aggregate buried — the surface comes across as clean and uniform. Salt-and-pepper brings some aggregate through, scattering stone flecks across the floor. Full aggregate exposure is a different beast altogether — bigger stones push through and the floor takes on a raw, textured feel. Your aggregate call affects both the visual outcome and how porous the surface turns out.
Supply and install for a concrete overlay runs between $75 and $150 per square metre with most Australian installers — city, complexity and finish grade all have a habit of nudging that figure up. High-gloss or more elaborate finishes will push you toward the upper end of that range pretty reliably.

Australian Compliance, Waterproofing and Slip Resistance
Your polish level does more than affect cost — it has a direct bearing on slip resistance, and that in turn determines what waterproofing approach will satisfy Australian building standards.
Here's the blunt version: waterproofing goes down before the concrete finish, full stop — not after. Under (NCC 2025, ABCB Housing Provisions, Part 10.2), wet area walls in shower zones must come up to at least 1800 mm above the floor substrate, and the shower floor itself requires full waterproofing coverage. AS 3740:2021 is the standard most projects lean on — it covers membrane application requirements for domestic wet areas. You'll need a licensed waterproofer — that one's non-negotiable.
One thing that needs flagging: high-gloss polished concrete gets genuinely treacherous underfoot when wet. Under (AS 4586:2013), residential bathroom and shower floors need at least a P3 wet pendulum rating — high-gloss concrete will often fall short of that unless you address it deliberately. Anti-slip additives in the sealer or a textured sealer product are the two fixes most installers reach for. Sort it out with your concreter before the gloss level gets locked in.

Toilets, Baths and Vanity Tops for a Polished Concrete Bathroom
Substrate, waterproofing and compliance ticked off — now the question is which fixtures actually suit a polished concrete bathroom, structurally and aesthetically.
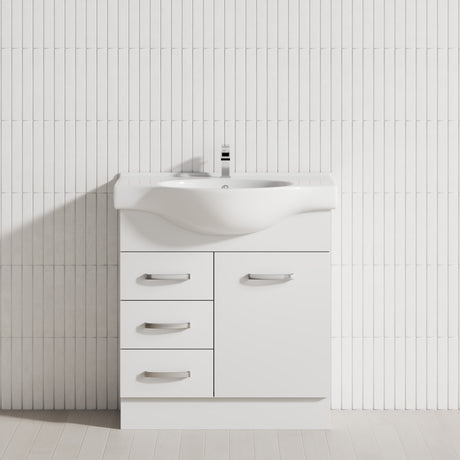
A concrete vanity top is a popular pick, but at roughly 75 to 100 kg per square metre, the cabinet underneath has to handle that load — especially on a wall-hung design. Floor-supported cabinet vanities are the safer structural bet. Plywood-construction vanity cabinets from Lukka and CETO are well suited to heavier benchtop materials like concrete.
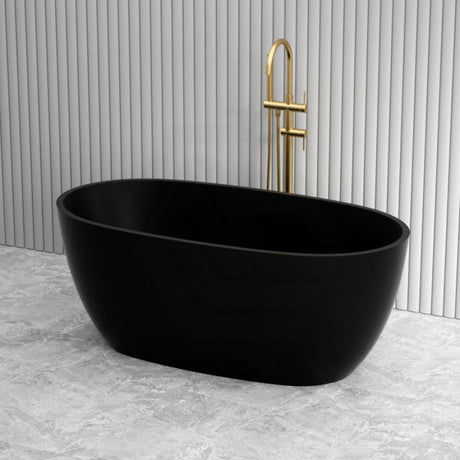
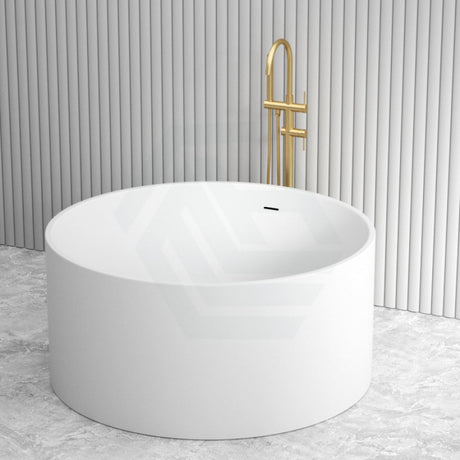
Visually, a concrete tub is hard to beat in this setting — though freestanding concrete baths tip the scales at 200 and 400 kg empty, and considerably more once filled. Get your floor structure load calculations done before you commit to a concrete tub. Budget-conscious? Broadway has an extensive freestanding acrylic bath range from $878 that sits beautifully against raw concrete walls.
Matt black tapware is a natural against grey concrete — hard to go wrong with it. Meir delivers consistently solid quality in matt black tapware; Fienza mixers and accessories punch well above their price point and work throughout the bathroom. An Infinity above-counter vessel basin pulls the whole thing together cleanly.

Common Mistakes and Key Installation Considerations
Picking the right fixtures is the easy part — getting the installation sequence right is where projects tend to come unstuck.
Sequencing errors are behind more polished concrete bathroom problems than anything else. Concrete work wraps up before fixture rough-in as a rule — the catch is that wall-hung toilet frames have to be fixed in place before the overlay goes down. The in-wall cistern and frame system behind a floating toilet — Geberit being the industry standard — has to go in during the framing stage, full stop. Fix it after the concrete's down and you're looking at serious money.
Skipping expansion joints is another one that bites people — leave them out and cracking is almost inevitable as the substrate shifts. Before sealing, the concrete needs a full 28 days to cure — no shortcuts. Push past it too early and both the sealer performance and long-term durability take a hit. Cure, sealing and final polish all add up — budget four to six weeks from pour to a bathroom you can actually use. A well-used household bathroom will want a reseal every two to three years.
The moment construction kicks off, get purpose-made floor protection board down over the polished concrete. Other trades on site won't handle a polished concrete floor the way you would — that's just reality. A licensed plumber has to do all the plumbing work and hand over a compliance certificate on completion — that's the law in every state and territory.
References
National Construction Code 2025, ABCB Housing Provisions, Part 10.2 Wet area waterproofing
AS 4586:2013 Slip resistance classification of new pedestrian surface materials (incorporating Amendment No. 1:2017), Standards Australia
State and territory plumbing licensing authorities (Building and Plumbing Commission Victoria; Building Commission NSW / NSW Fair Trading; Queensland Building and Construction Commission; Plumbers Licensing Board Western Australia (administered by Building and Energy); Consumer, Building and Occupational Services Tasmania; Access Canberra ACT; Office of the Technical Regulator / Consumer and Business Services South Australia; Plumbers and Drainers Licensing Board Northern Territory)