14 January, 2026
How to Fix a Leaking Tap: A Guide to Stop a Dripping Tap
Stop dripping taps fast! Learn common causes like worn washers & seals, plus step-by-step DIY fixes for mixer, ceramic & washer taps. Save water & prevent damage with easy tools.

A dripping tap can be a source of headaches. You enter your bathroom or kitchen, and you are welcomed with a bothersome sound from your tap. You try to turn it off, but to no avail.
This is a story many of us have featured in.
The annoying sound is not the only issue, but you are also concerned about water loss. Of course, while those little droplets of water can seem harmless, they are a key cause of damage to many parts of the home.
With these concerns, it is imperative for you to fix your dripping tap once you notice the first sign.
This article guides you on how to stop a dripping tap on your own without paying for the service of a professional plumber.

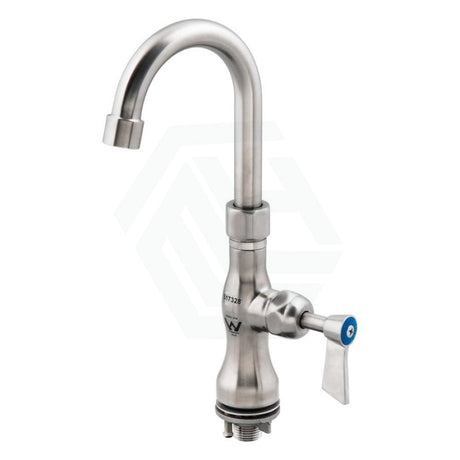
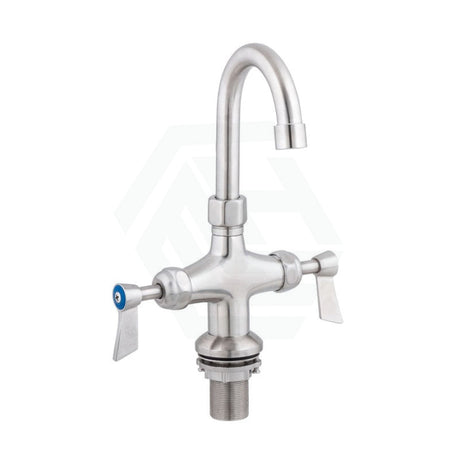
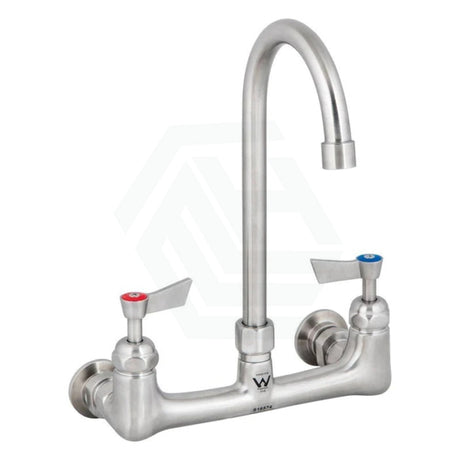
Types of Taps
Before you start to fix a tap, it is important that you understand the type of tap you have and why it leaks. While some taps use washers, others use ceramic discs. The category that your tap falls in gives you a clue about the cause of the leaks.
Compression Valves
A compression valve tap is a traditional tap with a washer. The tap leaks when the washer is worn out, and replacing the washer fixes the issue.
Monobloc Levers
A monobloc lever taps feature a ceramic disc and drips when the cartridge breaks. You can fix a dripping monobloc lever tap by replacing the broken cartridge.
Causes of a Leaking Tap
Understanding the causes of a leaking tap lets you know where to focus when fixing your dripping tap. Paying attention to these causes is also a proactive measure to prevent future occurrences.
Here are five common reasons why a tap leaks:
Damaged Washer
A cracked washer is the leading cause of leaking taps. Washers are found in compression valve taps and play the role of sealing the valve to mitigate leaks.
Broken Cartridge
Modern taps feature monobloc taps with ceramic cartridges. When the ceramic cartridge in a tap breaks, the tap starts to leak, usually from the spout.
Warn Out O-Ring
O-rings seal the little spaces between different parts of the tap to prevent leaks. Leaks start to occur when an O-ring wears out.
Damaged Valve Seat
The washer in the valve tap system is not the only part that can go bad. The valve seat can be the culprit for a leaking tap too. This seat connects the tap to the spout and is exposed to corrosion over time.
High Water Pressure
Every tap is designed for a specific range of water pressure. You expose your tap to leaking with higher water pressure.
This damage is more common in compression valve taps when the washers are damaged.

Tools to Fix a Dripping Tap
Having the necessary tools for fixing your dripping tap is crucial for a successful repair job. Here are tools to have around you when repairing your leaking tap.
- An adjustable spanner
- Slot and cross-head screwdrivers
- Various washers and O-rings
- Tap cartridge replacement
How to Fix a Dripping Tap
Follow these steps for tap repairs:
Turn Off the Water
You want to start by turning off the water supply. This ensures that no water is further supplied to your tap while working on your leaking tap. Check your pipes underneath your sink to look for the valve or stopcock to stop the water supply to your tap.
Loose the Tap
Unscrew the tap head using your screwdriver. If your tap features a metal cover, remove the cover too. However, ensure you pay attention to the order of removal, so you can easily put the parts in their right positions after fixing.
The next step to follow depends on your type of tap.
Change the Rubber Washer (Compression Valve Tap)
As highlighted earlier, compression valve taps feature washers and replacing a worn washer can help fix a tap. Start by loosening the valve with your spanner and unscrew or slide the washer off. Complete this step by replacing the old washer with a new one.
Once this is done, put every part back in the right order.
Replace the Old Valve (Ceramic Disc Valve Tap)
Using your adjustable spanner, remove the valve. Check for any damage on the valve and clean it. If the damage is beyond cleaning, replace the valve with a new one and secure it.
With this out of the way, it is time to reinstall the handle cap.

How to Replace a Tap Valve O-Ring and Spout O-Ring
It is important to note that a leaking tap is not only due to a bad washer or valve. There are cases where a leaking tap is linked to other bad parts of the tap, such as the valve O-ring and spout O-ring. These parts are crucial to sealing your tap.
Here is how to replace them when they are bad:
Valve O-Ring
Replacing the O-ring is necessary when leaks from your tap are coming from beneath the handle. Follow the instructions above to remove the valve.
Remove the old O-ring with your screwdriver, replace it with a new one, and reassemble the tap.
Spout O-Ring
Fix your leaking tap by replacing the spout O-ring if the droplets are coming from beneath the spout. Using your adjustable spanner, loosen the nut that secures the tap to remove the tap and access the spout.
Once you can access the spout, remove the O-ring at its base and replace it with a new one. Reassemble every loosened part and secure them tightly.

Conclusion
Repairing a dripping tap is crucial to protecting your property and restoring calmness in your home. While a dripping tap may seem challenging, it is what you can fix on your own. With the right tools and a guide on how to stop a dripping tap, you can restore your tap to its original condition.
However, it is worth mentioning that calling a professional to fix your leaking tap is crucial when the damage is beyond what you can handle.
Letting a professional plumber do your tap repairs safeguards you from causing more damage to your tap and plumbing system, while it also saves you time.
Check our catalog of quality bathroom products and kitchen and laundry accessories.