02 February, 2026
Shower Sealing: DIY Installation Tips for Shower Screens
Seal shower screen properly DIY: Step-by-step tips on prep, silicone application & tools to prevent leaks, mould & water damage. Achieve neat, long-lasting seals for a fresh, functional bathroom!

There's something profoundly satisfying about an airtight shower — you know, that streak-free line of silicone meeting glass in perfect harmony, ensuring water stays exactly where it belongs (i.e. not pooling at the foot of your bathroom door or seeping down into the walls). But if you’ve ever tried to seal a shower screen yourself, you’ll know it is one of those jobs that seems deceptively easy — until you are elbow-deep in goo, marvelling at why your “neat line” looks like something a toddler has done with their finger.
Here’s the truth: shower screen sealing is absolutely a DIY-able job but it does take some patience, some right tools and an acceptance that your first effort may not be Instagram-worthy. And that's okay! Even professional tilers will admit that siliconing is an art, and like most art we can always improve it with practice.

Why It Makes Sense to Seal Things up Properly
Not only does a correctly sealed shower screen protect your floor and walls from water damage – it’s also your first line of defence against an assailant, mould and mildew. Those little black spots of love that move in on weakly-sealed nooks and crannies? They’re not just unsightly — they also indicate that moisture is penetrating where it shouldn’t. Overtime, that can cause rotten timber frames, flaky paint and even structural damage. Not exactly the mood you’re going for in your dream bathroom.
Tools You’ll Actually Need
Collect everything in one place before you begin. Nothing worse than being halfway through a job and discovering you don’t have the one tool you absolutely need (talking from experience…). You'll need:
Tube of good quality bath silicone in your colour of choice – clear or white are the classics
Some kind of silicone gun (the cheap ones from Bunnings are perfect)
Masking tape (this is your secret weapon!
Methylated spirits and clean rags
A smoothing tool made of silicone or an old credit card
Paper towels
A new utility knife, preferably with a sharp blade A sharp utility knife or old silicone scraper if you’re removing existing silicone
Oh, and the pros all say to have a bowl of soapy water handy. Dunking your smoothing tool in it stops the silicone from sticking and gives you that beautiful smooth sheen.

It’s All About the Prep
When re-sealing a shower screen that is already in situ – which, to be honest, is the most likely reason you’re here – mechanical removal of your old silicone is an absolute must. Whatever is left behind, any residual silicone will stop the new silicone from adhering correctly and you’ll be back here doing this in another six months. With a sharp utility knife, carefully remove the old silicone, and then thoroughly clean the area with methylated spirits to ensure there is no soap scum, mould or oily residue.
For new installs try to have every surface BONE dry. Silicone and moisture do not like to get near one another during curing, so if you’ve just showered (or scrubbed the area down), wait for it to dry completely — 24 hours should be sufficient. Yes, really. Whereas patience now saves heartache later.
The Masking-Tape Trick That Converts the Lot
Bathroom fitters don't tend to leave any surface in a bathroom unmasked when it is sealed, and you'll see why after you try this way. Lay strips of masking tape along each side of where you would like your silicone line to rest — this can be thought of as building a wall your runaway bead cannot breach. Space the tape strips 3 - 5mm apart, or whatever approximate width you’d like your finished seal to be.
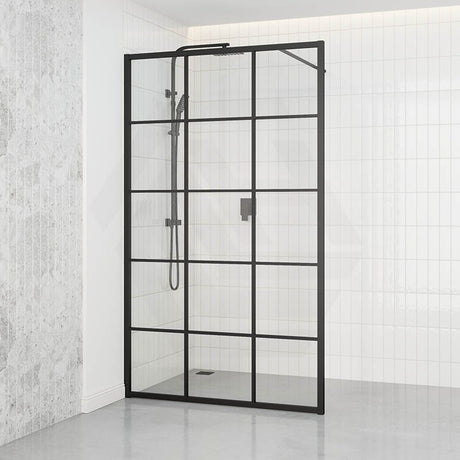
This comes in handy especially when working with sliding shower screens, as it requires a level of accuracy as the tracks and frames produce angles that must be sealed.

Actually Applying the Silicone
You’re going to want to cut the nozzle of your silicone tube on a 45-degree angle — and no one is going to tell you this: Cut it smaller than you think you need. You can always trim more if necessary, but you can’t add any back. A smaller opening is ideal for someone who needs control (as you do if you’re painting a neat line like this).
Load the tube into your silicone gun, then set and cut the nozzle at the beginning of your run. When traveling along a joint, press the trigger with steady even pressure while moving in line at an even rate. The ideal is a continuous bead — no stops and starts. If this feels awkward to you at first, practice on some newspaper or cardboard. Seriously.
The Smoothing Technique
And here is where that bowl of soapy water comes in. Simply dip your smoothing tool (or credit card, or finger – there is no shame in the latter camp) into water and run it along the silicone bead in one smooth stroke. The soapy water keeps the tool from adhering to the silicone and results in a beautifully concave surface.
Now move fast- you probably have around 5 to 10 minutes before the silicone begins to skin-over. After you’ve achieved the shape and smoothed the bead to your satisfaction, carefully remove the masking tape at a 45-degree angle back from the silicone. And make sure you do this while the silicone is still wet for the cleanest look.
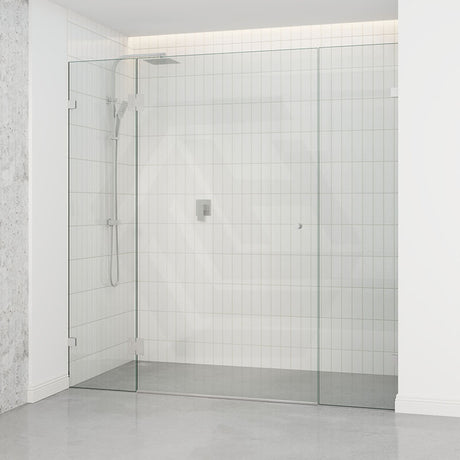
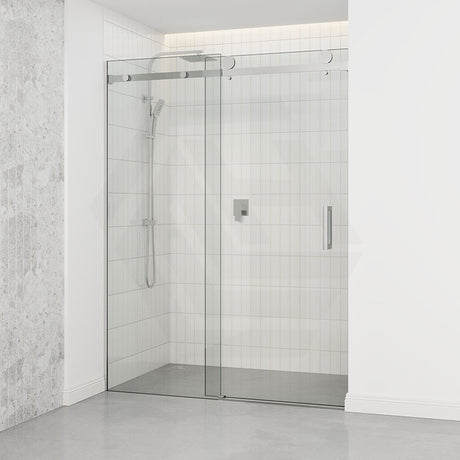
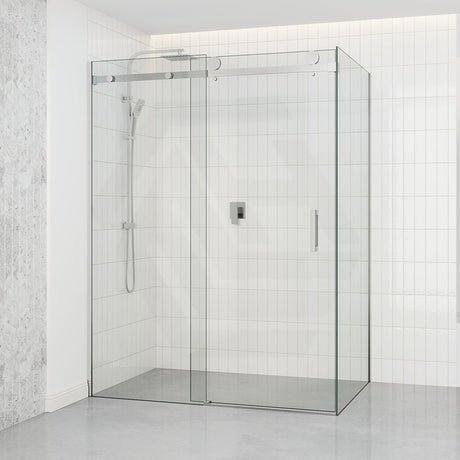
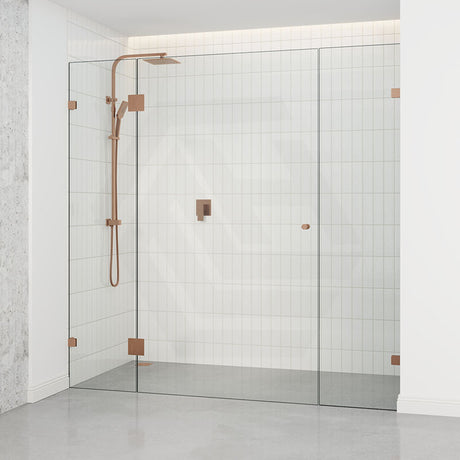
Unique Sliding Shower Screens Features
If you are sealing sliding shower screens be particularly careful with the bottom track. This is the area a bit where water pools and that’s when it becomes really prone to mould. Some people keep an inch-wide gap unsealed at the front of the track to permit water drainage, while others seal it all up tight and rely on regular cleaning so sludge doesn’t build up. There is no one size fits all answer, it’ll depend on how well ventilated your bathroom is and how much effort you put into maintenance.
As well as shower screen walls, sliding screens have sides that also need to be carefully sealed where the frame and wall meet. These vertical runs can be more challenging than horizontal ones, oh because gravity is not your friend here. Work from the bottom until you reach the top, applying pressure in a steady motion and smoothing out as you go.

Drying Time and Aftercare
And here’s where most people get impatient: going through the whole curing process properly takes time. Silicone may dry to the touch in a few hours, but it isn’t fully cured for 24-48 hours. Don't take a shower during this time — no, not even if you're desperate. And remember, applying it too soon can break the seal and you’re right back at square one.
After it has cured, maintain a fresh-looking seal by wiping it down after every shower and giving it a proper cleaning with a bathroom cleaner once per week. If you are prone to mould, a 1:1 mix of vinegar and water in a spray bottle makes an excellent preventative.

When to Call the Experts
Now, there’s no shame in admitting defeat. If you’ve got a particularly complex installation on the go, say a set of frameless shower screens in an awkward shape or if your first effort looks like it’s out of a horror movie, consider calling in the pros. A professional bathroom fitter can seal a shower screen in around 20 minutes, and there’s something to be said for that peace of mind that it’s done properly - you might end up considering the cost as justified.
That said, for most sizes of standard shower screen installation this is absolutely a task you can take on yourself with a little bit of patience and practice. And once you’ve perfected the art of the flawless silicone bead, you’ll be casting your eye over other bathroom sealing jobs all around the house. (The feeling of triumph does exist.)
The bottom line? It's not rocket science to seal a shower screen up properly, but it does take some preparation and the right tools- and maybe a friend's steadying hand. Give yourself plenty of time; don’t rush the prep work, and remember that even if it’s not perfect the first time around, you’re gaining a valuable skill (one that can help save you thousands over the years through countless bathroom re-dos to come).