19 November, 2025
How to Replace a Shower Screen Like a Professional
Refresh your bathroom easily! Step-by-step guide to replace your shower screen at home: remove old, install new, seal perfectly.

A shower screen can get loose, dirty, or damaged over time. When that happens, putting in a new one is a simple way to make your bathroom look fresh again. The job sounds big, but with the right steps, most people can handle it.
You don’t need special skills, but you do need to be careful. In this guide, we will show you how to replace a shower screen, and keep it looking good for years. Read on to learn more!

Tools, Materials, and Preparation You'll Need
Before you start replacing a shower screen, it helps to have everything ready. This makes the job safer and much easier.
Tools you will need
- Tape measure
- Level
- Framing square
- Safety glasses
- Work gloves
- Power drill
- Drill bits
- Plastic wall anchors
- Stainless-steel screws
- Pop rivets
- Silicone sealant
- Utility knife
- Pipe and wire detector
Materials you should prepare
- A shower screen made from safety glass that meets Australian Standards
- Silicone for sealing
- Any brackets or fittings required for your screen
Prep work to do first
- Make sure the shower area is clean and dry.
- Check that the wall tiles and floor are properly waterproofed, since this helps stop leaks and protects your bathroom from damage.
- Safety glass is important too; it’s strong for daily use and, if it breaks, it turns into small pieces rather than sharp shards.
How to Replace Your Shower Screen: Step-by-Step
Once your tools and materials are ready, you can move on to replacing the shower screen. The process doesn’t have to be overwhelming if you carefully follow each step. Here’s how to do it efficiently:
Step 1. Removing the Old Shower Screen
Begin by removing the shower door and uninstalling the inner and upper tracks. Next, focus on the bottom track, which is often sealed with caulk. Remove all traces of old silicone, as residue can lead to bacterial build-up and compromise the seal of your new installation.
A utility knife or silicone removal tool works best for this task. Once all the fixings and brackets are removed, clean the area thoroughly before installing your new screen.
Step 2. Choosing the Right Shower Screen
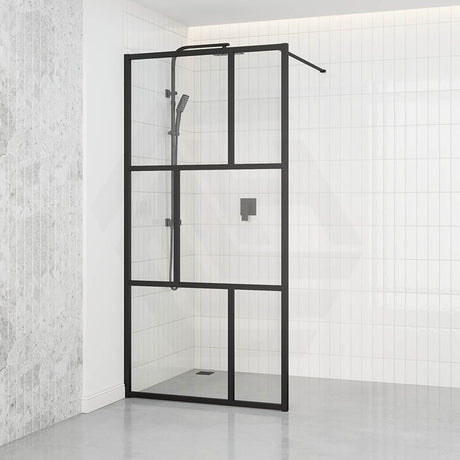
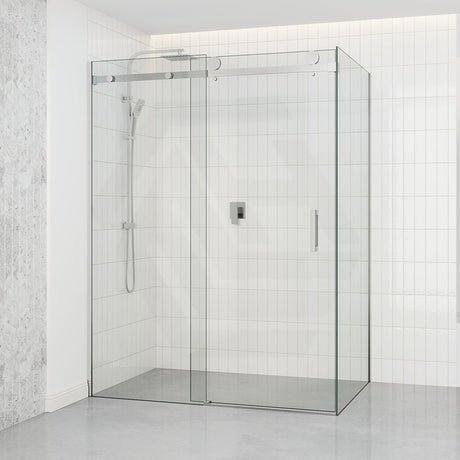
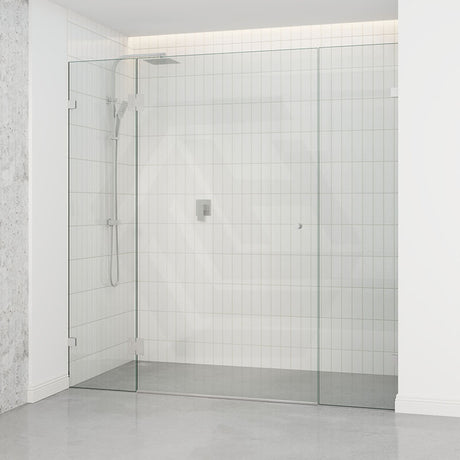
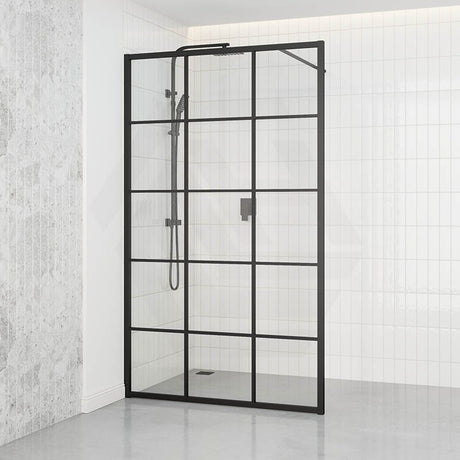
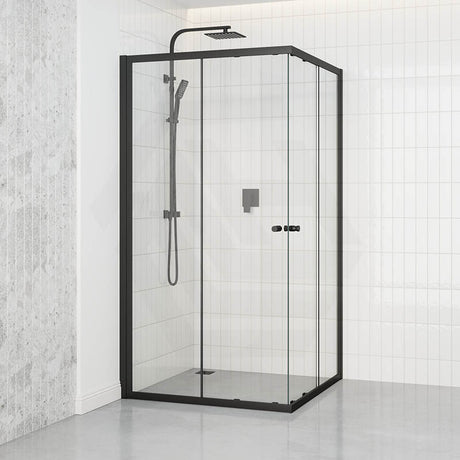
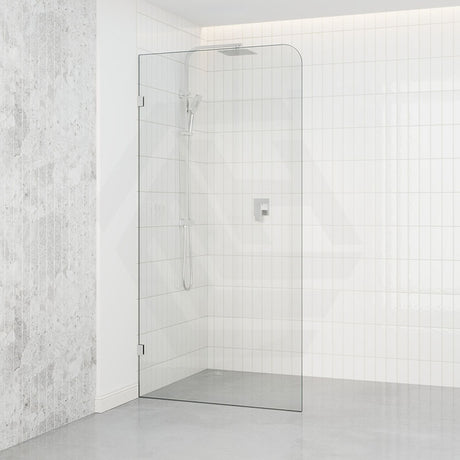
Selecting the right screen ensures your bathroom’s style and functionality. Frameless shower screens provide a minimalist look, semi-framed screens strike a balance between style and affordability, while custom screens can be tailored to your exact preferences. Choose tempered glass, as it is stronger and less likely to break.
Step 3. Marking and Drilling
Now you can install the new shower screen. Before drilling, check the installation area for hidden water pipes or electrical cables. If it’s safe to drill, mark the positions for the metal channels.
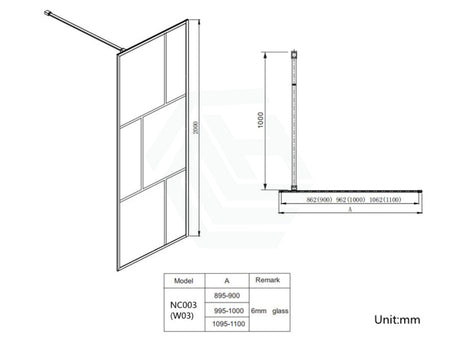
Use a spirit level to make pencil marks through each screw hole, indicating where to drill. When ready, use a 6 mm ceramic drill bit to make 30 mm-deep holes at the marked points. This will ensure stable support for your new screen.
Step 4. Fixing Channels and Panels
Drill three to four holes through the channel to secure the panel with pop rivets. Then align and secure rubber blocks to support the glass in front of each bracket. These blocks provide cushioning and evenly distribute the glass’s weight.
Leave a gap of at least 2 mm between the shower door and fixed glass to prevent glass-to-glass contact, which can cause cracking or shattering. Over time, if the glass shows chips or cracks, consider another shower glass replacement to maintain clarity and safety.
Step 5. Sealing and Finishing Touches
Apply a high-quality silicone sealant to the outer edges of the shower screen where it meets the walls, floor, and fixed panels. Only seal the outside of the cubicle to allow for interior airflow, avoid sealing internal joints that are designed for drainage or airflow, as this could trap moisture.
Wait at least 24 hours before using the shower to allow the silicone to dry properly and resist long-term moisture exposure.
DIY vs Hiring a Professional: Which Is Right for You
Choosing between doing it yourself and hiring a professional depends on your skills and how confident you feel. A DIY job can save money and give you a good sense of achievement. But if you’re unsure, or you don’t want to deal with problems like leaks, gaps, or a screen that doesn’t sit straight, hiring shower screen installers is the safer choice.
Professionals who specialise in shower screens installation know how to fit the screen properly and follow Australian building rules. They also offer warranty support, so you’re covered if something goes wrong. Many installers give up to 10 years of guarantee on parts and materials and carry full insurance for any damage or accidents.
Maintenance Tips to Keep the Screen Lasting Longer
Taking care of your shower screen helps keep it clean, clear, and long-lasting. Here are some easy tips you can follow at home.
- Weekly Cleaning: Clean the screen once a week to stop soap marks and hard water stains from building up.
- Gentle Cleaners: Use mild, ammonia-free cleaners so the glass stays clear without damage.
- No Harsh Scrubbers: Avoid rough pads or hard brushes, and use a soft sponge or cloth instead.
- Dry After Cleaning: Wipe the glass dry with a soft cloth to stop water spots and streaks.
- Fix Small Problems Early: Repair loose parts like shower screen handle replacement or small leaks quickly to avoid bigger issues later.
- Remove Jewellery First: Take off rings and bracelets so they don’t scratch the glass while you clean.
- Clean the Frames Too: Wipe the frames with a damp cloth and use mild detergent for tougher dirt.
- Check Hinges and Screws: Look over the hinges and screws every few months to keep them tight and smooth.
- Shower Head Care: Wipe the shower head often and clean the nozzles when the spray feels weak. A clean showerhead helps keep water from splashing unevenly onto the screen.

Conclusion
Learning how to replace a shower screen makes the whole job feel much easier. When you know the steps and have the right tools ready, the frame sits straight, leaks stay under control, and the bathroom looks cleaner.
It also helps to know how to handle the glass safely and keep it clean so it stays clear for a long time. A neat install makes your bathroom look fresh and new, and with good care, it will last well. For quality bathroom supplies, explore MyHomeware.