05 February, 2026
Kitchen Sink Installation Tips for DIY Renovations
DIY kitchen sink installation tips: Choose top-mount or undermount styles, prep plumbing, seal edges & avoid leaks. Step-by-step guide for successful Australian renovations – prevent water damage & save costs!

Let nobody need any kitchen sink drama – here’s the thing in the house that must just be working how it’s meant to from day one.
Thirty-something years in the business, and I’ve watched a lot of sinks. Some were great. Some were less so — all of them taught me something important.
The sink is one of the most hard-working features in any kitchen, and since it will be used dozens of times a day, you’ll want to select with care. So if you can get that installation right the first time, you’ll save yourself a lot of trouble — and water damage — down the road. Whether or not you are planning a full-bore kitchen remodel, knowing the steps can be key.

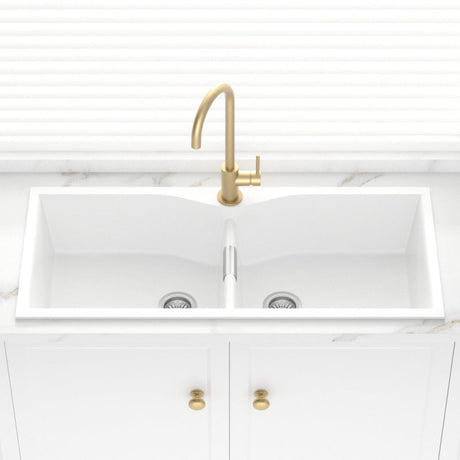
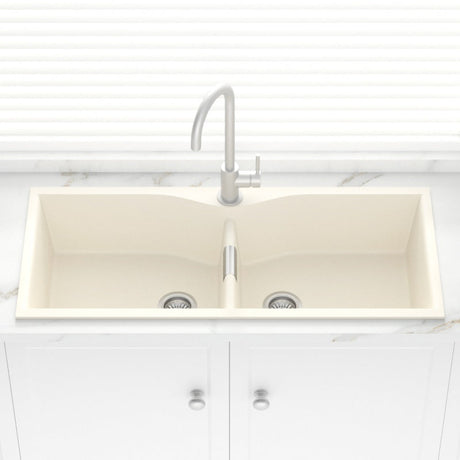
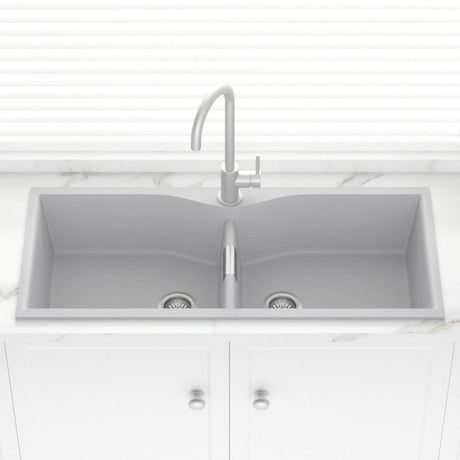
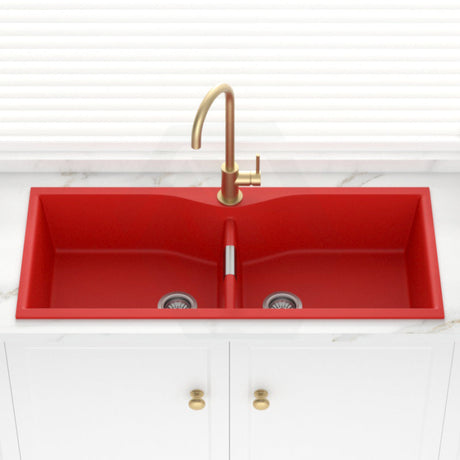
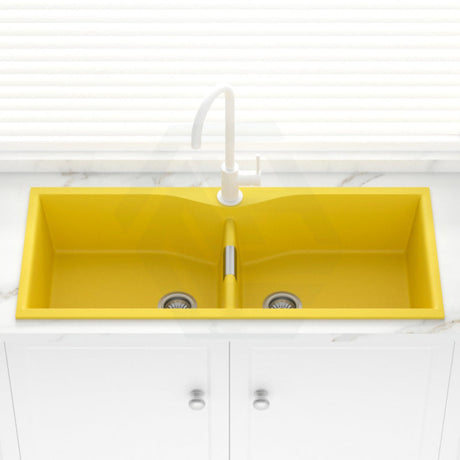
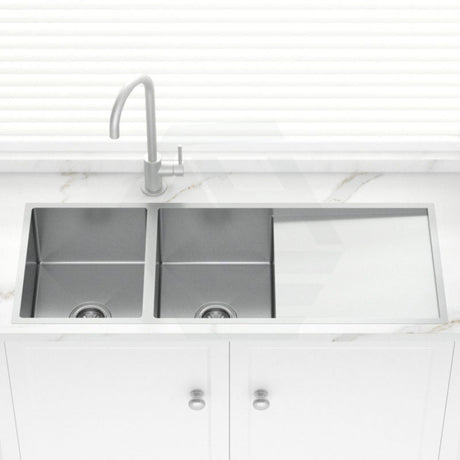
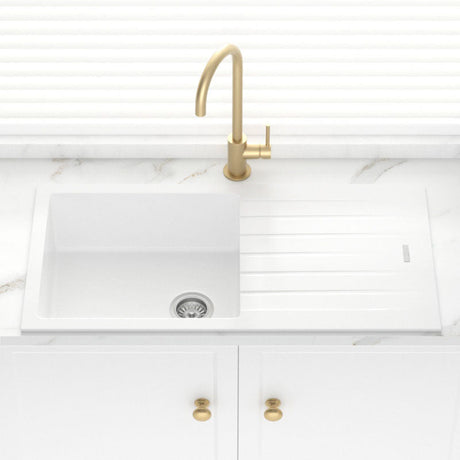
First thing first, undermount kitchen sinks vs top mount kitchen sinks is not completely an aesthetic issue although it does matter. The undermount sink gives a modern, seamless look. They're also absolutely flush with your benchtop and have no seams for mess to hide in. They are at their most dramatic with stone or engineered surfaces; they even permit you to sweep the crumbs directly into the sink without rimming out onto your counter. But of course — they must be cut perfectly and sealed properly, so it may be best to hire a professional installer.
Top-mount sinks, however, are much more forgiving when it comes to do-it-yourself installations. The lip is going to rest on top of the Benchtop and will cover up any little boo boos that you might have when cutting around. And they are good for laminate, and generally a little easier on the wallet. The thing is, they are as well made if you’re clever about your choices – I love a sexy top mount kitchen sink to be honest for a lot of the homes that I’ve worked on.

Now let me share with you a shortcut, it’s time-saving indeed. Always, and I mean always practice before you put a thing down. Chuck your sink in there for size, and level the waste pipes. Not really settling, but you do your due diligence and get a little help from some other folks, if that’s needed. It’s a good design standard and it remains in place.
Your sink template fulfilled if it’s the perfect size. Installation needs help as Well. Additional set of hands hold the sink in place during installation Great for sinks counter tops with a larger circumference. And speaking of support, that undermount install will force you to venture a lot more tools than with a drop in – clips and support brackets are required to keep your sink’s head above water.

The fit is everything during installation. Choose a high-grade mildew-resistant silicone to apply in kitchen areas. The thing is, you don’t need much; a thin line will spread easily over and cover more than slathering. Wet the area to smooth silicone bead and balance surface, then prevent other side being stained dirt, powder in the air etc.
Even the plumbing tucked away underfoot is as much a beauty to behold as anything that rests above it. Do not panic – screw the waste fitting tight, but not too tight and test that it is not leaking before putting your tools away. Fill the sink completely and inspect below as the water drains for any leaks. Any drips down here will be much more manageable to clean up than if you catch them after you’ve gone in with all your base cabinets.

At design fairs recently, including CERSAIE in Bologna and KBB in Birmingham, I’ve seen kitchen sinks being treated as quite the statement. The choice of materials finishes and colours that we have now days is wonderful. A granite composite will give you a softer look of great stain and scratch resistance, while ceramic brings traditional appeal.
Whether or not you have a bustling family kitchen or an entertainer’s paradise, the installation of the right type of sink can be such a game changer for all those things that make up this room. Nothing wrong with taking your time and doing it properly, using a pro when you need one. It’s solid design and it will last so much longer.
I can learn new things and products even after 30 years. It’s a fluid industry and being abreast of what is up and coming can make for brilliant work for my clients.
If you’d like more on how to install a kitchen and design advice then head over to my YouTube channel where I unwrap everything for you with How-to guides that are detailed step-by-step in creating practical, beautiful spaces.