13 April, 2026
How to Install a Toilet: Step-by-Step DIY Guide
How to install a toilet step-by-step: practical DIY guide covering tools, removal, wax ring/seal installation, levelling, leak testing and common mistakes to avoid for a secure finish.

Here is my confession: when my partner and I replaced our toilet last year, I had a very definite idea about what I thought this would take: 20 minutes. Get the old one off, put the new one on. Job done. I couldn't have been further off!
This wasn't a catastrophic miscalculation, as no one was left covered up to their ankles in sewage, but there is enough of a learning experience here that I now have quite strong feelings about how to install a toilet. So let me tell you about them.
What You Need to Know About How To Install A Toilet
The first tip you need: measure. Measure before you start looking at the latest new toilets on the websites or walking down the bathroom aisle at Bunnings getting distracted by tap displays. You need to know your set out — the distance from your finished wall to the centre point of your waste outlet on the floor. 140mm or 185mm will be the standard for just about every Australian bathroom. But it depends on how old your home is, I've heard some people with 1970s homes had to spend a whole afternoon on the phone looking for a toilet with a 160mm set out.
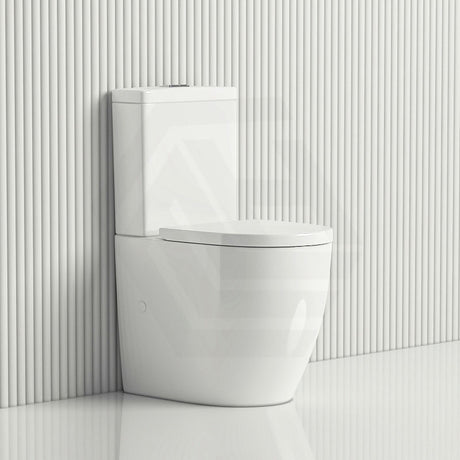
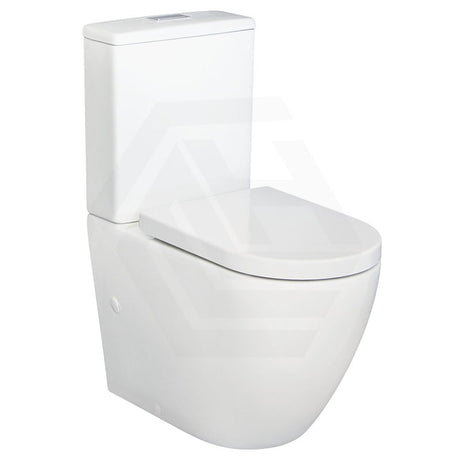
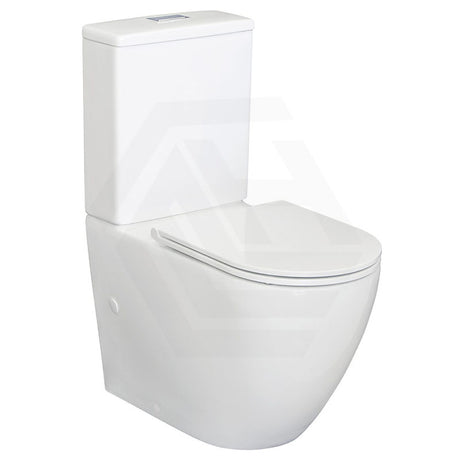
You also need to think about the overall toilet dimensions of your new unit. If your toilet is tucked into a little alcove then you might not have room. And we can't forget toilet height. Standard toilets are 400mm from the finished floor but comfort height models — around 450 to 480mm — are very much on the rise, especially for people with knee issues.

Common Issues and Their Causes
The one thing nobody tells you until they've reached the point of no return is this. Installing the toilet is not the hard part. It's everything else — the plumbing, the flange, the floor — that causes problems.
The biggest stumbling block? Checking existing plumbing. If your waste pipe is cracked, corroded or the wrong diameter for your new pan connector, you will not know until your old toilet is on the side of the road.
Turning off the water. You would think I wouldn't need to tell you to do this but it happens all the time. And the stories are exactly as gruesome as you're imagining right now.
Then there's the pan connector. We use a rubber connector in Australia rather than the wax rings you see in American YouTube tutorials, and this one has to be right over your waste outlet or you'll have a leak — the slow sneaky kind you won't know about for weeks until you spot discolouration in the ceiling below.

Step-by-Step Solutions
So this is how to install a toilet. Grab your adjustable spanner, spirit level, silicone, your new pan connector, flexible supply hose, and please just trust me, a bucket and a pile of old towels.
Turn the water off at the isolating valve near the bottom of the toilet. Flush until the cistern is empty — but there will still be some water in the bowl, which is why the bucket and towels are there. Remove the supply hose. Unscrew the floor bolts (usually two but can be four) and remove the toilet. It's much heavier than you would think. It made for some very interesting doorframe moments between my partner and me.
Clean the flange and check for cracks. If the flange is damaged, do not continue. Get yourself a licensed plumber — you can't fix this without getting under the floor.
Fit the pan connector to the waste outlet. Sit the pan over it, press evenly and line up the bolt holes. Tighten the floor bolts gently — snug, but don't over-tighten because porcelain does not like to flex, and the toilet pan would have to go in the bin if cracked.
Check the spirit level. If the toilet rocks, fit shims until it sits flat. For close-coupled types of toilets, fit the cistern to the pan, install the flushing mechanism, and connect the supply hose to the wall valve and cistern inlet. Turn the water on, flush several times, and check for drips at the base, between the cistern and pan, and at the hose connection.
Run a line of silicone around the edge of the pan where it touches the floor. There's actually some disagreement here — some plumbers don't seal the back edge, because the theory is that if the pan connector fails, you'd see the water leaking rather than having it pool invisibly under the toilet.

Advanced Troubleshooting
A straight replacement goes pretty much off without a hitch, usually. But sometimes things get complicated.
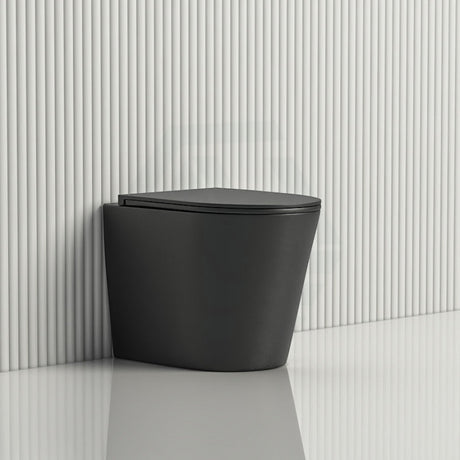
If the waste pipe has to move location, even just 100mm, this is licensed plumbing work and, in all states, cannot be done by the homeowner. Same for any wall-hung toilet that has the cistern contained in the wall — it needs steel framing and a qualified plumber.
If you find rotted timber or spongy subflooring upon removal of the old pan, stop there. Do not attempt to put the new pan in place.
And if you want to fit a seat bidet toilet attachment, installation is a little more complicated. You'll need a power point nearby (these things require electricity), and depending on the model, a hot and cold-water connection. The bidet itself is easy to install; however, the electrics need to be handled by a licensed electrician. That is not negotiable.

Prevention and Maintenance
So, you have installed your new toilet and let the silicone cure for 24 hours. Great. How should you maintain the installation from here?
One week later, go and check the floor bolts and supply hose connection. New toilets can settle over time, and you may have to turn the bolts an additional quarter turn.
Do not, and I cannot stress this enough, place any in-cistern cleaning tablets down the tank. Every plumber and bathroom expert I've quoted for articles in the past says the same thing: they eat through the rubber parts inside, and this is the number one cause of cistern failure. Use a toilet bowl cleaner instead.
If you've installed a toilet seat and bidet combo, remember to check the filters and wash the nozzles every few months per the manufacturer guidelines. A bidet and toilet seat unit is much more complex than a standard toilet, so regular maintenance keeps everything working as it should.
And if you start to notice any damp in the weeks following the installation, deal with it straight away. A small leak is easy to deal with today, but in six months will mean you need a new subfloor.