15 May, 2026
DIY Bathroom Vanity: Build or Upgrade Your Own
Plan and build your own diy bathroom vanity with confidence. Our Australian guide covers sizing, layout, budgeting and materials.

Video Credit: Shara Woodshop Diaries
Planning Your DIY Bathroom Vanity: Size, Layout, and Budget
So, the trouble with a DIY bathroom vanity project is that it sounds so easy until you find yourself on the floor with a tape measure at 7 in the morning, no clue about your rough-in point or exactly where that will land. Definitely plan it out first before you head to the store to get some MDF.
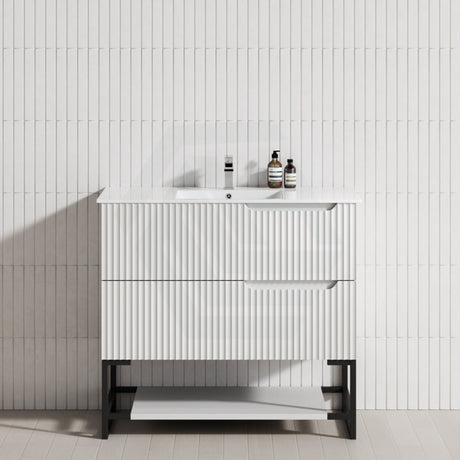
You will typically have to choose between vanity widths of 600mm, 750mm, 900mm, 1200mm and so on. The typical depth is 450mm and bench height is 860mm, so please, measure twice. Measure the required clearances to pass through the door, the rough-in point, stud position, and then measure again. It will annoy you; do it anyway.
A flat-pack or pre-made wall-hung vanity cabinet will start at about $50 for a basic PVC unit and go upwards from there, with premium plywood cabinets from brands like Aulic costing $2,800-plus. If you are making this from scratch using moisture-resistant materials, you will need to include a separate budget for the carcass, bench top, hardware and finish. Don't forget your basin mixer and pop-up waste as these are usually not supplied with your vanity cabinet. The decision you make here — wall-hung or freestanding — will impact the entire project: both what you end up purchasing and how long it will take to assemble.

Materials and Tools You'll Need
Okay, so now you've got the size, layout, and budget all sorted, what are you going to purchase?
Moisture-resistant MDF or structural plywood are your choices for the vanity cabinet carcass. 18mm MR MDF will generally set you back $60–$80 per sheet while a structural plywood sheet will be a bit pricier, at $80–$110 per sheet. Remember, when selecting MDF, it must be MR (Moisture-Resistant) MDF, and every cut face will need to be sealed. It is not waterproof as it is. Structural plywood is a stronger, better quality, moisture-resistant option and it is the choice most high-end vanity manufacturers will go for. You can also choose PVC board for a much cheaper build that is genuinely waterproof and easier to cut.
If it's not a big job or concern, then laminate will work nicely for a vanity bench top. Stone and solid surface will, of course, cost considerably more and will be heavier. If you are considering installing an above-counter basin, just check first that the vanity cabinet is sufficiently strong enough to take the load.
The essential tools you need are: a circular or drop saw to cut the sheets, a pocket-hole jig (such as a Kreg jig available at hardware stores) for joints (or a router with a dado bit), clamps, a drill, a spirit level and stud finder. Hire your drop saw; do not buy it just to do this one-off project.

How to Build a Bathroom Vanity Cabinet from Scratch
Okay, so you've purchased your timber, panels, bench top, hardware and the tools to bring it all together. This is how you will piece it all together.
Cut the sides, top, bottom, back and any shelves you intend to have installed to the required measurements. Accuracy in squareness is non-negotiable: any piece that isn't perfectly square will compound errors down the line. Join the box using pocket screws or dado cuts, then immediately verify its squareness by comparing diagonal measurements before the adhesive cures. Secure the assembly with clamps during the drying phase.
Install all drawer glides and door hardware prior to positioning the cabinet, as the task is significantly more manageable on a workbench. Apply edge banding to every single visible edge of the MDF; failure to do so will result in the panels swelling and deteriorating within a few months. Coat all surfaces with two layers of waterproof primer, followed by a top coat of moisture-resistant paint or lacquer, ensuring the cutout around the sink area receives ample attention.

How to Install a Bathroom Vanity: Plumbing and Fitting
With the vanity built and finished, your attention now turns to installation — though this is where the distinction between DIY and professional work draws a firm line.
What you can DIY: anchor the cabinet securely into the wall studs (locate studs, noggins, or joists using a stud finder); position the unit to the desired height (standard bench height is 860mm to the top of the bench, though some people prefer 900mm for comfort); fit a bench top; apply silicone sealant around the basin cutout and any gaps between cabinetry; and fit accessories such as towel rails and mirrors.
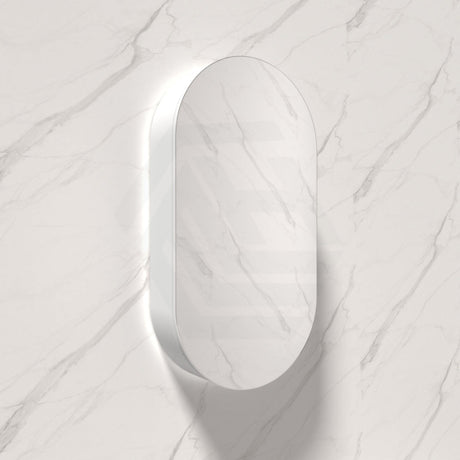
What you cannot DIY: connecting your basin to the water supply and waste pipes must be undertaken by a licensed plumber, who will issue a certificate of compliance on completing the work. Ensure you purchase tapware with WaterMark certification, as a licensed plumber or building authority can refuse non-compliant tapware. Wiring of an LED mirror or any hardwired fitting above your vanity must also be carried out by a licensed electrician. This applies to both how to install a bathroom vanity from scratch and any vanity installation involving new plumbing connections.
For a freestanding vanity, wall anchoring is not required, but a licensed plumber is still needed for all plumbing connections.

Bathroom Vanity Ideas and Vanity Upgrades
Most people don't need — or want — to build a whole vanity unit, so instead here are some bathroom vanity ideas on how to upgrade yours.
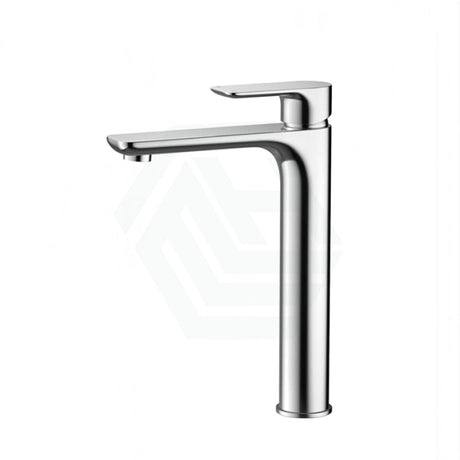
You can easily refresh your vanity cabinet with coats of moisture-resistant paint, or replace the doors using Kaboodle door fronts from a large hardware retailer or by commissioning a set from a custom cabinet maker, while leaving the rest of the cabinet intact. Swapping a bench top for a new piece of laminate or stone is another DIY-friendly option. Alternatively, a fresh basin mixer from Meir or Bella Vista can make your whole bathroom look new by replacing tired tapware.
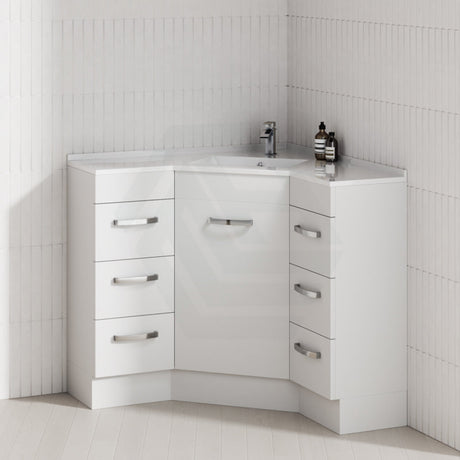
Consider a freestanding vanity if you're a renter or want to avoid putting holes in the wall. Freestanding bathroom vanities range from $238 to $1,378, depending on style and finish. Both Scandinavian and mid-century styles suit big and small bathrooms alike. Where you don't want to build your own, freestanding vanities open up a strong range of options for vanity installation without the carpentry commitment.
References
National Construction Code 2022, ABCB Housing Provisions, Part 10.2 Wet Areas
State plumbing licensing legislation (VBA Victoria; Fair Trading NSW; QBCC Queensland; Building Practitioners Board WA; CBOS Tasmania; ACTPLA ACT; Building & Energy SA; ABPB NT)
WaterMark Certification Scheme, Australian Building Codes Board
AS/NZS 3000:2018 Electrical Installations (Wiring Rules), Standards Australia