19 November, 2025
Shower Installation: A Complete Step-by-Step Guide for Homeowners
Plan and install your dream shower with confidence! Step-by-step guide covers layout, plumbing, waterproofing, tools, and real Australian costs – perfect for DIY or pro jobs.

If you want to improve your bathroom, installing a new shower is a great place to start. It can make your daily routine feel fresher and more enjoyable.
But when faced with complex plumbing connections, waterproofing, and equipment installation, you may wonder, “Should I do it myself or hire professionals? What tools do I need to prepare? How long does the entire process take?”
This guide will provide detailed answers to these questions. From preparation work, plumbing connections, and waterproofing techniques to common challenges, we will take you through every aspect of shower installation, helping you create your ideal shower.

What Should You Consider When Installing a New Shower?
Installing a new shower comes with plenty to think about, like layout, plumbing needs, and how it fits into your everyday routine. Let’s take a closer look at the key details to consider.
1. Bathroom Layout & Dimensions
Check how much space you have in your bathroom. A basic shower needs around 900mm × 900mm, while a more comfortable size is 1200mm × 900mm or bigger. Make sure the shower will not block doors or feel cramped.
2. Checking Water Pressure
Water pressure can vary in different rooms. Most showers work best at 300–500 kPa. If the pressure in your bathroom is low, a booster pump or a better hot water system can help improve the flow.
3. Choosing the Right Materials and Finishes
A shower room needs materials that can handle water every day. Porcelain or ceramic tiles, acrylic wall panels, and stone-look surfaces are all good choices. They hold up well and are easy to keep clean.
For the floor, pick something that is slip-resistant so it feels safe, even when wet. Use grout and sealant that resist mould, as this helps keep the shower fresher for longer.
Choose strong fixtures such as stainless steel or brass. They cope better with steam and moisture and will last much longer in a humid bathroom.
4. Planning Your Budget
Costs can differ a lot. Custom tiled showers are usually more expensive, while prefabricated units are more budget-friendly and quicker to install. A clear budget helps you choose the setup that suits your needs.
What Tools and Materials Do You Need?
Adequate preparation can make the shower installation process much easier. You need to prepare the following tools and materials:
Basic Tools:
- Drill and various drill bits (including 8mm drill bit)
- Spirit level
- Measuring tape
- Pencil for marking
- Adjustable wrench
- Screwdriver set
- Silicone gun
- Pipe tape
- Safety glasses and gloves
Materials List:
- Shower base or tray
- Shower wall panels or tiles
- Mixer valve and control unit
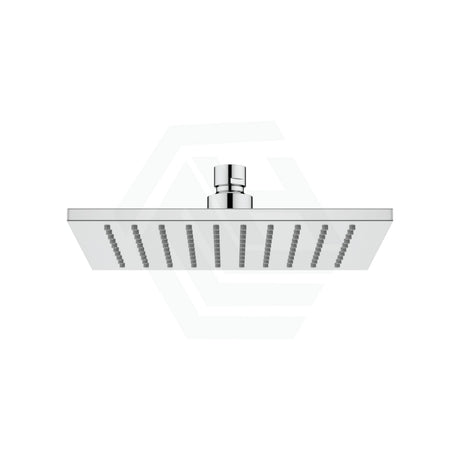
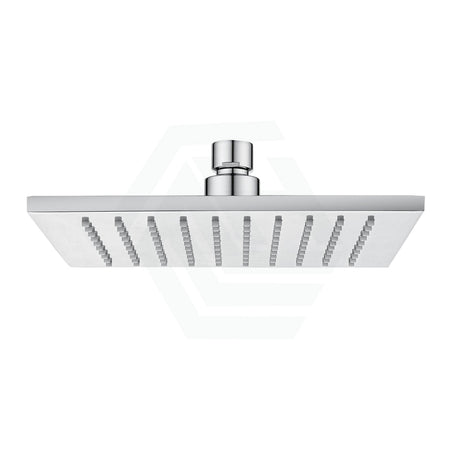
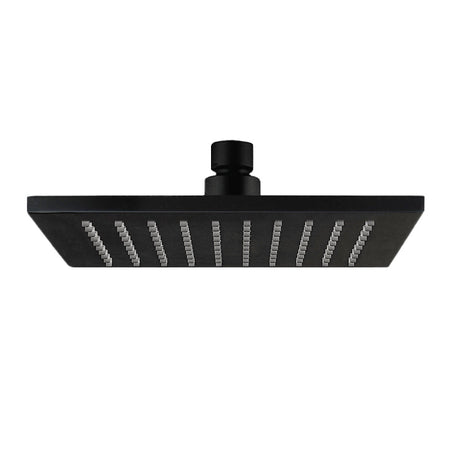
- Showerhead and hose
- Rail and brackets
- Waterproof sealant
- Anchor bolts and screws
- Plumbing fittings
Gather everything before starting. If some professional tools are used infrequently, consider renting from your local hardware store.
Steps for Installing New Shower
After you’ve planned the layout and gathered your tools, you can begin the installation. These simple steps will help guide you from start to finish.
Step 1. Preparing the Bathroom Space
Turn off the main water supply. Turn the valve clockwise until the water stops.
Remove the old shower parts, such as the showerhead, pipes, and valves. Use a wrench and take your time to avoid damage.
Step 2. Setting Up Plumbing Connections
Mark the spot for the drain, cut the hole, and connect the new drain pipe to the main line.
Choose the height for your shower valve (around 1000–1200mm). Cut the opening and secure the valve firmly so it stays level.
Measure and cut the hot and cold supply pipes. Connect them to the valve with tape or sealant to stop leaks.
Step 3. Installing the Shower Base or Tray
Place the base in position to check the fit.
Brush on two coats of waterproofing over the floor area and lower walls. Leave 4-6 hours between coats.
Spread tile adhesive evenly and press the base into place so it sits firmly.
Step 4. Fitting the Shower Walls or Enclosure
For wall panels, spread adhesive on the wall and press each panel into place. Tap gently with a rubber mallet so the panels bond well.
For a glass enclosure, fix the bottom track and the side rails first. Use expansion bolts to hold them steady.
Lift the glass panels with another person. Set them in place and adjust the rollers so the doors open and close smoothly.
Step 5. Mounting the Shower Fixtures
Fit the mixer valve so it sits level with the wall surface. Connect cold water on the right and hot water on the left.
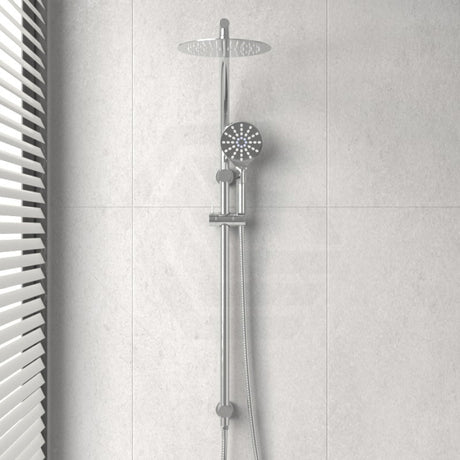
Install the shower rail or overhead shower. A handheld bracket usually sits about 1200mm high. An overhead shower is normally around 2100mm.
Attach the hose and showerhead. Check the rubber gasket and hand-tighten the fittings. Test the spray settings.
Step 6. Sealing and Waterproofing
Fill all small gaps with anti-mould silicone. Keep gaps under 3mm. Smooth the silicone and wipe away any extra.
Let the silicone and waterproof coatings dry for 48–72 hours. Avoid using the shower during this time.
Step 7. Testing for Leaks and Finishing Touches
Turn the water back on and let both hot and cold water run for 10–15 minutes.
Check every joint, the walls, and the floor. If you see even a small amount of moisture, tighten the fittings or apply new sealant.
When everything stays dry, give the area a good clean and wipe down the glass and fixtures.

How Much Does a Shower Cost to Install?
The price of putting in a shower can vary a lot. Most jobs fall somewhere between $700 and $6,500, depending on the style you pick and how much work your bathroom needs.
- A basic shower usually costs $700 to $3,000 for the unit itself.
- A mid-range option sits around $3,000 to $5,000.
- A high-end shower can be $6,500 or more.
If the new shower goes in the same place as the old one, the cost stays lower. The price goes up when pipes need to be moved, walls need changing, or new electrical wiring is needed.
Waterproofing also adds to the cost. Simple waterproofing starts at about $40 per square metre, and using better materials helps avoid leaks later. Small items like showerheads, taps, and drains also add up.
Plumbers and electricians in Australia usually charge $35 to $50 an hour, so labour time will affect the final bill.
Shower Installation Cost Reference Table
| Project Type | Price Range (USD) | Included Content |
| Budget Renovation | $700 - $1,500 | Basic equipment replacement, simple repairs |
| Standard Installation | $2,000 - $3,000 | Complete equipment replacement, standard materials |
| Mid-Range Installation | $3,000 - $6,500 | Quality equipment, complex design |
| Luxury Custom | $6,500+ | Top-tier equipment, personalized design |
Should You Call a Plumber to Install a Shower?
Putting in a shower on your own is possible, but only if the job is simple. If you’re swapping an old shower for the same type, and the pipes stay in the same place, you can usually handle it. You just need some basic plumbing skills and enough time to go step by step.
But once things get more complicated, calling a plumber becomes the safer choice. A plumber knows how to deal with pipes, drains, and waterproofing without creating new problems. This can save you money and stress later, because small mistakes in a shower often turn into big repairs.
Getting shower installation near me services to help is a smart idea when you run into things like:
- Leaks that keep coming back
- Parts that don’t fit right
- Water damage on the walls or floor
- A drain that won’t angle the way it needs to
- Connections you can’t seal tightly
A licensed plumber can fix these problems fast and make sure your new shower works the way it should.
Conclusion
A new shower can make your daily routine feel better and more comfortable. When you understand the steps in the shower installation process, planning your upgrade feels a lot easier.
If the job starts to feel too hard or confusing, a plumber can take over and keep everything on track. That gives you peace of mind as your bathroom comes together.
For more ideas and bathroom products, you can check out MyHomeware.