12 November, 2025
How to Silicone a Shower: A Practical Guide
Learn how to silicone a shower: remove old sealant, prep surfaces, apply sanitary-grade silicone with tape for clean lines. Step-by-step DIY guide for waterproof, mould-free seals.

Peeling or mouldy silicone in your shower is more than just something that looks bad. It usually means the waterproof seal is no longer working. When that happens, water can slip behind the tiles and into the wall, which may lead to rot or more mould. Putting on new silicone is a simple job that can save you from bigger repairs later. A fresh seal keeps water where it should be and helps your shower stay clean and tidy. This guide will show you how to remove the old silicone, prepare the area, and re-silicone shower. Read on!

How to Apply Silicone to a Shower
Applying silicone, often called caulking, requires a steady hand and proper preparation. If you are replacing an old seal, you must first ensure the joint is completely clean and dry. (The process for removing old sealant is covered later in this guide). When you are ready to re-silicone your shower, preparation is the key to achieving a finish that looks clean and lasts for years.
Tools and Materials You'll Need
Gathering everything you need beforehand makes the process smooth and prevents mistakes. Here is what you’ll need.
- Sanitary-Grade Silicone: This is necessary. Use a sealant specifically labeled "Sanitary Grade" or "Kitchen & Bathroom." It contains fungicides that inhibit the growth of mold.
- Caulking Gun: A dripless caulking gun is recommended, as it releases pressure automatically when you stop squeezing the trigger.
- Masking Tape: Blue or green painter's tape is the secret to getting straight, clean edges.
- Silicone Finishing Tool: A small plastic or rubber tool with different profiles. This is much more effective than using a wet finger.
- Utility Knife: For cutting the tip of the silicone nozzle.
- Clean, Lint-Free Cloths: Have plenty of paper towels or rags for wiping excess.
- Disposable Gloves: Silicone is sticky and difficult to clean off skin.
Step-by-Step Instruction
Follow these steps carefully for a clean, waterproof seal. Working methodically is the key to success.
Step 1. Ensure Ventilation
Open the bathroom window or turn on the exhaust fan. Silicone sealants release fumes (acetic acid) as they cure.
Step 2. Apply Masking Tape
This is an important step for a non-professional. Apply two parallel strips of masking tape, one on the wall and one on the tray. Leave a consistent gap between them (e.g., 5mm) where the new silicone will go. This controls the width of your bead and guarantees a clean line.
Step 3. Prepare the Silicone Tube
Use your utility knife to cut the tip of the silicone cartridge's nozzle. Cut at a 45-degree angle. The size of the opening should match the size of the gap you intend to fill. Puncture the internal seal of the cartridge (if present) using a long nail or the tool built into the caulking gun.
Step 4. Load the Caulking Gun
Pull back the plunger of the caulking gun and insert the silicone tube. Gently squeeze the trigger until you feel the pressure build and a small amount of silicone just appears at the tip.
Step 5. Apply the Silicone
Start in a corner and move at a steady, consistent pace. Apply firm, even pressure to the trigger. You want to push the bead of silicone into the joint, not just lay it on top. Complete one full length of the joint in a single, continuous motion.
Step 6. Smooth the Bead (Tooling)
Before the silicone starts to "skin" (dry), which happens in minutes, run your finishing tool along the bead. Press down gently and pull the tool along the joint in one smooth pass. The excess silicone will gather on the tool's edges.
Step 7. Clean Up
Wipe the excess silicone off your tool with a paper towel.
Step 8. Remove the Tape
This is the final key step. Carefully peel away the masking tape while the silicone is still wet. Pull the tape away from the joint at an angle. This will leave a sharp, professional-looking edge.
Step 9. Cure
Let the silicone cure for the time specified by the manufacturer (usually 24 hours) before allowing any water to touch it.
How to Remove Old Silicone
You must remove all the old silicone before applying a new layer. New silicone will not bond to old, cured silicone, and the seal will fail quickly.
- Soften the Old Sealant (Optional): Apply a commercial silicone remover solution. This breaks down the sealant and makes it much easier to cut and peel away. Follow the product’s instructions for application and waiting time.
- Cut the Silicone: Use a utility knife with a sharp blade or a specialized silicone removal tool. Carefully cut along both edges of the silicone bead—once against the wall and once against the tray or tub.
- Peel and Scrape: Once the edges are cut, grab an end of the old silicone strip and pull it out. It should come away in long pieces. Use a plastic scraper (to avoid scratching acrylic or fiberglass) to remove any stubborn, remaining bits.
- Clean the Surface: Wipe down the entire joint with a cloth dampened with methylated spirits or isopropyl alcohol. It removes all soap scum, body oils, and sealant residue.
- Dry the Area: The joint must be 100% dry before applying new silicone. Use a hairdryer on a low setting or let it air-dry for several hours. Any trapped moisture will prevent a proper bond and can lead to mold growth under the new seal.

What Parts of a Shower Do You Need to Seal?
Before you begin, identify all the joints that require sealing. Water is persistent, and any unsealed gap is a potential leak. The goal is to create a complete, unbroken waterproof barrier at every seam and transition.
- Internal Corners: All vertical joints where two walls meet.
- Horizontal Joints: The joint where the shower walls meet the shower tray or tub base. This is the most critical area.
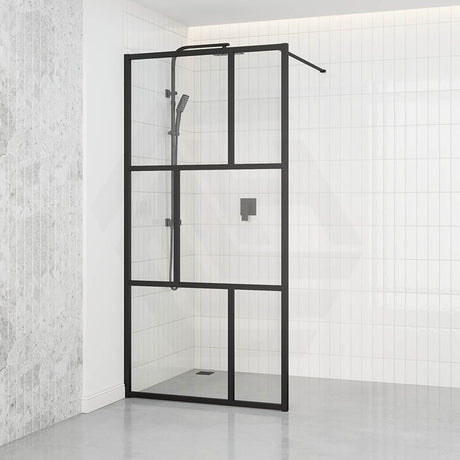
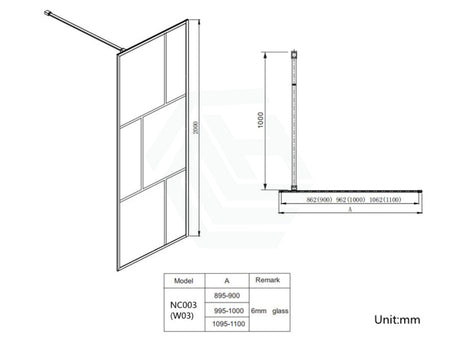
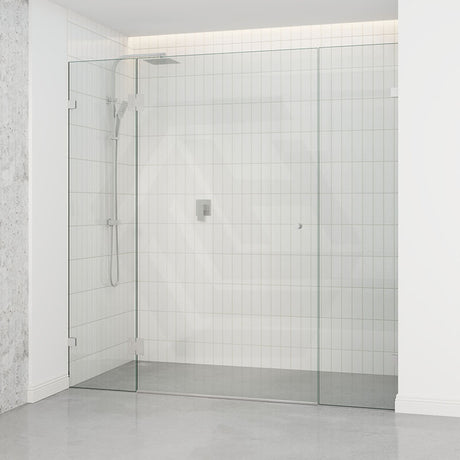
- Shower Screen: The joins where the frame of the shower screen (or frameless glass panels) meets the tiles and the shower tray.
- Fixtures: The gap around the escutcheon plates (cover plates) for your taps and the neck of the showerhead pipe.
Conclusion
Learning how to silicone a shower the right way is a handy skill for any homeowner. It takes a bit of time, but the secret is in good prep and careful work. Make sure all the old sealant is gone, the surface is clean and dry, and use masking tape to get neat edges. When done properly, the new seal will stop leaks, protect your walls, and keep your shower looking fresh and clean.