09 November, 2026
How to Install an Outdoor Shower: Types, Plumbing and Drainage
Learn how to install an outdoor shower, from cold-only to hot and cold, freestanding versus wall mounted, and drainage a licensed plumber will handle.

Picture this: you've just come in from the pool or the beach, sand everywhere, and all you want is a quick rinse before stepping inside. That's the whole point of an outdoor shower, but getting one installed properly is more than picking a nice-looking fitting off the shelf. In my experience it comes down to three things: 1) locating it correctly with a plumber before any paving goes down, 2) deciding between cold only or hot and cold, and 3) choosing freestanding or wall mounted to suit your supply lines. For coastal and pool environments, 316 stainless steel fittings cope far better with the weather than a lower grade, and tapware must be WaterMark certified (AS 3718:2021) before a licensed plumber can install it. I think that's worth the upfront planning.
Video Credit: This Old House
Planning the Spot and the Order of Work
This guide covers how to install an outdoor shower, including types, plumbing and drainage, so don't start swinging a hammer until you've figured out where the shower should go. It needs to be far enough away from other areas that you feel comfortable getting naked, but close enough to a path or the side of a pool that it's practical, and you need to think about how the weather might degrade the fixtures. If you're in a coastal area I recommend using 316 stainless fittings, as this grade of steel is used where corrosion protection is required for marine and pool applications. More on this later.
Most people make the mistake of finding the best-looking place and then realising the water supply or drain doesn't extend there without breaking up the whole yard. Have the plumber come out before you've decided on a location.
In general terms, here's the order that works should be undertaken. 1) Location and drain points for the shower are agreed to by a plumber, based on local council and water authority rules. 2) Freestanding or wall mounted options are chosen, as this will determine whether the shower supply is going to come from the ground or wall. 3) The plumber brings in the supply and drain lines before any paving or tiling is done. This is important, as it's really hard to add drainage once the paving has been completed. 4) The shower is fitted and plumbed in. 5) The plumber carries out the final inspection and provides signoff. Check with your plumber regarding what signoff may be required in your state.
This type of work is licensed plumbing work in every state and territory, governed by legislation regarding state and territory plumbing licenses, so it's not a task for a weekend DIYer.

Cold Only or Hot and Cold?
A cold only outdoor shower only requires the plumber to bring in a cold water line. For hot and cold, the plumber will also bring in a hot line from your existing hot water system, and will fit a temperature control device, as heated water leaving a shower outlet can't be higher than 50°C (NCC 2025, Volume Three, Part B2) under the National Construction Code Volume Three Part B2.
That temperature limit is exactly why a mixer or diverter is worth having rather than just a plain outlet. Some of our outdoor showers include a built-in mixer, for example the Bella Vista Mica range and Fienza Kaya twin shower includes an integrated diverter mixer. Others don't, for example some Linkware Elle twin shower listings. A simple shower head or arm is an outlet only, not a control point. So be sure to check what is included in the product description you're looking at, and decide if you're going to use a mixer that's included, or if you need to add one.
Council and water authority rules regarding drainage for a cold only outdoor shower vary. Some allow the drain to empty into the garden, while others require it to be connected to the sewer with rain protection. Your plumber will know your council or water authority rules, so don't take my word for it.

Freestanding or Wall Mounted?
Once we have the plumbing sequence sorted out, we need to decide how our shower will be positioned. Freestanding outdoor showers like these stand independently and can be positioned anywhere. The plumbing runs from the ground to allow flexibility when designing your shower, pool, and/or garden. For example, freestanding outdoor shower sets such as the Bella Vista Mica sets and the Fienza Kaya floor mounted twin shower feature an overhead shower and a handheld shower and list a mixer as standard. This means the hot and cold water pipes will run directly to the location of the shower head. However, be sure to read through the product description to see what is included with each shower and how it is controlled. There's no correct way to go about this decision. Whether it's freestanding or wall mounted will depend on the design of your space and the placement of the water supply.
Wall mounted showers are fed directly from the wall, such as a twin shower on a rail. You may opt for a double shower head on a rail, or an overhead shower on a wall mounted arm. The position of the shower's water inlet can be seen in the product listing, which will tell your plumber where the pipe needs to come out of the wall.

Taps and Controls That Last Outdoors
Outdoor shower fixtures need to be able to withstand all sorts of weather conditions. We all know what exposure to the sun, rain and coastal/pool environments does to most things over time. Cheaper tapware can pit and discolour in exposed coastal or poolside locations, which is why it pays to check the grade of stainless steel before you buy.
To prevent this, search for outdoor shower taps and mixers described as 316 stainless steel. This is the type of stainless steel specifically designed to resist corrosion in coastal and pool areas. Even 316 stainless steel still requires regular cleaning with soap and water and a soft cloth. Tapware must also be WaterMark certified to (AS 3718:2021) before a licensed plumber can install it, so be sure to check if any outdoor shower taps or mixers you're considering are WaterMark certified. Additionally, the warranty period varies by finish, so ensure you find out the warranty period for the specific colour of the tapware you're looking at, not just the model number. Choose an easily gripped handle for wet, soapy hands. It may seem like a small detail, but it will make a huge difference when you're using the shower!
Tapware must be WaterMark certified before a licensed plumber is allowed to fit them. Certification is assessed against (AS 3718:2021). Be sure to check if any outdoor shower taps or mixers you're considering are WaterMark certified.

Getting the Water Away
This is the final step in planning for your outdoor shower!
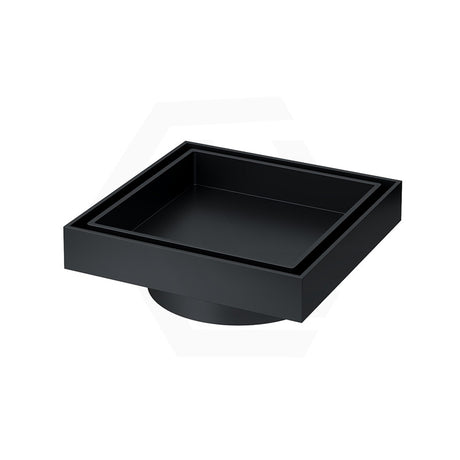
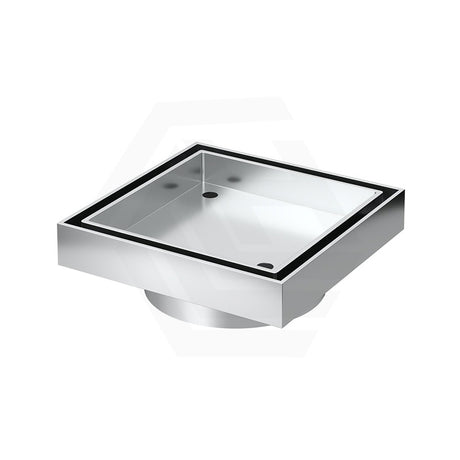
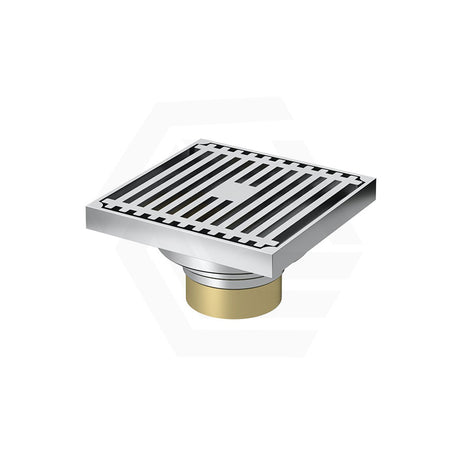
Ensure you have an appropriate area to dispose of water before any paving is installed. An easy-to-fix floor waste or tile insert point drain should be placed under the shower to remove wastewater. The slope of the paving (known as falls) is very difficult to alter after paving has been laid. Do not allow shower water to flow into a stormwater drain, as shower water is considered wastewater. Rainwater and surface water should not enter the sewer system. In other words, the two systems should not be connected. Connecting the drain is considered licensed plumbing work in all states and territories. Sanitary plumbing and drainage requirements for plumbers are outlined in (AS/NZS 3500.2:2025). Your licensed plumber will be aware of the rules and regulations set out by your local council and water authority regarding outdoor drainage and where the wastewater can be disposed of.
References
Plumbing licensing requirements, state and territory plumbing regulators
National Construction Code 2025, Volume Three (Plumbing Code of Australia), Part B2 Heated water services, Australian Building Codes Board
AS 3718:2021 Water supply — Tap ware (incorporating Amendment No. 1:2024), Standards Australia
AS/NZS 3500.2:2025 Plumbing and Drainage — Sanitary Plumbing and Drainage, Standards Australia