A shower is one of the wettest areas in any home. Without proper waterproofing, water can seep into walls, floors, and structures, causing mold, damage, and expensive repairs. In this guide, we’ll show you everything you need to know about how to waterproof a shower. We’ll cover the essentials and walk you through a simple step-by-step process. These tips will help you create a durable, leak-free shower. Let’s get started!

Why Waterproofing Matters for a Durable Shower?
A good shower waterproofing protects your shower from water damage. It keeps your tiles, grout, and fixtures in place.
- Prevent Structural Damage: Without waterproofing, water can get into the walls and floor. Over time, this can cause wood and drywall to rot, warp, and weaken. Waterproofing helps avoid big repairs.
- Extend the Life of Your Shower: Tiles can crack or lift if water gets behind them. A good waterproofing system lasts for years, saving you money and reducing the need for repairs.
- Reduce Health Risks: Dampness can cause mold and mildew, which can lead to allergies and breathing problems. Waterproofing helps keep your bathroom safer and healthier.
Tools and Materials You Need for Shower Waterproofing
Whether you’re a pro or a DIY enthusiast, having the right tools is key. Here’s a complete list of what you’ll need for a shower waterproofing project.
Tools
- Cleaning supplies: broom, vacuum, and cleaner to ensure the surface is completely free of dust, dirt, and debris.
- Safety gear: safety glasses, rubber gloves, and a mask or respirator.
- Bucket: for cleaning tools and mixing.
- Paint roller/tray/brushes: to apply the liquid waterproofing primer and membrane.
- Utility knife or scissors: to cut the reinforcing fabric or tape.
- Spirit level: to ensure surfaces are level and lines are straight.
- Tape measure: to measure accurately.
- Caulking gun: to apply flexible sealant or bond breaker into joints and corners.
Materials
- Waterproofing primer: prepares the substrate for adhesion.
- Waterproofing membrane: liquid-applied, heavy-duty rubber or polyurethane applied in multiple coats.
- Bond breaker/flexible sealant: applied at joints and corners to prevent cracking.
- Reinforcing fabric/tape: for corners, joints, and pipe penetrations.
- Puddle flange: ensures any water under the tile is directed into the drain.
- Silicone sealant: seals penetrations, shower screen joints, and tapware after tiling.
- Grout sealer: protects grout from stains, mold, and moisture.

How to Waterproof a Shower Step by Step?
Now that we’ve collected all the essentials for waterproofing showers, it’s time to explore the detailed guidance. Follow these steps to ensure a watertight, long-lasting shower.
Step 1. Prepare the Surface
Remove any old tiles, damaged grout, or deteriorated sealant. Clean and dry all surfaces thoroughly. Apply a coat of waterproofing primer with a roller or brush. Let it dry according to the manufacturer’s instructions.
Step 2. Install the Puddle Flange
Install the puddle flange (drain fitting) in the floor recess. Ensure it is level with the subfloor. Apply silicone sealant around the base of the flange to create a waterproof seal.
Step 3. Apply the Bond Breaker and Reinforcing Fabric
Use a caulking gun to apply flexible sealant (bond breaker) to all corners and joints. Immediately embed reinforcing fabric/tape into the wet sealant, pressing firmly and crease-free.
Step 4. Apply the Waterproofing Membrane
Apply the first coat of liquid waterproofing membrane. Extend up the walls to the showerhead height and cover the entire floor. Wait until it dries completely.
Step 5. Apply the Second Coat
Apply the second coat at a 90-degree angle to the first. Optionally embed reinforcing fabric. Once dry, inspect and touch up any missed spots.
Step 6. Tile and Grout
Let the final coat cure fully. Install tiles with waterproof adhesive and apply fresh grout carefully to seal joints.

Which Waterproofing Method Should You Choose—Liquid or Sheet?
Both liquid and sheet membranes are excellent choices for shower waterproofing, but they differ in application, durability, time, and cost. Here is a comparison:
| Factor | Liquid Membrane | Sheet Membrane |
|---|---|---|
| Application | Applied like paint with a roller/brush; conforms to shapes, corners, penetrations | Best for large flat surfaces; requires cutting, laying, sealing seams |
| Durability | 10–15 years with proper application | 15–20 years+ with correct sealing |
| Project time | Needs drying/curing between coats | Tiling can start immediately after sealing |
| Cost | Lower material & labour cost | Higher initial & installation cost |
Overall, the choice depends on your project’s complexity, timeline, and budget. For DIY, liquid-applied is usually best. For larger projects, sheet membranes are faster and more consistent.
Conclusion
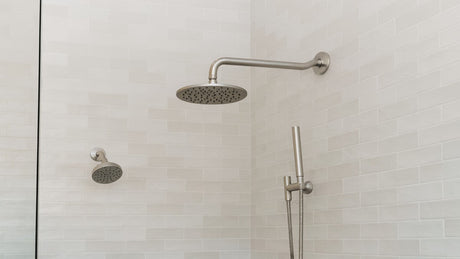
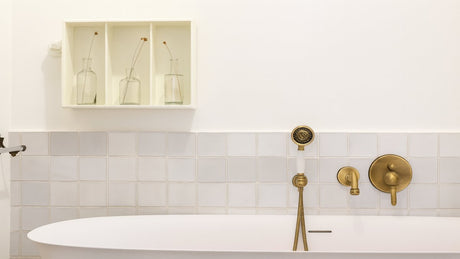
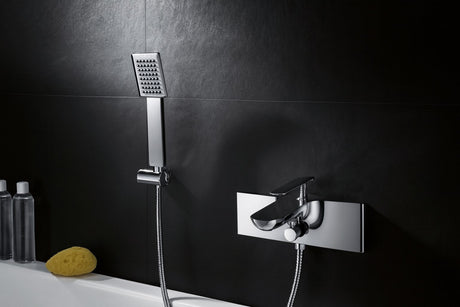
The water in your shower comes from sources like the showerhead and tap, which can cause damage if not managed. Proper waterproofing prevents leaks, rot, and mold. Prepare surfaces, apply the right materials, and choose between liquid or sheet membranes for lasting protection. For quality products, MyHomeware offers a wide range to fit your needs.
FAQs
Is Waterproofing a Shower Necessary?
Yes, waterproofing is crucial. Grout and tiles aren’t waterproof on their own. A waterproof barrier prevents damage, rot, and mold.
How Many Coats of Waterproofing for a Shower?
For liquid membranes, at least two coats are needed. Apply the second coat at a 90-degree angle to the first.
How Long Should Waterproofing Last in a Shower?
Depends on materials, installation, and maintenance. A quality system can last 10–15 years, or longer with care.