24 December, 2025
How to Remove Shower Drain Cover: A Complete Guide
How to remove shower drain cover: Step-by-step for screw-in, snap-in & stuck types. Clear clogs easily with safe tools & tips – restore fast drainage!

A slow-draining shower is frustrating and unhygienic. Usually, hair, soap scum, and mineral buildup trapped beneath the grate are the primary culprits. To fix this efficiently, knowing how to remove shower drain cover is essential. It allows for deep cleaning and proper maintenance, ensuring your plumbing flows freely and preventing costly repairs.
This guide explores removal methods for different drain types, tips for handling stuck covers, and advice on when to call a professional. Let’s get your bathroom back in working order.

Why Is Shower Drain Cover Removal Needed?
Most people need to remove a shower drain cover when the water no longer drains properly. Hair, pet fur, and soap scum build up under the cover and in the trap. Wiping the surface is not enough, because most of the mess sits around the crossbars and in the bend of the pipe, so the water slows right down.
Taking the shower drain cover off also helps with:
- Deep cleaning: You can reach under the cover and scrub away mold, mildew, and germs in the damp area.
- Finding lost items: Small things like rings, earrings, or screws can be pulled out before they wash deeper into the pipes.
- Checking for damage: You can look for cracks in the drain or problems with the waterproof seal.
- Changing old parts: Old, rusty covers can be swapped for new shower wastes drains that look better and suit your bathroom.
Tools You'll Need to Remove the Shower Drain Cover
Before you attempt to open shower drain cover, gather the right tools. Using the correct equipment prevents damage to your shower floor, the drain unit, and your hands.
| Tool | Purpose |
| Screwdriver (Phillips & Flathead) | Essential for drains secured with screws. A flathead is also useful for prying. |
| Needle-Nose Pliers | Helpful for gripping small components or pulling out hair clumps once the cover is off. |
| Lubricant (e.g., WD-40) | Vital for loosening screws that have rusted or seized over time. |
| Wire Hook or Coat Hanger | Used to pull up snap-in drains or fish out debris. |
| Rag and Vinegar | For cleaning the area and dissolving mineral deposits that may be sticking to the cover. |
| Flashlight | To see inside the drain clearly once the cover is removed. |
Having these ready ensures a smooth process when learning how to remove drain cover from shower floors.
How to Remove the Shower Drain Cover
Shower drains come in various designs, and the removal method depends entirely on the type you have installed. Below are the steps for the most common varieties.
Removing Screw-In Drain Covers
This is the most common type found in older homes and standard setups. Here is how to remove this type safely and easily.
- Locate the Screws: Look for visible screw heads on the top of the grate. There are usually two.
- Clear Debris: Clean the screw heads so your screwdriver sits flush.
- Unscrew: Turn the screws counter-clockwise. Be extremely careful not to drop the screws down the drain as you remove them. Cover the holes with your fingers or a piece of tape as you lift them out.
- Lift: Once the screws are out, simply lift the grate.
Removing Snap-In (Pop-In) Drain Covers
Many newer shower drains, including some linear ones, have no visible screws. Use these steps to take them off.
- Inspect edges: Look for a small notch or lip along the edge of the drain cover.
- Leverage: Insert a flathead screwdriver or a stiff wire hook into the notch or one of the grate holes near the edge.
- Pull/Pry: Apply gentle pressure to pry the edge up. If it resists, try lifting from different sides to wiggle it loose.
Removing Toe-Touch or Push-Pull Drains
These drains are common in bathtub–shower combos and work as both a stopper and a drain. Here is how to take one off.
- Open the Drain: Set the drain to the "open" position.
- Locate the Knob: There is often a top cap or knob.
- Unscrew Mechanism: Hold the base of the cylinder and turn the top knob counter-clockwise. Sometimes you need to unscrew the entire cylinder body to reveal the crossbars below.
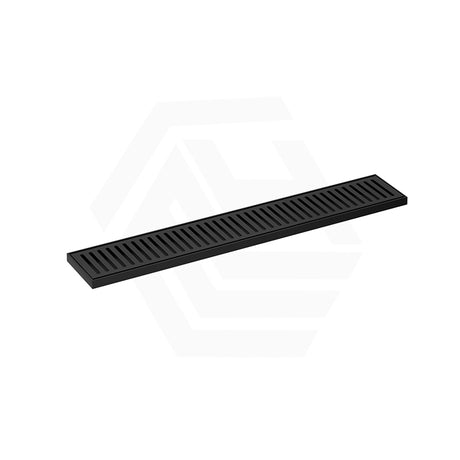
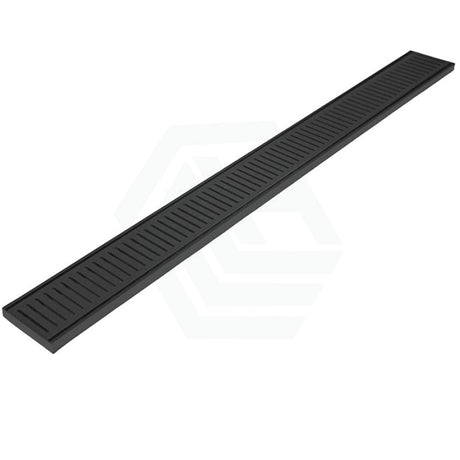
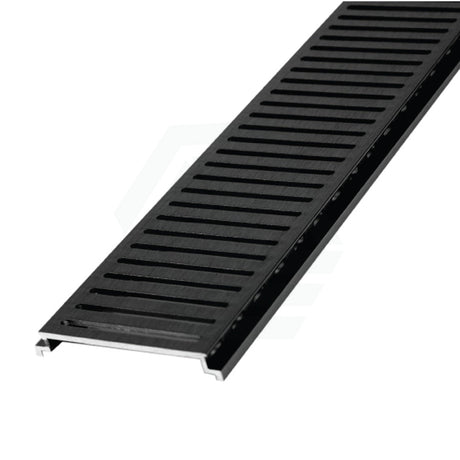
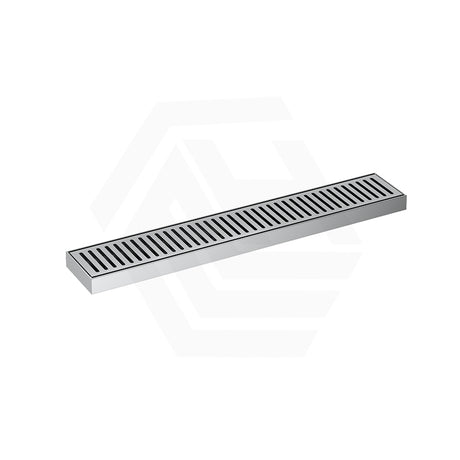
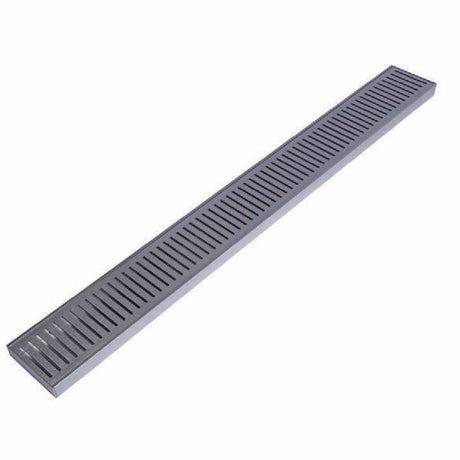
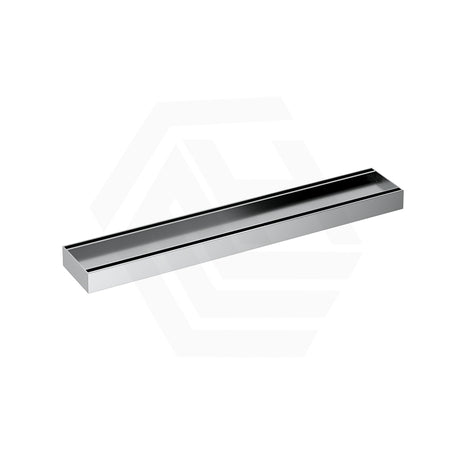
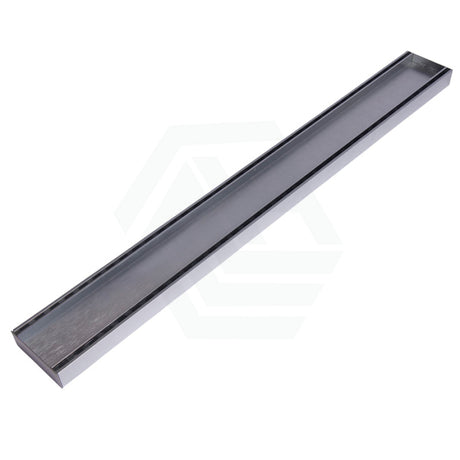
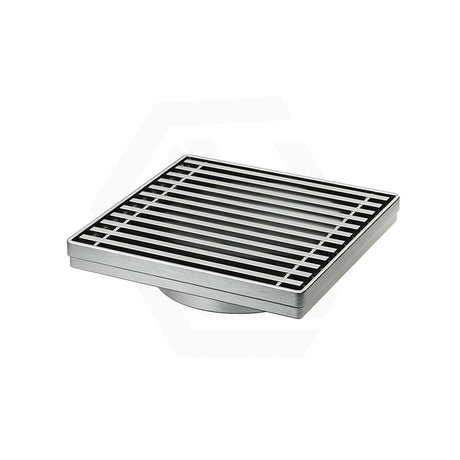
Once the drain cover is off and everything is cleaned out, many people decide to upgrade the old parts instead of putting them back. MyHomeware has premium shower wastes drains in solid brass and rust-resistant stainless steel, with finishes like matte black and brushed gold, so the drain looks good, matches your bathroom, and helps keep water flowing away smoothly.

How to Remove a Stuck Shower Drain Cover?
Sometimes, despite your best efforts to remove the shower drain cover, it won't budge. This is usually due to mineral deposits (calcium/lime), soap scum buildup, or rusted screws. Here is what you can do:
- Apply Lubricant: Spray a penetrating oil like WD-40 around the edges of the cover and on any screws. Let it sit for 15–20 minutes.
- Dissolve Minerals: If hard water is the issue, pour white vinegar over the drain and let it soak. This helps break down calcification.
- Heat it Up: Use a hair dryer to heat the area around the drain. Metal expands when hot, which might break the seal of the gunk holding it down.
- Tap Gently: Use the handle of your screwdriver to gently tap the perimeter of the drain. This vibration can help loosen the rust or debris.
Things to Avoid When Removing a Drain Cover
When learning how to remove the drain cover in a shower, knowing what not to do is just as important to prevent damage.
- Do Not Force It: Excessive force can crack the surrounding tiles, break the plastic drain housing, or strip the screw heads. If it's stuck, use patience and lubricants.
- Don't Drop the Screws: This is a classic mistake. Once a screw falls down the drain, it can cause a worse blockage or damage the P-trap. Always place them in a bowl immediately after unscrewing.
- Avoid Harsh Chemicals on Plating: If you have special finishes like matte black or brushed gold, avoid using harsh acidic cleaners while trying to loosen the cover, as they can strip the finish.
- Don't Ignore Sealant: Some drains are siliconed in place (though they shouldn't be). If you see silicone, you will need to cut it with a utility knife before prying.
Conclusion
Knowing how to remove shower drain cover fittings is a simple but very useful home skill. With the right tools and a bit of patience, most screw-in or snap-in covers come off easily. Taking the cover off now and then lets you clear hair and soap scum, cut down bad smells, and keep the shower cleaner and safer.
If your old drain keeps clogging or looks rusty and tired, you don’t have to put it back. You can upgrade to MyHomeware custom shower grates, which give you stronger parts and a neater, more modern look for your bathroom.